How to Clean Dryer Vents: Easy DIY Safety Tips
- Aug 8, 2025
- 14 min read
Knowing how to clean your dryer vent is a simple safety check you can knock out in less than an hour. It’s a matter of disconnecting the dryer, giving the entire duct a good cleaning with a special brush kit and vacuum, and making sure the exterior vent cap is clear of obstructions. Getting this routine down is one of the best things you can do to prevent a fire and make your dryer run better.
Why Cleaning Your Dryer Vent Is A Crucial Safety Task
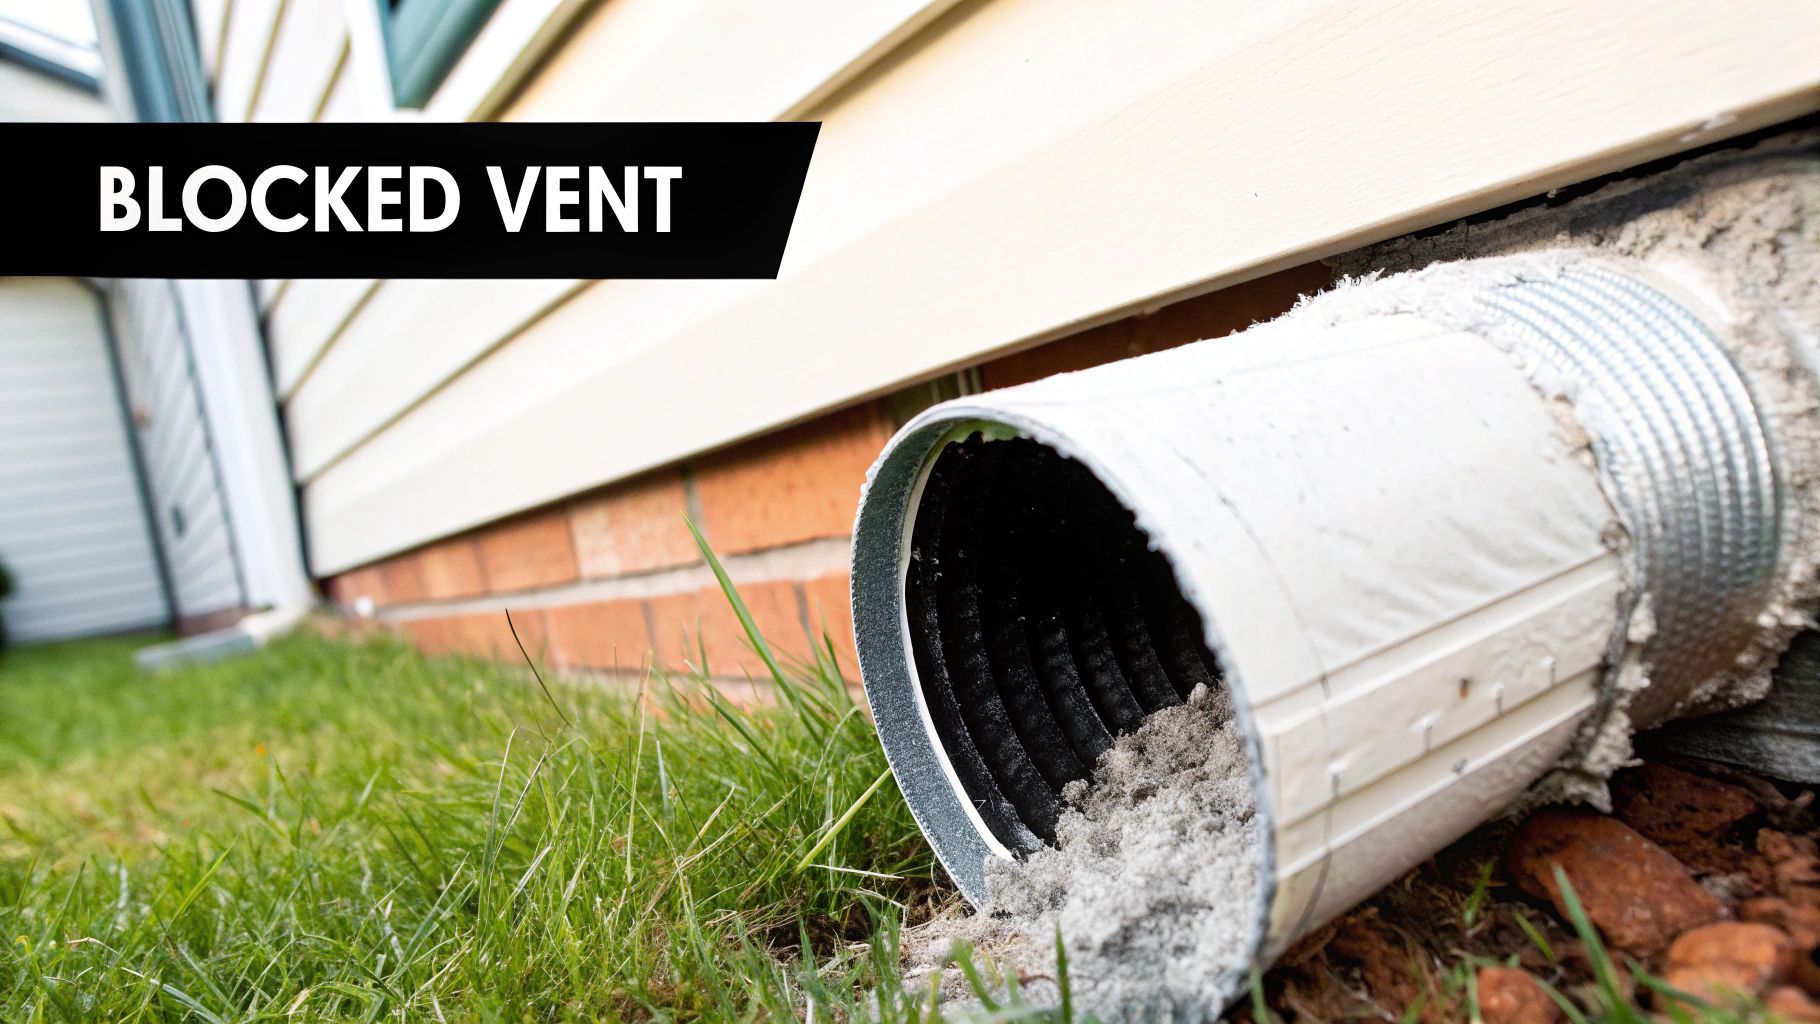
That little bit of lint you clean from the trap after every load? That’s only a small fraction of what your dryer actually produces. The rest, a highly flammable mix of fibers, dust, and debris, gets pushed into the vent duct, where it builds up over time. This isn't just an efficiency problem; it's a serious fire hazard waiting to happen.
A clogged vent makes your dryer work harder and run much hotter, creating the perfect conditions for a fire. It’s just like a blocked chimney: the heat has nowhere to escape, which dramatically increases the odds of that lint igniting. If you want to dive deeper into this topic, we've put together a detailed guide on preventing a dryer lint fire hazard.
The Hidden Costs of a Clogged Vent
Beyond the very real danger of fire, a blocked vent is also a silent drain on your wallet. When hot, damp air can’t get out, your clothes take forever to dry. A cycle that should take 45 minutes might now stretch to 90 minutes or more, effectively doubling your energy use for every single load.
This inefficiency also puts a ton of stress on your dryer’s heating element and other parts, causing them to wear out faster and leading to expensive repairs. A little bit of time spent on cleaning pays you back with lower utility bills and a longer-lasting appliance.
The scale of this problem is pretty staggering. The U.S. Fire Administration reported nearly 2,900 dryer-related fires in 2021 alone, causing millions of dollars in property damage. This statistic is a big reason why both homeowners and businesses are paying more attention to preventive maintenance.
Clogged Vent Risks vs Clean Vent Benefits
It's helpful to see the risks and rewards laid out side-by-side. The contrast really highlights why this task is so important for the safety and efficiency of your home.
Area of Impact | Clogged Vent Risk | Clean Vent Benefit |
|---|---|---|
Safety | High risk of lint fire due to overheating. | Drastically reduced fire hazard. |
Appliance Health | Premature wear on heating elements and motors. | Longer dryer lifespan and fewer repairs. |
Energy Use | Longer drying times, higher electricity/gas bills. | Shorter cycles, lower energy consumption. |
Drying Performance | Damp clothes after a full cycle. | Clothes dry faster and more evenly. |
Home Health | Potential for mold growth from trapped moisture. | Prevents moisture buildup and related issues. |
Ultimately, the small effort of regular cleaning provides significant peace of mind and tangible savings, making it a clear win for any homeowner.
More Than Just a Dryer Issue
A clean vent system is also a piece of the puzzle for a healthier home environment. Taking a big-picture approach to home safety means looking at all the systems that keep your house running. For instance, beyond just this one task, it's worthwhile to learn more about [how to detox your home](https://shopesoterica.co/blog/how-to-detox-your-home/) from all sorts of potential risks and contaminants. Keeping your vents clear is a key step in making sure your home's systems are working cleanly and safely.
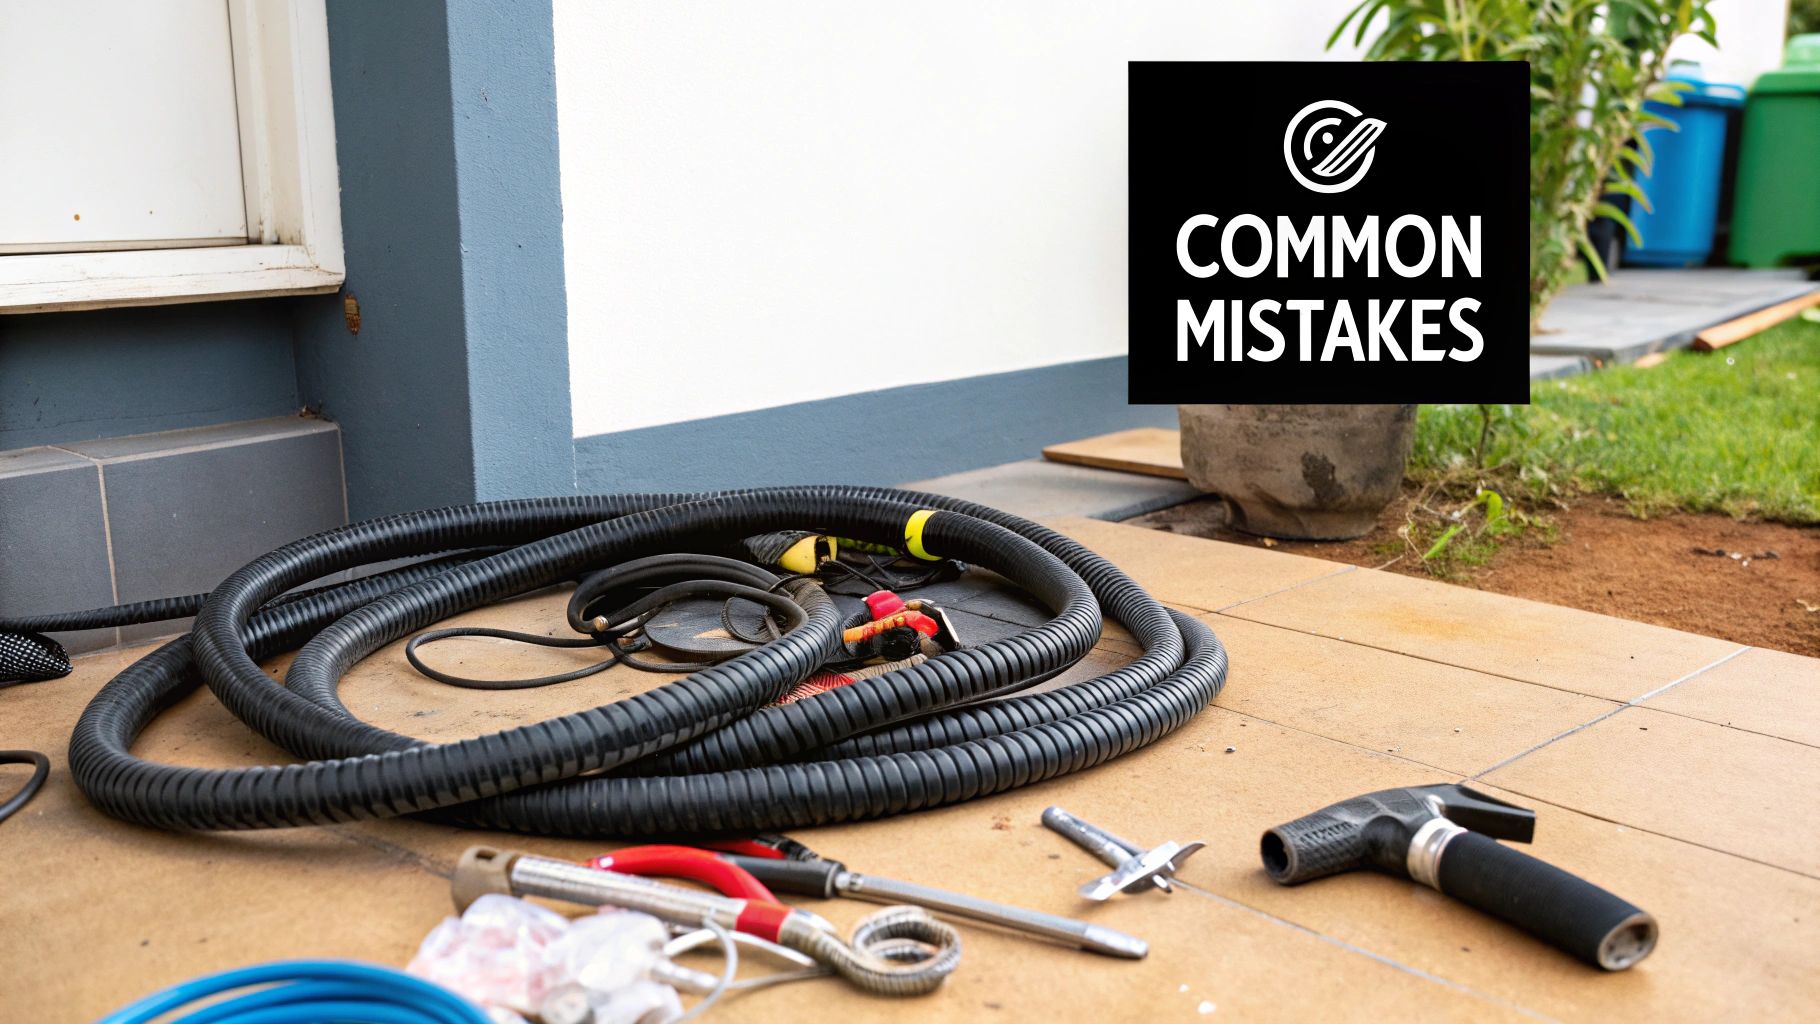
Gathering Your Essential Cleaning Tools
Before you even think about yanking your dryer away from the wall, let's talk tools. Having the right gear on hand is what separates a quick, satisfying Saturday morning project from a frustrating afternoon of half-finished work. It’s one thing to know how to clean a dryer vent, but having the proper equipment makes it a simple, straightforward task.
The absolute must-have here is a dryer vent cleaning kit. You can find these at any home improvement store. A good kit will come with flexible rods that you can screw together, letting you reach all the way through your ductwork, no matter how long it is. They also include different brush heads. The big, round one is for scrubbing the inside of the vent, while a skinnier lint trap brush is perfect for getting into that narrow slot where your filter usually sits.
One quick tip when picking a kit: think about your duct type. If you have those sturdy, rigid metal ducts, a stiff-bristled brush will work wonders. But for the flexible foil or semi-rigid kind, you'll want a brush with softer bristles so you don’t accidentally puncture or tear the material.
Essential Household and Safety Items
Beyond the specialized kit, you'll need a handful of items you probably already have lying around. Think of this as your mission prep checklist; get it all together now so you don't have to stop midway through the job.
A powerful vacuum with a hose is non-negotiable. This is what you’ll use to suck up all the lint you dislodge. A shop vac is the gold standard for this, but a strong household vacuum will get the job done.
Screwdrivers or pliers are a must. You'll need them to loosen the hose clamps that secure the vent duct to the back of your dryer and to the wall port.
A dust mask and gloves are your best friends for this task. Seriously, don't skip them. The amount of fine lint dust that comes out can be shocking, and you really don't want to breathe that stuff in.
Pro Tip: Grab a flashlight or use the one on your phone. It’s nearly impossible to see what’s going on in the dark recesses behind your dryer or deep inside the wall vent without a good light source. It'll help you spot any stubborn clogs or even damage you wouldn't have noticed otherwise.
Why the Right Tools Matter
Using the proper tools isn't just about convenience; it's about doing the job right. A purpose-built vent brush, for example, is designed to navigate the bends in your duct system without getting snagged, something a coat hanger or other DIY contraption just can't do.
Having everything ready to go builds confidence and is the first step toward reaping the many [dryer vent cleaning benefits](https://www.purifiedairductcleaning.com/post/6-key-dryer-vent-cleaning-benefits-for-your-home-in-2025), from a safer home to lower energy bills.
Once your toolkit is assembled, you're officially ready to get your hands dirty. This prep work lays the foundation for a thorough cleaning that protects your home and gets your dryer running like new again.
Your Guide to Cleaning The Dryer Vent System
Alright, with your tools laid out and safety gear on, it’s time to get down to business. This is where the real work begins: we're going to clean your dryer vent system from the inside out. We'll walk through it methodically, from disconnecting the dryer to clearing every inch of the ductwork, to make sure the job is done right and, most importantly, safely.
The first step is always safety. Unplug your dryer from the wall outlet. If you have a gas dryer, you absolutely must shut off the gas supply. You'll find a small valve on the gas line behind the dryer; turn the handle so it's perpendicular (at a 90-degree angle) to the pipe. This isn't optional, it's critical.
Once you're sure all power is off, gently pull the dryer away from the wall. Give yourself enough room to work comfortably behind it. Be careful with the gas line and any water hoses for steam models. Don't yank it or create any sharp kinks in the lines.
Detaching The Vent and Cleaning The Duct
Take a look behind the dryer and find the flexible duct connecting it to the wall vent. This is usually held on by round metal clamps. Depending on the type, you might need a screwdriver or pliers to loosen them, though some newer clamps can be squeezed by hand.
After loosening the clamps, carefully pull the duct off both the dryer's exhaust port and the wall connection. Brace yourself, you’ll probably find a good amount of lint right at these entry and exit points. Have your vacuum ready to go. Before you tackle the long duct, take a second to vacuum out the opening on the dryer itself and the vent in the wall. A ton of gunk gets trapped right there.
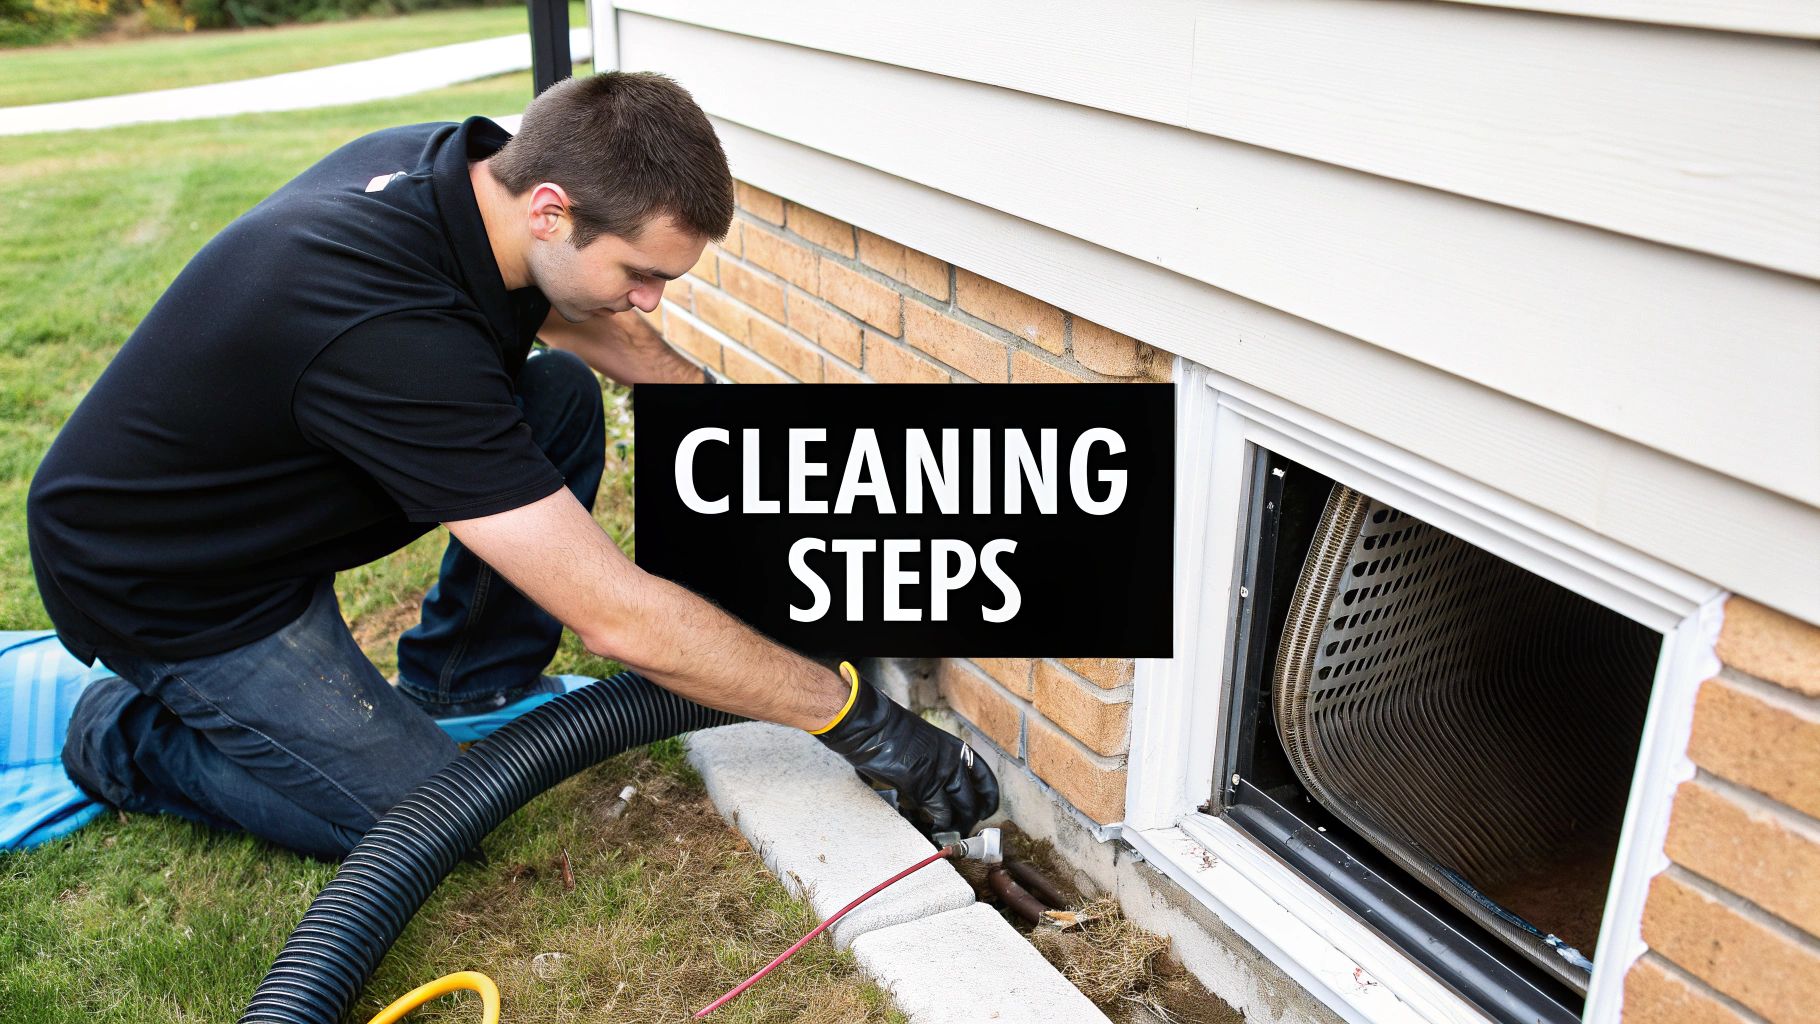
This image shows you the basic flow of the whole process, from getting set up to the final cleanup.

It’s a good reminder that this is a straightforward job: gather your tools, get access to the vent, and clear out all that built-up lint.
Now for the main part: cleaning the duct. Grab the brush head from your kit and attach it to one of the flexible rods.
Start the Brush: Gently push the brush a few feet into the duct you detached.
Rotate and Advance: If you're using a drill, connect it to the rod and run it on a low-speed, clockwise setting. If you're doing it by hand, just twist the rod clockwise as you push it deeper. That spinning motion is what breaks up compacted lint instead of just jamming it into a bigger clog down the line.
Add More Rods: As the brush moves further in, screw on more rods from your kit until you’ve reached the entire length of the duct. You'll feel the resistance change as the brush powers through thick lint deposits.
Vacuum It Out: When you pull the brush back out, keep your vacuum hose right at the opening to suck up the mountain of lint that comes with it. This is way easier with a partner, one person on the brush, one on the vacuum.
A tip from my own experience: when you hit a bend in the ductwork, slow down and keep that clockwise rotation going. If you just try to force it, the brush can get stuck or even tear a hole in a foil-style duct. A gentle, steady hand wins here.
Clearing the Exterior Vent Cap
You're not done yet. The lint has to have a clear path to the outside, so head out to find your exterior vent cap. It's usually covered with flaps (louvers) or a screen to keep birds and pests out. These covers are notorious lint traps and often create the final blockage.
Lift the flaps or remove the cover and clear out any lint you can see. The flaps should move freely. If they're caked with old, damp lint, you might need an old toothbrush and a little soapy water to really scrub them clean. A blocked exit point is just as bad as a clog deep inside the duct.
While you're at it, give the ductwork a quick inspection for wear and tear. Keep an eye out for:
Tears or holes: Even a tiny rip can leak hot, humid air (and lint) into your walls.
Crushed sections: Any flat spots in the duct will kill your airflow.
Too much length: If the duct is way too long and coiled up like a snake behind the dryer, it creates extra bends for lint to build up. Trim it down to create the shortest, straightest path possible.
If you find any serious damage, it's always better to replace the entire duct. Duct tape is just a temporary fix that will break down from the heat. Spotting these issues is a huge part of the job. If you're still not sure a clog is the source of your dryer troubles, reading up on the common [symptoms of a clogged dryer vent](https://www.purifiedairductcleaning.com/post/dryer-vent-clogged-symptoms-7-signs-to-watch-for-in-2025) can help you pinpoint the problem.
With everything clean and inspected, it's time to put it all back together. Secure the duct back onto the dryer and the wall vent, making sure the clamps are snug. Carefully push the dryer back into its spot, plug it in, and turn the gas back on. To finish, run the dryer on a short, empty cycle just to make sure air is flowing strong and everything is working as it should.
Troubleshooting Common Dryer Vent Problems
Even with the best instructions, a DIY project can hit a snag. When you’re cleaning your dryer vent, a few common problems can pop up that most guides don't cover. Knowing how to handle these real-world issues can turn a frustrating moment into a quick fix.
It's one thing to pull out some lint, but what happens when your cleaning tool gets stuck or you find a hole in the ductwork? Let's walk through how to safely and correctly handle these situations.
My Cleaning Brush Is Stuck
It’s a heart-sinking moment when you pull on the cleaning rod and it doesn’t budge. This happens more often than you'd think. The absolute first rule: don't just yank it. Forcing the brush can easily tear a flexible foil duct or, even worse, snap the rod and leave the brush head stuck in there for good.
A brush usually gets stuck for one of two reasons: it’s snagged on a sharp bend, or you stopped spinning the drill. The fix is almost always the same: keep turning the rod clockwise while gently pulling it back toward you. Never, ever turn it counter-clockwise, that’s the fastest way to unscrew the brush head from the rod.
If a clockwise spin and pull doesn't do the trick, try pushing forward an inch or two (while still rotating clockwise!) before pulling back again. This little maneuver can often help the bristles work their way past whatever corner or seam they're caught on.
I Found a Torn or Disconnected Duct
While cleaning, you might pull back the brush and discover a rip, puncture, or a section of duct that’s come completely loose. This is a serious problem. A damaged vent can leak highly flammable lint into your walls and, if you have a gas dryer, dangerous carbon monoxide into your home.
Critical Safety Note: A disconnected or torn vent is a major fire and health hazard. Lint can build up inside wall cavities, creating a hidden fire risk, while the excess moisture leads to mold. Improperly vented dryers are a huge red flag.
For small tears in rigid metal ducts, you can make a solid repair with high-temperature foil tape (the metallic kind, not regular gray duct tape). But if you have a flexible foil or vinyl duct with a big tear, your only safe move is to replace it. Those materials just can't be patched reliably. If you find your vent is emptying into a crawlspace or attic, you need to understand the dangers and correct it immediately. You can learn more about why you should avoid venting your dryer to the attic and find proper solutions.
The Vent Run Is Too Long
Most DIY dryer vent cleaning kits come with rods that give you about 20-25 feet of reach. If your vent line is longer than that or has several sharp 90-degree turns, a standard kit might not have the muscle to get the job done right.
How can you tell if your vent run is too much for your kit?
You run out of road: The most obvious sign is when you've connected all your rods and still haven't reached the outside vent cover.
The brush loses steam: The farther the brush gets from the drill, the more the rods flex and the less power gets to the end. The brush might spin weakly or not at all.
Your dryer still runs poorly: If you’ve done a full cleaning and your clothes are still damp after a cycle, the system's design itself might be the real issue.
In these cases, trying to force a DIY kit is a bad idea. It's a clear signal that your home needs a professional service with commercial-grade equipment built to handle long, complicated vent systems.
Creating A Routine for Dryer Maintenance
A one-time deep clean is fantastic, but true home safety really comes from consistency. Learning how to clean your dryer vents is only half the battle; the real win is building a simple, sustainable maintenance routine that protects your home and appliance from long-term risks.
Think of it as preventative care for one of your hardest-working machines.
The goal is to work these small tasks into your normal household chores so they just become second nature. This proactive approach stops serious problems before they ever get a chance to start.
Your Practical Maintenance Schedule
Putting a schedule in place removes all the guesswork. Of course, your routine might look a little different depending on your family's size and laundry habits, but this is a solid starting point for most households.
For property owners, folding dryer vent cleaning into a broader plan, like [an ultimate rental property maintenance checklist](https://coastandvalleypm.com/rental-property-maintenance-checklist/), is a smart move to ensure property care and tenant safety.
After Every Single Load: This one is non-negotiable. Clean out the lint filter. It takes about five seconds and is the single most effective thing you can do for airflow and efficiency.
Once a Month: It's time to give the lint filter itself a deeper clean. Over time, dryer sheets and fabric softeners can leave a waxy film on the mesh screen, which blocks airflow even when the filter looks clean. Just scrub it with a soft brush, warm water, and a bit of dish soap, then rinse it and let it dry completely.
Every 6-12 Months: This is when you'll perform a full vent inspection and cleaning. This involves the complete process, disconnecting the dryer and cleaning out the entire duct run. If you have a large family, pets, or just do a ton of laundry, you might need to do this every six months. For a more detailed look at figuring out the right frequency for your home, check out our guide on how often you should clean your dryer vent.
Pro Tip: Learn to spot the early warning signs of a clog before it becomes a major headache. If you notice your clothes are taking longer to dry or the top of the dryer feels unusually hot after a cycle, it's time for an inspection, even if it's ahead of your schedule.
This focus on preventative care has become even more critical as appliances get more advanced. With the rise of energy-efficient dryers, proper vent maintenance is more important than ever. Even a small clog can cause energy consumption to spike and wipe out any savings. More and more, consumers are adopting these strategies to sidestep costly repairs and appliance downtime.
Knowing When To Call A Professional
Even with the right tools and a can-do attitude, some dryer vent jobs are best left to the pros. Being a savvy homeowner means knowing your limits. Recognizing when a simple DIY cleaning won't cut it is crucial for your home's safety and your dryer's longevity.
You might go through all the steps, clean everything you can reach, and still find your clothes are damp after a full cycle. Or maybe the top of the dryer is still getting dangerously hot. If you've given it your best shot and the problem isn't solved, that’s a major sign that the issue is deeper inside the system. Don't get stuck in a loop of cleaning it over and over; it’s time to call in an expert.
Red Flags That Signal You Need an Expert
Some situations are immediate red flags, signaling that a professional cleaning isn't just a good idea, it's the only safe choice. These are typically issues where standard DIY kits just can't reach or handle the complexity of the clog.
Excessively Long Vent Runs: If your dryer vent duct stretches beyond 35 feet, the brush kits you find at the hardware store just won't have the reach or the power to clean the entire length effectively. Professionals come equipped with high-powered vacuum systems and longer, more robust tools built for the job.
Numerous Sharp Turns: A duct system with several 90-degree bends is a magnet for lint buildup. These sharp turns create bottlenecks where lint gets packed down hard over time, and a pro’s flexible, powerful equipment is designed to navigate these tight corners without causing damage.
Evidence of Pests: Finding animal droppings, bits of nesting material, or a chewed-up vent cap on the outside of your house is a sure sign you've had some unwelcome visitors. A professional can do more than just clear the nest; they can safely handle the biohazard and help you figure out how the critters got in.
A professional service provides a level of cleaning you just can't replicate with DIY tools. They often use specialized gear like spinning brushes and even tiny cameras to inspect the entire vent line. This ensures every last bit of lint is gone and helps them spot hidden damage, like cracks or disconnects, that you’d never see otherwise.
The Value of Professional Expertise
There's a reason the professional dryer vent cleaning market is growing. In 2021, it was valued at approximately USD 430 million, with North America leading the way. This trend isn't just about convenience; it shows that more and more homeowners are recognizing the real safety and efficiency benefits of a professional job.
Ultimately, knowing your limits is a key part of responsible homeownership. This applies to all of your home's essential systems, not just your dryer. Understanding when to call for emergency home appliance service can prevent a small issue from turning into a costly or dangerous disaster.
If you’re dealing with a complicated vent system, or if your own cleaning efforts just aren't cutting it, put your trust in the certified technicians at Purified Air Duct Cleaning. We have the professional-grade equipment and deep expertise to tackle any job, ensuring your dryer runs both safely and at peak efficiency.