How to Clean HVAC Coils for Peak System Performance
- Aug 4, 2025
- 14 min read
Updated: Aug 11, 2025
Giving your HVAC coils a good cleaning is more than just a chore; it’s one of the single most effective things you can do to boost system efficiency and, you guessed it, lower your energy bills. It involves safely shutting off the power, getting to both the indoor and outdoor coils, using the right cleaner, and giving them a gentle rinse.
Why Clean HVAC Coils Are Not Optional
Let's be blunt: ignoring your HVAC coils is like trying to run a marathon with weights strapped to your ankles. Your system is forced to work much harder for far worse results. Over time, both your indoor evaporator coils and outdoor condenser coils get caked in a nasty mix of dust, pollen, grease, and general grime.
This buildup acts like an insulating blanket, making it incredibly difficult for the coils to do their job of transferring heat. What happens next? Your AC or furnace has to run longer and more often to get your home to the temperature on the thermostat. That’s when you see the spike in your energy bills. In fact, dirty coils can inflate your energy consumption by a shocking 30% if you let them go for too long.
The True Cost of Dirty Coils
It’s not just about the hit to your wallet each month. All that extra strain from running constantly puts a ton of premature wear and tear on your system's most critical parts. I’m talking about the compressor, which is one of the most expensive components to replace. A clean system is a happy system, and it simply lasts longer.
But there's another hidden danger. Your indoor evaporator coils are a key player in your home’s air quality. When these coils are dirty and constantly damp, they become the perfect breeding ground for mold and bacteria. Your HVAC system then happily blows these contaminants all over your house, which can be a nightmare for anyone with allergies or respiratory issues.
A clean HVAC coil is more than just a maintenance checkbox; it's a direct investment in your home's energy efficiency, your family's health, and the longevity of your most expensive home appliance.
To get started, you'll need to know which set of coils you're looking at. Here's a quick rundown.
Evaporator vs. Condenser Coils: A Quick Comparison
It's easy to get confused between the two types of coils in your HVAC system. They have different jobs, live in different places, and get dirty in different ways. This table breaks down the key differences to help you identify them and understand their unique cleaning needs.
Coil Type | Location | Function | Common Contaminants |
|---|---|---|---|
Evaporator Coil | Inside, with the air handler or furnace | Absorbs heat from indoor air (cools the air) | Dust, pet dander, mold, bacteria |
Condenser Coil | Outside, in the outdoor unit | Releases collected heat into the outside air | Dirt, grass clippings, leaves, cottonwood fluff |
Knowing which is which is the first step toward cleaning them effectively and keeping your system in top shape.
Benefits of Regular Coil Cleaning
Once you make coil cleaning a regular part of your home maintenance, you'll see some pretty significant advantages that go way beyond just ticking a box. Think of it less as a chore and more as a smart strategy for homeownership. And if you're looking for more ways to cut costs, our guide on how to improve HVAC efficiency has some great tips.
Here’s what you gain:
Lower Energy Bills: A clean system doesn’t have to work as hard, which directly translates to lower monthly utility costs. It’s that simple.
Improved Air Quality: Getting rid of the gunk and potential mold on the evaporator coil means you're breathing cleaner, healthier air inside your home.
Extended HVAC Lifespan: Less strain on components means fewer breakdowns and a longer operational life for your entire unit. You’re putting off a very expensive replacement.
Better Cooling Performance: With clean coils, heat transfer is a breeze. Your home will cool down faster and feel more comfortable, especially on those sweltering hot days.
Gathering Your Tools for a Safe Cleaning
Before you even think about touching your HVAC coils, let's talk about getting prepared. I’ve seen enough DIY jobs go wrong to know that jumping in without the right gear and safety checks is a quick way to damage your unit or, even worse, get hurt. A little prep work goes a long way.
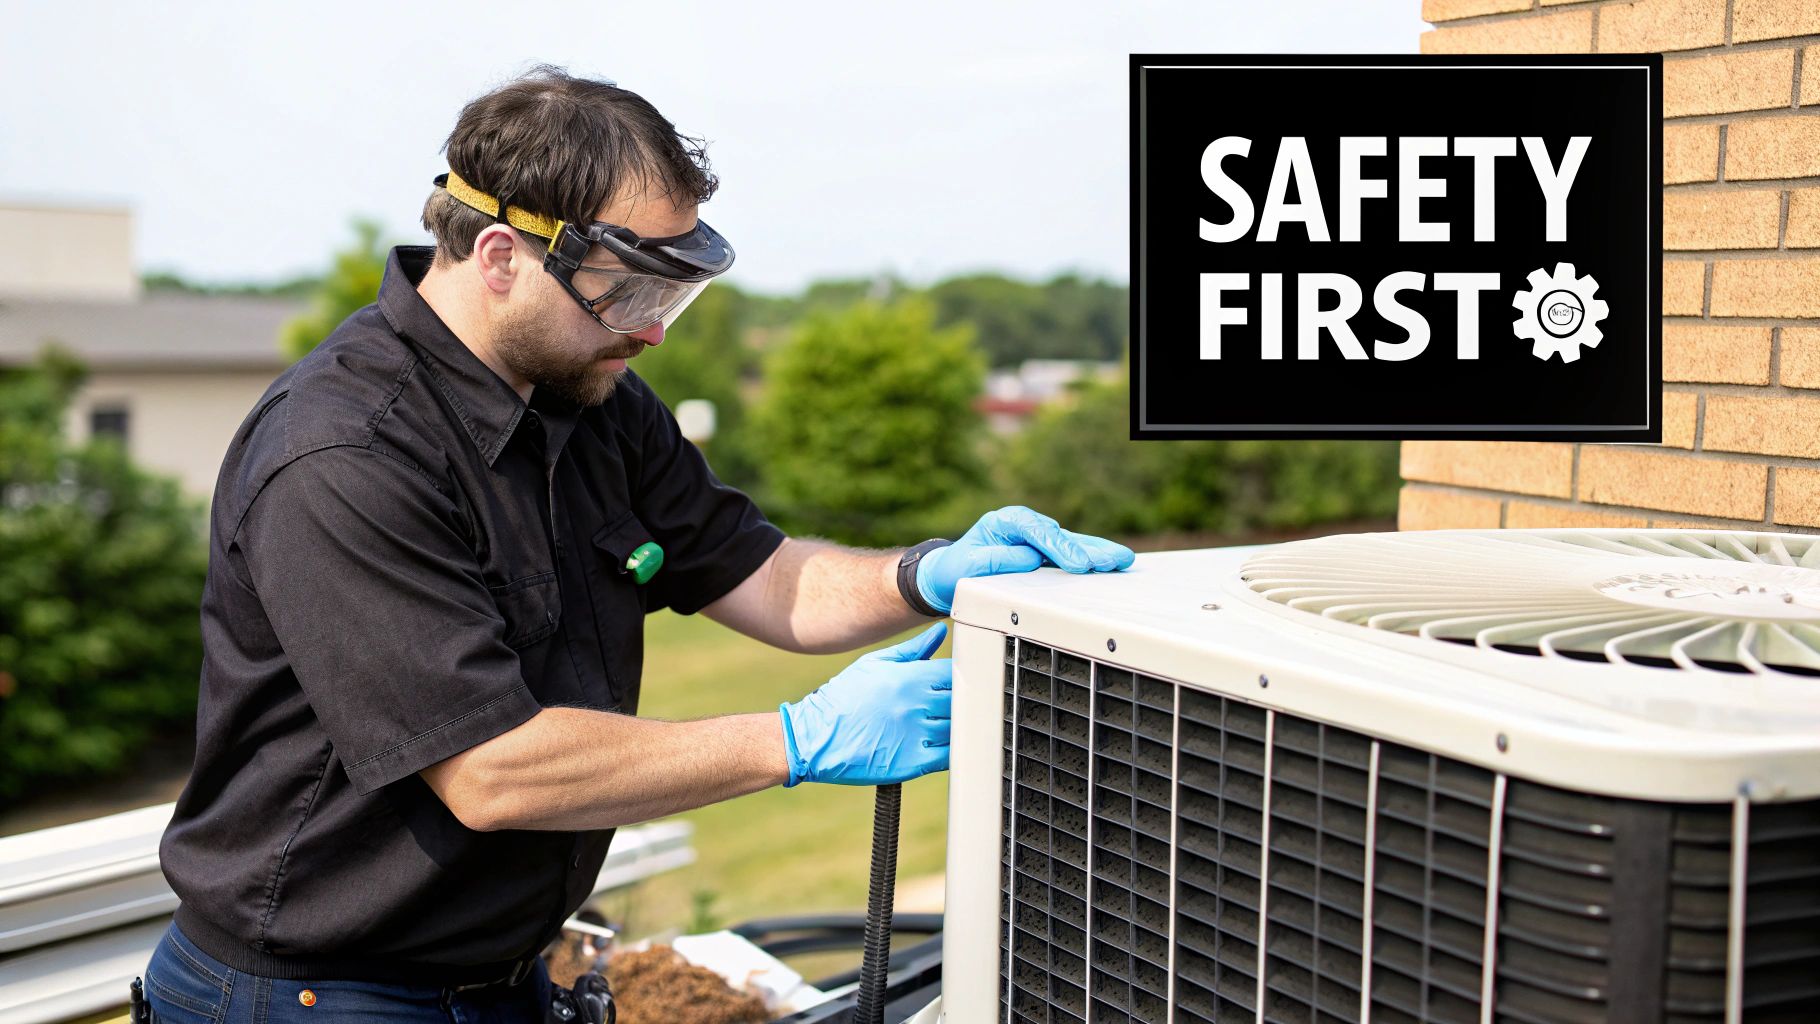
First things first, and I can't stress this enough: safety is not negotiable. You absolutely must cut all power to your HVAC unit. This isn’t a one-step process. First, find your thermostat and turn the system off there. Then, head to your home's circuit breaker panel and flip the specific breaker for your HVAC system to the "off" position. This dual shut-off is your guarantee against electrical shock.
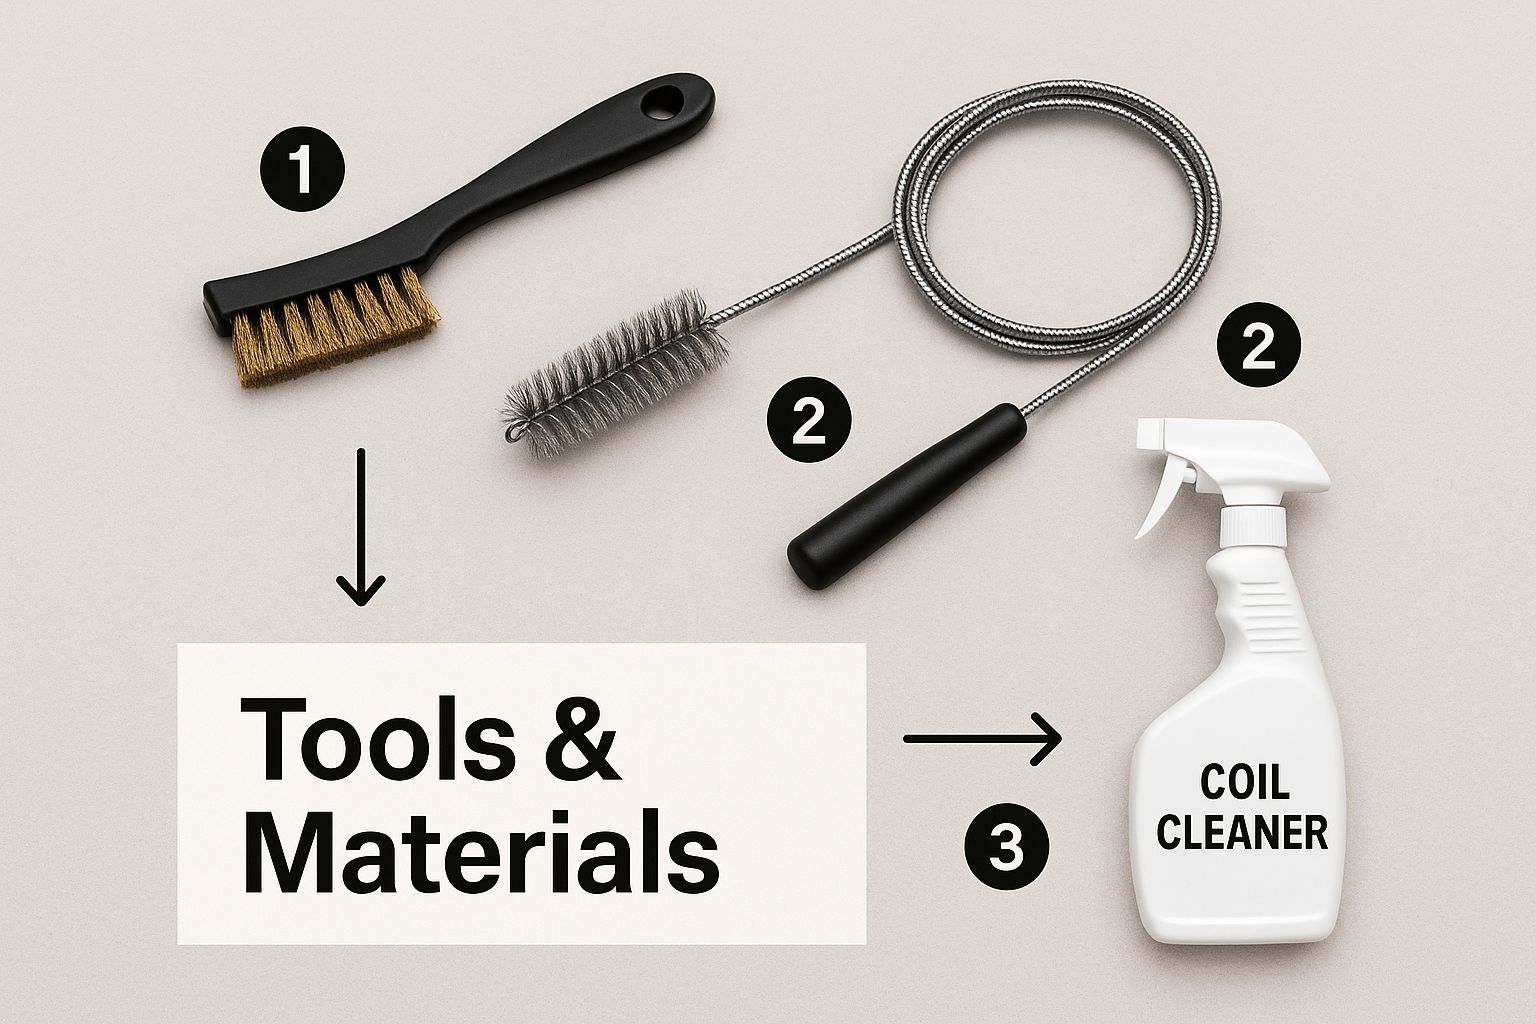
Your Essential Toolkit
With the power confirmed off, it's time to gather your supplies. Trust me, having everything within arm's reach before you start makes the whole process smoother and faster. You don't need a truck full of professional equipment, but a few key items are non-negotiable.
Here’s what you'll want to have ready:
Protective Gear: At a minimum, you need safety glasses and waterproof gloves. Those aluminum fins on the coils are paper-thin and surprisingly sharp, and coil cleaner is a chemical you don't want on your skin or in your eyes.
Soft-Bristled Brush: Find a brush with soft bristles. It’s perfect for gently knocking off the easy stuff: loose grass, leaves, cottonwood fluff, and pet hair, without bending those delicate fins.
Garden Hose with Spray Nozzle: For the outdoor condenser coil, a simple garden hose is your best friend. The key is a nozzle that gives you a gentle, wide spray, not a concentrated, high-pressure jet.
The Right Coil Cleaner: This is where you need to be selective. You're looking for a specialized coil cleaning solution, not just any all-purpose cleaner from under the sink.
Screwdriver or Nut Driver: You'll need the right tool to remove the access panels on both your indoor and outdoor units. Check the screw heads before you start so you're not running back to the garage mid-project.
A word of caution: Never, ever use a pressure washer on your HVAC coils. The force is way too intense and will flatten the fins like a pancake. This chokes off airflow, kills your system's efficiency, and can cause permanent damage that requires expensive repairs.
Choosing the Correct Coil Cleaner
When you're at the hardware store, you'll likely see a couple of different types of coil cleaners. Picking the right one is a huge part of learning how to clean HVAC coils safely and effectively.
The two main players are foaming, no-rinse cleaners and self-rinsing, solvent-based cleaners. For your indoor evaporator coils, the foaming, no-rinse products are fantastic. They expand into all the nooks and crannies to lift dirt, which then liquefies and drains away through the condensate line. For the tougher, baked-on grime on your outdoor condenser coils, a self-rinsing cleaner usually has more muscle, but you must rinse it off completely with your hose.
Always read the product label to confirm it's safe for both aluminum and copper components. A system that's regularly cared for is always easier to clean. To get on the right track, check out our guide on setting up a routine HVAC maintenance schedule.
A Practical Guide to Cleaning Outdoor Condenser Coils
Your outdoor condenser unit is the unsung hero of your HVAC system, but it takes a beating from the elements day in and day out. It's constantly getting bombarded with leaves, grass clippings, dust, and that dreaded cottonwood fluff. When those coils get caked in grime, they can't release heat properly. This forces your entire system to work overtime, which you'll definitely see on your next energy bill.
Let's walk through the real-world process of cleaning these exterior coils. But first, a critical safety reminder: always, always shut off the power to your unit at the main circuit breaker before you start. No exceptions.
Clearing Debris and Brushing the Fins
Before you reach for any cleaners or even the hose, the first job is a manual cleanup. For your unit to breathe properly, it needs at least two feet of clear space all around it.
Start by trimming back any bushes, weeds, or low-hanging branches that are crowding the unit.
Sweep away all the loose leaves, grass, and other yard waste that has collected at the base.
Next, you'll need to remove the protective top grille or fan cage. Be gentle here and watch out for any attached wires; you don't want to yank anything loose.
With the area clear, grab a soft-bristled brush. The key here is to brush the coil fins with only vertical strokes, following the direction of the fins themselves. If you brush side-to-side, you'll bend those delicate aluminum fins, which is a surefire way to restrict airflow and reduce your system's efficiency.
Applying a Commercial Coil Cleaner
Now that the surface-level gunk is gone, it's time to tackle the stubborn, embedded grime. This is where a good commercial coil cleaner proves its worth. For an outdoor condenser, I recommend a foaming or self-rinsing cleaner specifically formulated for the job.
Always follow the directions on the can. You'll want to spray the cleaner generously over the coil fins, making sure you get complete, even coverage from top to bottom. You'll see the foam start to expand and bubble; that's it working its magic, penetrating deep between the fins to dissolve all that caked-on filth. Let it sit and do its thing for the recommended time, usually about 5-10 minutes.
This handy infographic breaks down the tools and materials you'll want to have on hand.
Rinsing the Coils Safely
Once the cleaner has had time to work, the next step is a thorough rinse. Grab your garden hose and set the spray nozzle to a gentle, wide stream.
A critical pro tip: Always spray the water from the inside of the unit out. This is the most effective way to flush all the dirt, debris, and cleaning solution away from the unit, rather than pushing it deeper into the fins.
Keep the water pressure low. Whatever you do, never use a pressure washer on your coils. The intense jet will instantly flatten the fins, causing damage that's pretty much impossible to fix. Keep rinsing until the water running off the coils is perfectly clear.
After a final check, you can reassemble the unit, switch the power back on, and enjoy the benefits of a cleaner, more efficient air conditioner. If you want to take a deeper dive, you can learn more about the importance of professional HVAC coil cleaning in our comprehensive article.
A Careful Approach to Cleaning Indoor Evaporator Coils
Alright, let's move inside. Cleaning the indoor evaporator coil is a whole different ballgame than cleaning the outdoor unit. This part of your system is ground zero for your home's air quality, so getting this right is crucial. You can't just spray it down with a garden hose like the condenser coil, which makes your choice of cleaner and your technique incredibly important.
First things first, you have to find the coil. It's almost always tucked away inside the main indoor air handler. Depending on your home's layout, this could be in the attic, a utility closet, or down in the basement. Once you've located the unit, you'll need to pop off the access panel to get a look at the A-shaped or slab-style coil inside.
Inspecting the Coil and Condensate Pan
With the panel removed, take a moment to give everything a good look. A light, dusty coating is pretty normal. What you really need to keep an eye out for are more serious red flags, like a thick, fuzzy buildup or any dark, spotty patches that scream mildew.
The sight of mold or mildew on your evaporator coil should never be taken lightly. Every time your HVAC system kicks on, it can blast those contaminants throughout your entire home, which is terrible news for anyone with allergies or respiratory issues.
If you see anything that looks like mold, it’s best to pump the brakes and call in a professional. It's just not worth the risk. For a deeper dive, check out our guide on air duct cleaning and mold removal, which covers how to tackle these problems the right way. While you're in there, glance down at the condensate drain pan sitting right below the coil. Make sure it's clean and the drain line isn't clogged, because a backup here can cause some serious water damage.
Using a No-Rinse Foaming Cleaner
For cleaning indoor coils, a no-rinse foaming coil cleaner is your best friend. These products are engineered specifically for this job. They’re strong enough to dissolve all the gunk but are formulated to be used indoors without needing a single drop of water for rinsing.
Here’s how to apply it correctly:
Spray Generously: Coat the entire surface of the coil with the foaming cleaner. I always recommend starting at the top and working your way down to ensure even coverage.
Get Full Coverage: The idea is to have the foam completely swallow the coil, sinking deep between all those delicate aluminum fins. Don't be timid here; any spot you miss is a spot that stays dirty.
Let the Foam Do Its Magic: Now, just let it sit. The product label will tell you how long, but it's usually about 10-15 minutes. You'll actually see the foam expand and then slowly start to melt back into a liquid as it pulls all the dirt and grime off the fins.
This chemical reaction is what makes the process so clean and effective. The foam lifts the dirt, and as it liquefies, it drips neatly into the condensate pan below. From there, it just washes away through the condensate line, taking all that filth with it. It’s an incredibly effective method, so much so that the commercial HVAC coil cleaning market was valued at a staggering USD 1.2 billion and is expected to hit USD 2.5 billion by 2033. The U.S. Department of Energy even points out that keeping your coils clean can improve system efficiency by up to 20%, a huge win for any property owner's utility bills. You can find more details on these market trends and efficiency gains.
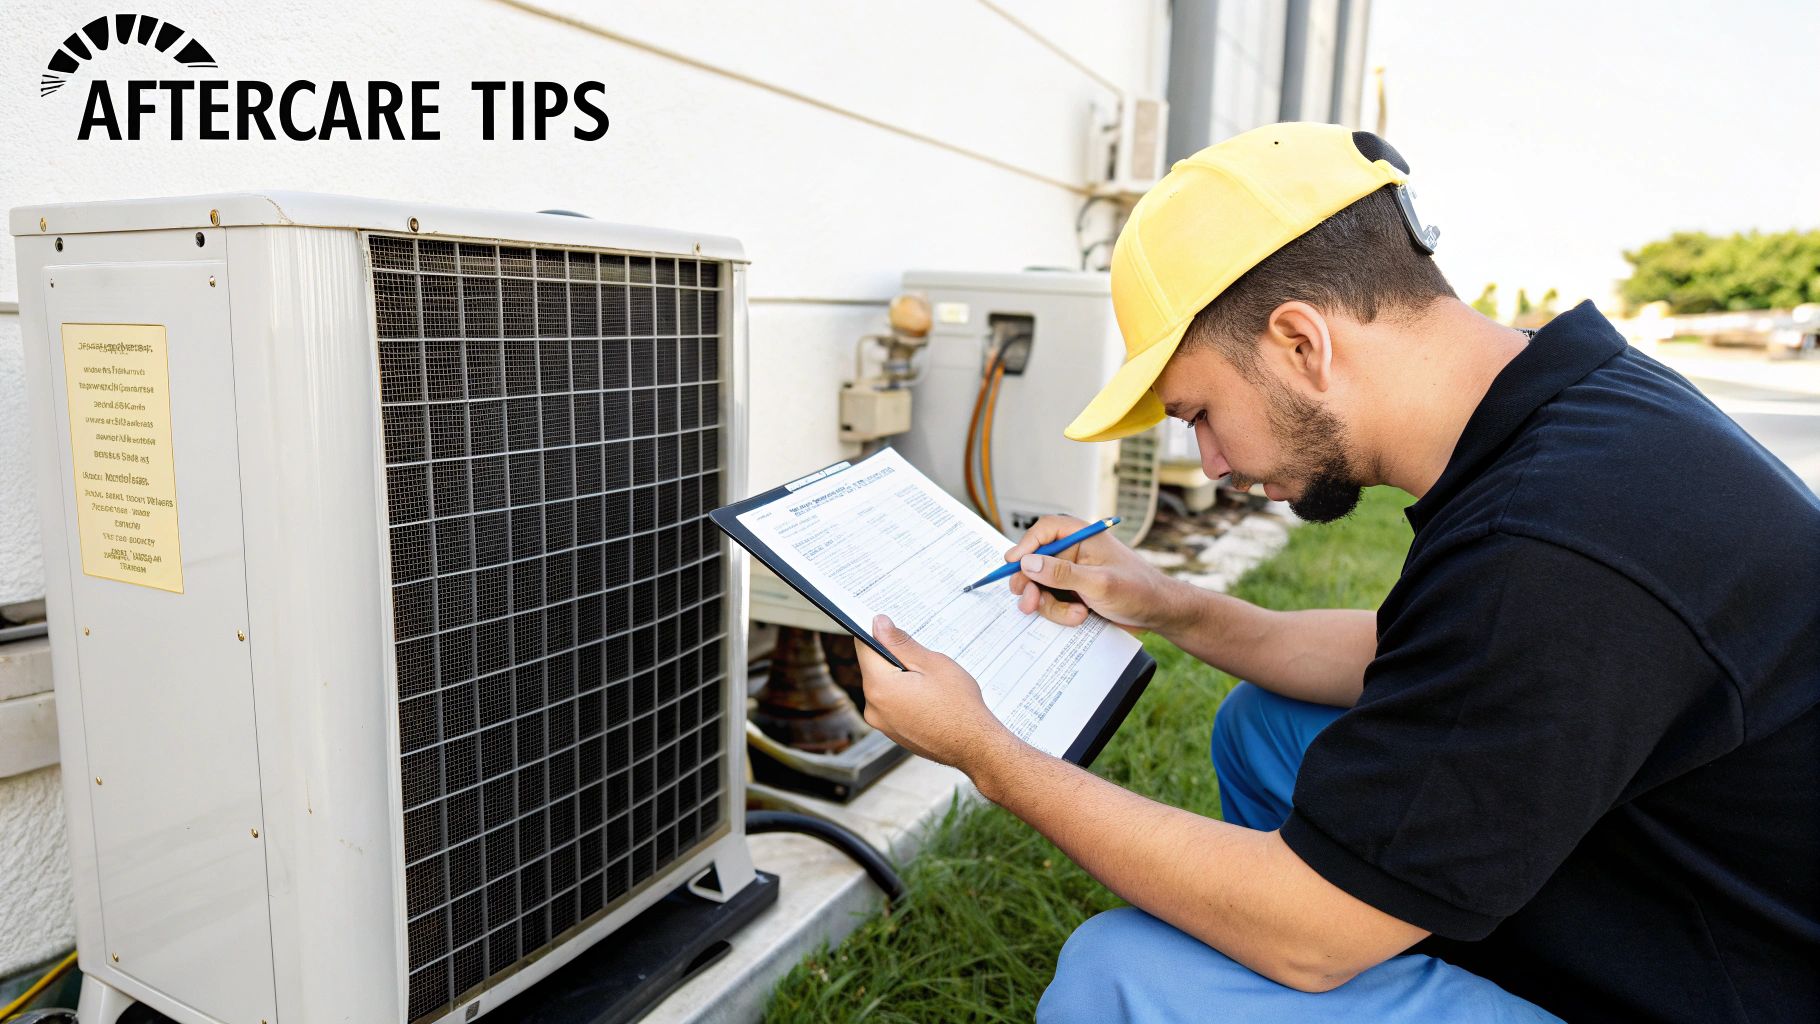
Recognizing When to Call an HVAC Professional
While getting your hands dirty with some routine coil cleaning is a great way to keep your system in good shape, it’s just as important to know when to put the tools down. Sometimes, what looks like a simple cleaning job is actually a red flag for a bigger, more complex problem. Pushing ahead with a DIY fix in these situations can easily damage your system or even pose a health risk. Part of learning how to clean HVAC coils is knowing when to step back and call in a pro.
Not all dirt and grime are the same. If you pop open your unit and find the coils are heavily impacted, meaning a thick, matted blanket of gunk that your brush and spray cleaner won't even dent, it’s time to call a technician. They have access to professional-grade tools and techniques, like controlled-pressure washing or steam cleaning, that can cut through years of buildup without bending those delicate coil fins.
Beyond a Simple Cleaning Job
The condition of your coils can tell a story. Sometimes, that story is about more than just accumulated dust. Being able to spot the warning signs of an underlying issue is crucial for stopping a minor headache from turning into a major, expensive breakdown.
Here are a few specific things I’ve seen in the field that tell me it’s time to get a professional involved:
Significant Mold Growth: If you spot widespread mold or mildew on the indoor evaporator coil, this is way beyond a DIY spray-and-wipe job. Professionals are equipped with the right containment gear and antimicrobial treatments to completely kill the mold and, more importantly, prevent its spores from spreading throughout your home's air. This is a huge factor in maintaining healthy indoor air, which we dive into in our homeowner's guide to air duct cleaning services.
Signs of a Refrigerant Leak: See an oily or greasy film on the coils? That’s a classic sign of a refrigerant leak. No amount of cleaning will fix that, and only a licensed technician is legally allowed and qualified to handle refrigerant.
Ice Buildup: A frozen coil can absolutely be caused by dirt blocking airflow. However, it can also point to low refrigerant or a more serious airflow problem somewhere else in your system. A pro can diagnose the true cause.
Severely Bent Fins: If a big section of your coil fins looks like it’s been flattened, an expert can use a special tool called a fin comb to carefully straighten them out. This is a delicate process, but it’s essential for restoring proper airflow.
Calling a professional isn't giving up; it's making a smart move to protect your investment. A technician won't just give your system a deeper, safer clean, but they’ll also diagnose and fix the root cause of the problem, saving you trouble down the road.
There's a reason the demand for professional HVAC services is booming. The global commercial HVAC coil cleaning market was recently valued at $670.2 million, and North America makes up a huge 28.5% of that. This isn't just a number; it shows a real trend toward homeowners and businesses recognizing the value of professional, preventative care. You can read more about the industry's growth and get more details about these commercial HVAC market findings.
Your HVAC Coil Cleaning Questions Answered
Even with a detailed guide, it's natural to have a few questions before you roll up your sleeves and tackle a new project. When it comes to cleaning your HVAC coils, getting the right answers can be the difference between a job well done and an expensive call to a technician. Let's walk through some of the most common questions we hear from homeowners.
The big one is always about timing. How often do I really need to do this? For most homes, a thorough cleaning once a year is the sweet spot. A good time to schedule it is in the spring, right before you start relying on your AC to get you through the summer heat.
However, "average" doesn't describe every home. Your local environment and lifestyle can mean your system needs a little more attention.
When to Clean Coils More Often
If any of these sound familiar, you'll want to bump your cleaning schedule up to twice a year, usually in the spring and fall:
You're a pet owner: We love our furry friends, but their hair and dander are magnets for your indoor evaporator coils, creating a fuzzy blanket that chokes airflow.
You live near new construction or a dusty area: All that airborne dirt and debris loves to settle on your outdoor condenser coils, seriously hurting their ability to release heat.
You have cottonwood trees: Those fluffy white seeds look innocent, but they can quickly wrap your outdoor unit in a thick, insulating layer that forces it to work overtime.
Your system runs constantly: Commercial buildings or homes in brutally hot climates like ours in Phoenix put a heavy load on the AC. For these, quarterly checks and cleanings are a smart move.
Another common question is about the cleaner itself. People often ask if they can just use something they already have under the sink.
Please, do not use bleach, dish soap, or any other household cleaners on your coils. These products are not formulated for the soft aluminum fins and copper tubing of your system. They can trigger a corrosive chemical reaction, leading to costly refrigerant leaks and permanent damage.
Your best bet is to always use a product made specifically for HVAC coils. It’s formulated to cut through the specific type of grime that builds up on these parts without eating away at the delicate metal.
Understanding Different Coil Cleaners
Walking down the aisle, you'll see a few different types, and it can be confusing. The main two you'll encounter are "no-rinse" and "self-rinsing" cleaners.
A no-rinse cleaner is typically a foaming product designed for your indoor evaporator coils. You spray it on, and the foam expands, pushing dirt out. As it condenses, the grime simply drips down and washes away through the condensate line; no water needed.
A self-rinsing cleaner is a stronger solvent meant for the tougher job on your outdoor condenser coils. This one absolutely must be rinsed off completely with a garden hose after it’s had a few minutes to work. You should never, ever use this type of powerful cleaner indoors.
So, what’s the worst that can happen if you just decide to skip it? It’s more than just a little dust. Neglecting your coils starts a chain reaction of problems. Your energy bills will slowly climb as the system struggles to cool your home. This puts a huge strain on the most expensive part, the compressor, risking a premature and costly failure.
Worse yet, dirty indoor coils in a dark, damp environment are the perfect breeding ground for mold and bacteria, which then get blown directly into the air you breathe.
For a truly deep, professional clean that restores your system to peak condition and protects your indoor air, trust the certified experts at Purified Air Duct Cleaning. We offer comprehensive coil cleaning services across the Phoenix area. Get your free quote today by visiting us at https://www.purifiedairductcleaning.com.