Your Guide to a Home Air Quality Test
- Jul 14, 2025
- 13 min read
You like to think of your home as a sanctuary, a safe space for your family. But what if the air inside is harboring invisible threats? A home air quality test is your first real step toward uncovering the hidden pollutants that can impact your family's health, often coming from everyday things like cleaning products, furniture, and even your stove.
Why Your Indoor Air Quality Is a Silent Health Risk
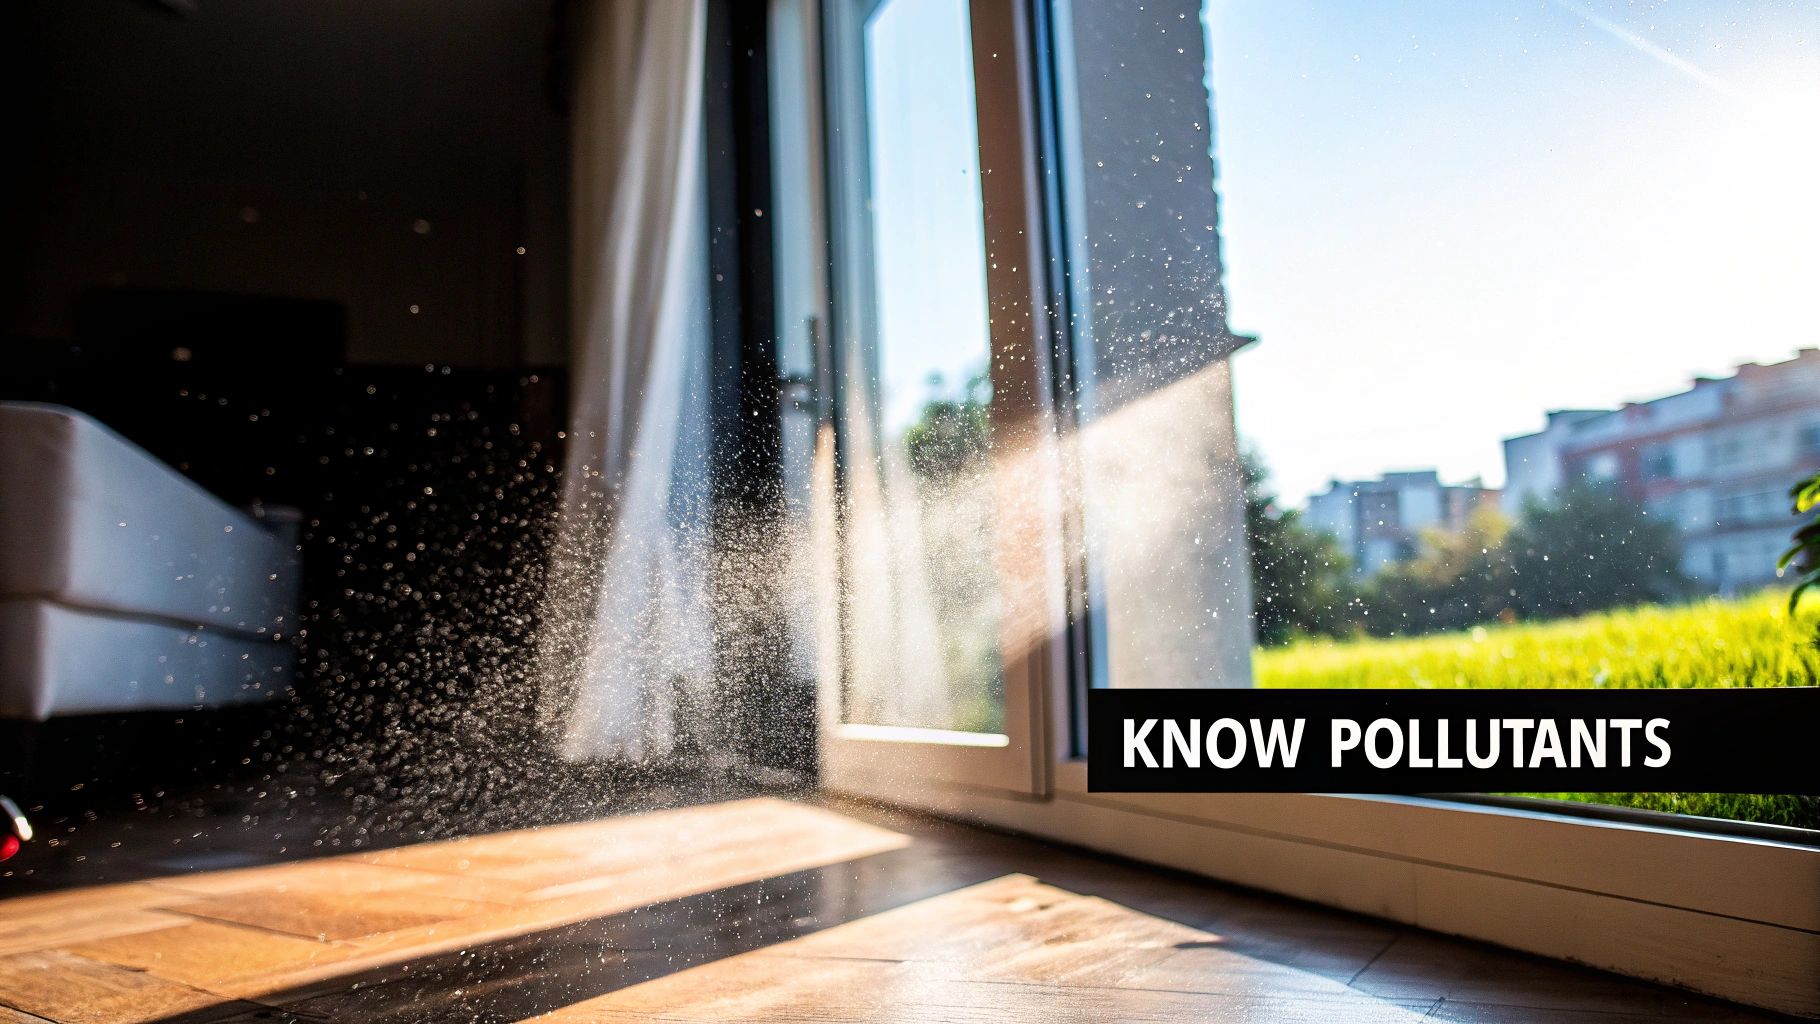
It’s easy to feel safe at home. We tend to think of pollution as something outside; smog, traffic, industrial fumes. The surprising truth is that your indoor environment can be far more contaminated. This is a huge deal, especially when you consider that most Americans spend about 90% of their time indoors.
Here's a startling fact: indoor air can be two to five times more polluted than the air outside. In some homes, that number is drastically higher. This constant exposure seriously elevates the health risks for respiratory conditions like asthma and chronic obstructive pulmonary disease (COPD). With millions in the U.S. affected by COPD, the quality of the air we breathe at home isn't just a comfort issue; it's a critical health concern. You can dig into more data on the indoor air pollution market from sources like Precedence Research.
The Connection Between Daily Life and Air Pollutants
Many of the worst offenders for indoor air pollution are products we use without a second thought. From the aerosol sprays in your bathroom to the non-stick pans in your kitchen, our daily routines can release a cocktail of chemicals into the air we breathe. If you've been feeling "off" at home, it might be more than just stress. We've actually put together a guide on how to tell if your home or business has poor indoor air quality.
Constant fatigue, nagging headaches, or allergy symptoms that flare up the moment you walk inside are often the first clues. Don't dismiss these as minor annoyances; they're your body's way of sending up a warning flare.
A home air quality test takes you beyond the guesswork. Instead of wondering, you get solid data on what you and your family are actually breathing in. It all starts with understanding where these contaminants come from.
Common Indoor Pollutants and Their Sources
Let's take a quick look at the most common airborne contaminants we find in homes and where they typically originate.
Pollutant Type | Common Sources | Potential Health Effect |
|---|---|---|
Volatile Organic Compounds (VOCs) | Paints, new furniture, cleaning products, air fresheners | Headaches, dizziness, eye and throat irritation, organ damage |
Mold Spores | Damp areas, leaky pipes, basements, bathrooms | Allergic reactions, asthma attacks, respiratory infections |
Particulate Matter (PM2.5) | Cooking, burning candles, fireplaces, smoking | Lung irritation, cardiovascular issues, worsened asthma |
Carbon Monoxide (CO) | Malfunctioning furnaces, gas stoves, water heaters | Fatigue, confusion, nausea, and can be fatal at high levels |
Seeing the sources laid out like this makes it clear how easily our homes can become polluted. The good news is that once you identify the problem, you can take targeted steps to fix it.
Choosing Your Testing Method: DIY vs. Professional
So, you're ready to run a home air quality test. This brings you to a critical decision: do you grab a do-it-yourself (DIY) kit from the store, or do you call in a professional? This isn't just about what it costs. It's about matching the right tool to your specific situation to get information you can actually use. The best choice really hinges on your goals, any symptoms you're noticing, and just how deep you need to dig.
Think of it this way: a DIY test kit is a fantastic starting point if you're just curious or want a general baseline. Maybe you just moved into a new house and want a quick snapshot of the air, or you have a hunch about a specific pollutant like radon. In these cases, a DIY kit is an affordable, accessible way to get some initial data without a huge upfront investment.
But the game changes completely when persistent health issues enter the picture. If your family is dealing with mysterious allergies, constant headaches, or asthma that seems to magically get better whenever you're away from home, a simple DIY kit probably won't cut it. This is exactly when professional testing becomes worth its weight in gold.
The DIY Approach: Strengths and Limitations
DIY test kits are all about convenience. They're built to be simple, usually focusing on a handful of common pollutants. They give you a "snapshot" of what your air quality looks like at one specific moment, which can be incredibly useful for spotting a major, obvious problem fast.
Best For: Getting a baseline reading in a new home, checking for a specific concern you already know about (like radon), or just satisfying your general curiosity about the air you breathe every day.
Limitations: The biggest drawback is that most kits only test for a very narrow range of pollutants. Their accuracy also depends heavily on you following the instructions to the letter. Plus, a single test can easily miss issues that come and go, like VOCs that only spike when you use certain cleaning products.
When to Call in the Professionals
A professional home air quality test is less of a snapshot and more of a full-blown investigation. Certified technicians show up with calibrated, lab-grade equipment. They measure a huge spectrum of pollutants, often giving you real-time data and a detailed report that explains everything.
When your goal is to diagnose a specific, ongoing health concern, professional testing is the definitive path forward. It moves beyond a simple pass/fail result to give you a comprehensive analysis of your home's air, identifying specific chemical compounds and microbial threats that basic kits can't detect.
This is where the pros really shine; uncovering complex issues. They can tell the difference between various types of mold spores, identify the specific volatile organic compounds (VOCs) off-gassing from your new couch, and even trace pollutants back to their source. That level of detail is what you need to build a real plan to fix the problem. If you suspect a serious issue, investing in a professional assessment gives you the clear, actionable data you need to protect your family's health and get your peace of mind back.
How to Use a DIY Home Air Quality Test Kit
Alright, you've decided to take matters into your own hands with a DIY home air quality test. That’s a smart first step for getting a baseline on what's floating around in your air. But here's the thing I've seen countless times: getting reliable data isn't as simple as just opening a box and leaving a petri dish on the counter. The way you conduct the test is just as important as the kit itself.
Let's go through the process like a pro would. We'll focus on the little details that can make or break the accuracy of your results, ensuring you get data you can actually trust and act on.
Prepping the Room for an Accurate Sample
First things first, you need to create a controlled environment. The whole point is to test the air you normally breathe, not the air that just blew in from outside. Before you even think about opening the test kit, you must close all windows and doors in the room you're testing. And don't just do it for an hour; keep them shut for a full 24 hours beforehand.
This step is non-negotiable. A cracked window can let in pollen, car exhaust, and other outdoor pollutants that will completely skew your results and hide the real indoor culprits. You'll also want to turn off any air purifiers, humidifiers, or fans during this 24-hour window and during the test itself.
I see this mistake all the time: people test a room right after a big cleaning session. Those harsh chemicals release a ton of VOCs, which can give you a scary-looking (and false) positive result. It's best to wait at least 48 hours after a deep clean to get a reading that reflects your home's typical air quality.
Timing and Placement for Optimal Results
Where and when you place the sample collector is everything. Don't just stick it on the nearest bookshelf and call it a day. To get a meaningful sample, you need to place it in the "breathing zone"; that's about three to five feet off the floor. This height represents the air you and your family are most likely inhaling day-to-day.

As you can see, the process is straightforward, but that middle step, collecting the sample, is where you have the most control over the outcome. A few places to avoid putting your kit:
In a direct sunbeam: The heat can mess with the collection medium and ruin the sample.
Right next to an air vent: You'll end up testing your HVAC system's air, not the general room air.
In a drafty corner: This can dilute the sample, making it seem like your air is cleaner than it is.
As for timing, think about your daily routine. If you're worried about pollutants from cooking, it makes sense to run the test in the evening around dinnertime. Testing a bedroom? An overnight sample will give you a much better picture of what you're breathing while you sleep.
Following Instructions and Avoiding Contamination
Every single home air quality test kit comes with its own specific set of instructions. Read them. Then read them again. Seriously. Some use a passive collection dish that sits out for hours, while others have a small pump that actively pulls air through a testing cartridge. Going off-script is the quickest way to get an invalid result and waste your money.
Contamination is your other big enemy here. It's surprisingly easy to ruin a sample.
Always wash your hands thoroughly before you handle any part of the kit.
Never, ever touch the collection medium itself (the gel in the dish, the charcoal in the canister, etc.). Your skin oils can throw off the lab results.
The second the collection time is up, seal the sample exactly as the instructions tell you.
Mail it back to the lab as soon as possible. The longer a sample sits around, the more likely it is to degrade.
By being this meticulous, you're elevating your DIY test from a simple home experiment to a genuinely reliable diagnostic tool. You’re not just following directions on a box; you're applying the same principles the professionals use to guarantee every sample is as accurate as it can be.
Translating Test Results into Action
So, you’ve got your home air quality test results back, and it looks… complicated. It's usually a jumble of acronyms like VOCs and PM2.5, plus a few scientific names for mold spores you can't pronounce. Instead of a simple "good" or "bad," you're staring at a page of data.
Don't get overwhelmed. Think of that report as a diagnostic tool, not a final judgment. It’s a road map pointing you toward the root of the problem. For instance, if you see high levels of formaldehyde (a common VOC), your investigation should immediately turn to that new engineered wood bookshelf or the laminate flooring you just put in. The data gives you a clue to follow.
This kind of proactive thinking is becoming much more common for homeowners. In fact, the global market for indoor air quality testing services is on track to hit USD 1.14 billion by 2033. Why? Because more people are realizing they need to know what’s actually in their air. You can dig into the numbers yourself in the full market report.
Decoding Common Pollutants
Let's cut through the jargon. Seeing a pollutant on your report is one thing; knowing where it likely came from is how you solve the problem.
High VOCs (Volatile Organic Compounds): This is a big category. Beyond formaldehyde, it includes chemicals from everyday things like paints, cleaning supplies, and even those plug-in air fresheners. A high reading is a strong hint to check your products and crack a window more often.
Elevated PM2.5 (Particulate Matter): These are microscopic, inhalable particles. If your levels are high, think about sources of combustion. Are you frying food without an exhaust fan? Burning a lot of candles? Is smoke from a nearby fireplace getting in? Sometimes, it’s just a sign that outdoor pollution is finding its way inside.
High Mold Spore Count: This is a huge red flag for one thing: a moisture problem. Your first move isn't just to clean the air, it's to go on a hunt for the source. Check for a leaky pipe under the kitchen sink, a bathroom that stays steamy for too long, or a damp corner in the basement.
Building Your Action Plan
Once you connect the dots between the data and the likely culprits, you can start making real, targeted changes. It's about moving from confusing numbers to concrete solutions that actually make your home healthier.
Your test results are a roadmap. A high mold count doesn't just mean you have mold; it means you have a water issue that needs to be fixed. High VOCs don't just mean your air is "bad"; they mean a specific product is likely off-gassing, and you can take action to remove or ventilate it.
For example, if particulate matter is your main issue, your immediate actions could be as simple as always using your kitchen's exhaust fan and maybe investing in a good air purifier with a HEPA filter.
If the report points to high levels of allergens and dust, it’s a strong signal that your HVAC system needs a closer look. Over time, air ducts become reservoirs for dust, pet dander, and other irritants that your system just keeps circulating. We have a whole guide that explains how you can improve air quality with air duct cleaning for allergies.
Below is a simple table to help you organize your next steps based on what your report shows.
Your Air Quality Action Plan
Use this as a quick-start guide. Find your problem pollutant, understand the implication, and take that first critical step.
Pollutant Detected | What High Levels Mean | Recommended First Steps |
|---|---|---|
Volatile Organic Compounds (VOCs) | Chemicals are off-gassing from new furniture, paint, or cleaning products. | Increase ventilation (open windows), switch to low-VOC products, and remove offending items if possible. |
Particulate Matter (PM2.5) | Fine particles from cooking, burning candles, or outdoor pollution are present. | Use kitchen exhaust fans, limit candle/incense use, and consider a HEPA air purifier for key rooms. |
Mold Spores | There is an active moisture problem somewhere in the home. | Find and fix the water source (leaks, condensation), and clean the affected area thoroughly. |
Allergens & Dust | Your HVAC system is likely circulating dust, dander, and pollen. | Check and replace your HVAC filter, and schedule a professional air duct inspection and cleaning. |
By linking the scientific results to real-world sources and practical solutions, you turn that intimidating report into your most powerful tool for creating a healthier home.
Going Beyond a One-Time Test with Continuous Monitoring
A single home air quality test is incredibly valuable, but it’s crucial to remember what it is: a snapshot. It’s a picture of one moment in time. The reality is that the air inside your home is constantly in flux, changing with every meal you cook, window you open, and product you use. This is where we move from just testing your air to actively managing it.
The next logical step is continuous monitoring. Modern smart air quality monitors give you a live feed of your home's environment, completely changing how you understand and react to airborne pollutants. Instead of waiting for a lab report, you can see in real-time how frying bacon on the stove sends particulate matter (PM2.5) levels soaring or how that new air freshener is releasing a cloud of VOCs.
Real-Time Data for Proactive Control
Think of a continuous monitor as a smoke detector, but for all kinds of invisible threats. These devices don't just show you what's in the air right now; they track trends over days, weeks, and even months. This lets you connect the dots between your family’s activities and your air quality. For instance, you might finally understand why you wake up feeling groggy when you see CO2 levels climb every night in a poorly ventilated bedroom.
Continuous monitoring shifts you from a reactive position to a proactive one. Instead of cleaning up after a problem is discovered, you get instant alerts that empower you to stop pollutants from building up in the first place.
This constant stream of information is driving a huge demand for these devices. The global indoor air quality monitor market is on track to hit USD 12.84 billion by 2030. This surge is thanks to smart sensor technology and IoT connectivity making professional-grade data accessible to everyday homeowners. You can discover more insights about these market trends and see just how big this is getting.
Smart Home Integration and Automation
Where modern monitors truly shine is in their ability to talk to other smart devices in your home. This creates an automated system that works around the clock to keep your air clean, often without you lifting a finger.
Here’s what that looks like in the real world:
Automated Purification: The monitor detects a spike in pollen or dust from the kids running inside. It instantly tells your smart air purifier to kick into high gear.
Smart Ventilation: CO2 levels are getting a bit high during movie night? The system can send an alert to your phone, reminding you it's time to crack a window for some fresh air.
HVAC Fan Activation: Some monitors can even talk to your smart thermostat. When it detects pollutants, it can trigger the HVAC fan to run, circulating air through your home's main filter.
This integrated approach is a game-changer for home wellness. It’s not about a single home air quality test anymore. It's about creating a responsive, intelligent environment that actively protects your family’s health long-term.
Common Questions About Home Air Quality Testing

If you're thinking about a home air quality test, you've probably got a few questions. That’s perfectly normal. Deciding to look into what's really in your home's air is a big move toward a healthier living space, so let's clear the air on some common points of confusion.
One of the first things people ask is about timing. As a general health check, testing your air every one to two years is a solid baseline. But some situations really call for immediate action.
You should absolutely test right after moving into a new place or finishing a big renovation. If you're smelling persistent musty odors or your family is suddenly dealing with new allergy-like symptoms that you can't explain, those are huge red flags. It’s time to test now, not later.
Are DIY Test Kits Reliable?
This is a big one. The short answer is, yes, a good DIY kit can be pretty accurate for specific things like radon or confirming the presence of certain types of mold. However, their reliability is completely dependent on you following the instructions perfectly.
The main drawback of a DIY home air quality test is that it’s just one snapshot in time. For a truly detailed picture of various chemicals, allergens, and microbial nasties over a period, nothing beats professional testing with calibrated, high-grade equipment. It simply provides far more comprehensive and trustworthy results.
Don't dismiss the first signs your home might be giving you. Unexplained headaches, persistent fatigue, dizziness, or a sudden uptick in coughing and sneezing are your body's personal air quality monitors. Pay attention to them.
Your home itself will also drop hints. Be on the lookout for things like:
That musty smell that just won't air out.
Visible patches of mold or mildew, especially in damp areas like bathrooms or basements.
An unusual amount of dust settling on surfaces just a day or two after cleaning.
High humidity levels causing condensation to bead up on your windows.
Can I Improve Air Quality Without a Test?
Finally, homeowners often wonder if they can just skip the test and go straight to making improvements. Absolutely! While a test gives you a targeted game plan, you can take some high-impact steps right now that will improve your air no matter what the issue is.
Start simple. Just opening your windows daily to improve ventilation works wonders. Another game-changer is upgrading your HVAC system's filters to a higher MERV rating and—this is key—actually changing them on schedule. Also, get in the habit of using your kitchen and bathroom exhaust fans every single time you cook or shower to pull moisture and contaminants out at the source.
For a deeper dive into these proactive measures, check out our guide to improving indoor air quality. These foundational habits are the bedrock of a healthy home.