Cleaning Out Dryer Ducts: A Practical Guide
- Nov 29, 2025
- 16 min read
Cleaning out your dryer duct is a straightforward job that involves a special brush kit and a vacuum to clear out all the flammable lint that’s built up inside. It’s one of those simple maintenance tasks that's crucial for preventing house fires, making your dryer run more efficiently, and even knocking a few dollars off your energy bills. The whole process usually takes about an hour and is something you should tackle at least once a year.
Why Cleaning Your Dryer Duct Is a Non-Negotiable Task
It’s easy to put off cleaning the dryer vent, writing it off as just another chore. But let me be clear: this is a critical safety measure for any home.
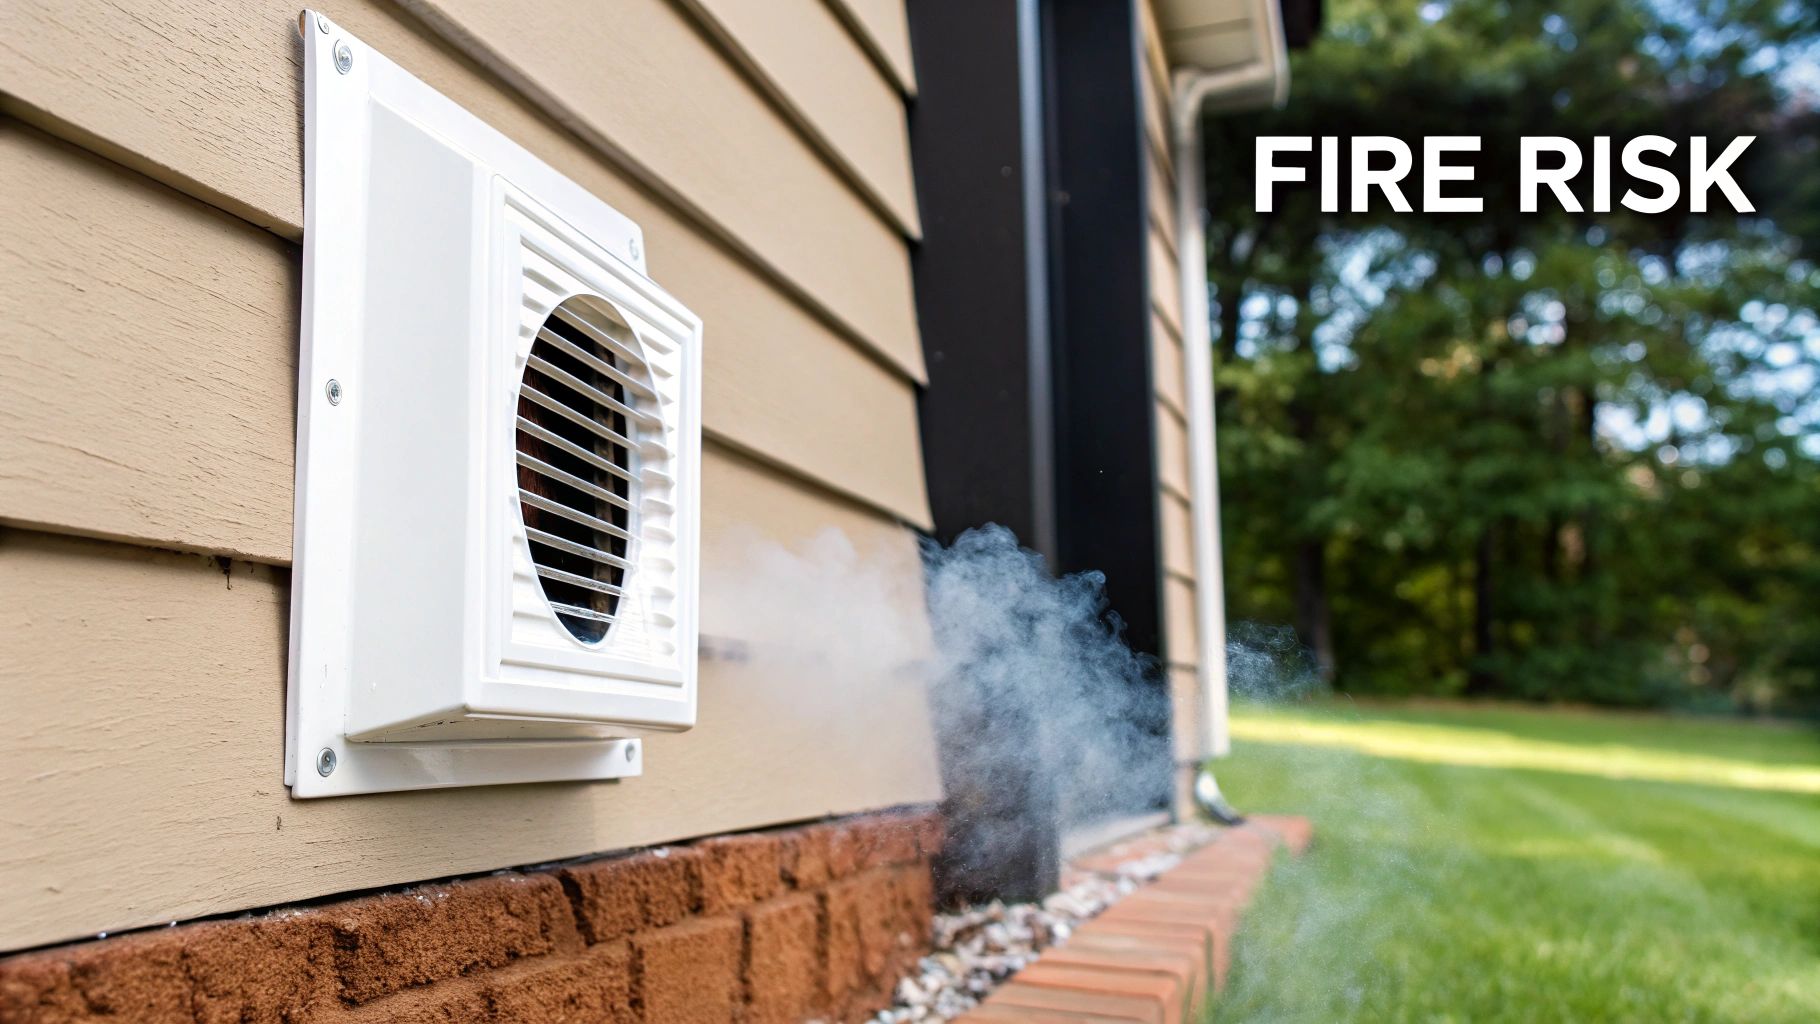
Every single time you run your dryer, it pushes hot, damp air packed with tiny lint particles through the ductwork. Your lint trap catches most of it, sure, but a surprising amount gets past it and starts to build up inside the vent that runs from the back of your machine to the outside of your house. This lint is incredibly flammable, and as it piles up, it creates the perfect kindling for a fire.
According to the U.S. Fire Administration, the number one cause of residential dryer fires is simply a failure to clean them. That fact alone should tell you everything you need to know. It’s similar in importance to the mandatory fire safety duties for property owners. All it takes is the heat from the dryer to ignite that trapped lint, and a normal laundry day can turn into an absolute disaster.
Spotting the Subtle Warning Signs
The good news is, your home usually gives you a heads-up when the dryer duct is dangerously clogged. Ignoring these signals is where the real risk lies. Just paying a little attention to how your dryer is performing is your first line of defense.
To help you spot trouble early, here’s a quick-reference table of common symptoms.
Warning Signs of a Clogged Dryer Duct
Symptom | What It Means for Your Dryer | Level of Urgency |
|---|---|---|
Clothes take forever to dry | Hot, moist air is trapped and can't escape, so your clothes stay damp. | High: Efficiency is shot, and a blockage is almost certain. |
The dryer feels unusually hot | The appliance is overheating because it can't ventilate properly. | Critical: This is a major fire risk. Stop using it immediately. |
You notice a burning smell | The lint buildup is getting hot enough to start smoldering. | Critical: A fire could be imminent. Unplug and address now. |
Outside vent flap doesn't open | Airflow is completely blocked, preventing the vent from functioning. | High: Indicates a significant obstruction in the duct. |
By recognizing these symptoms early, you can take action before a minor inconvenience becomes a major safety hazard. Cleaning out dryer ducts is one of the most impactful preventative maintenance tasks you can perform.
More Than Just a Fire Hazard
Beyond the very real fire risk, a clogged duct puts a massive strain on your dryer. It has to work harder and run longer just to do its job, which sends your utility bills climbing. That extra effort also wears out the heating element and motor, shortening the appliance's lifespan and setting you up for costly repairs.
As more homeowners become aware of these dangers, the demand for professional help is growing. The global dryer vent cleaning services market is currently valued at around $1,974.7 USD million and is expected to hit $3,500 USD million by 2035.
Keeping your ducts clear protects your home, saves you money, and ensures your dryer works the way it's supposed to: safely and efficiently. If you want to dive deeper, we have a detailed article covering the primary causes of dryer fires and how to prevent them.
Gathering the Right Tools for the Job
Let's be honest, cleaning out a dryer duct requires a little more than sheer willpower. Having the right equipment ready to go is the difference between a job done right the first time and a frustrating afternoon that ends with you calling a pro anyway.
The star of this show is a good dryer duct cleaning kit, and you've got a couple of options.
Choosing Your Cleaning Kit
The most common kits you'll find come with a set of flexible rods that you screw together, letting you reach deep into the ductwork. You'll attach a brush head to the end, and the other end can often be hooked up to a cordless drill for some extra scrubbing power, a lifesaver for breaking up stubborn, caked-on lint.
Before you head to the store, take a moment to estimate the length of your duct run, from the back of your dryer all the way to the outside vent. You'll want to make sure your kit's rods are long enough to cover that whole distance.
Rod-and-Brush Kits: These are the go-to for most homes. The flexible rods can handle gentle bends and corners, and adding a drill into the mix really helps scrape the duct walls clean.
Vacuum Attachments: Some kits include special attachments for your vacuum. While they're great for sucking up loose fluff and debris right at the opening, they just don't have the muscle to scrape off the compacted lint that a brush system can.
You're not the only one thinking about this. The market for these tools has ballooned to USD $612.4 million globally, and it's still growing. It shows just how many homeowners are getting serious about this critical safety task. You can read more about the dryer duct cleaning brush market trends and see how the technology is improving.
Pro Tip: If you're using a drill-powered brush, always keep it on a low speed and make sure it's spinning in a clockwise direction. If you run it counterclockwise, the rod sections can unscrew themselves and get stuck deep inside the duct. That turns a simple DIY job into a major headache.
Essential Safety and Support Gear
Your cleaning kit might be the main event, but you'll need a solid supporting cast of other tools to make the job go smoothly and safely. Stirring up all that old lint can kick a surprising amount of dust into the air, so protecting yourself is key.
Here’s a quick checklist of everything else you should have on hand before you start:
Dust Mask and Gloves: This is non-negotiable. A good mask will keep you from breathing in all those fine particles, and gloves will protect your hands from grime and any sharp metal edges.
Vacuum Cleaner with a Hose: Essential for cleaning up the mess. You’ll use it to suck up the lint you dislodge from both ends of the duct and from inside the dryer's lint trap cavity.
Screwdriver or Nut Driver: You’ll need this to loosen the clamp holding the duct to the back of the dryer and to the wall vent.
High-Quality Foil Tape: Do not grab standard grey duct tape for this. You need proper HVAC foil tape to reseal the connection for an airtight, and safe, fit when you're finished.
Towels or a Drop Cloth: Lay these down before you disconnect the duct. It'll catch the inevitable lint spill and make cleanup much easier.
Remember, a clean duct is only half the battle; proper venting is just as crucial for safety and efficiency. For a complete rundown, take a look at our guide on how to achieve safe and efficient dryer venting.
Once you've got all these tools assembled, you're ready to get to work.
Your Practical Guide to a Clog-Free Dryer Duct
Alright, you've got your tools, so it's time to get to the main event: clearing out that dryer duct. This whole process isn't rocket science, but taking a methodical, safety-first approach is what separates a job well done from a frustrating afternoon. We'll walk through this in three parts: getting everything prepped, the actual cleaning, and putting it all back together.
Before you even think about pulling the dryer out, grab an old towel or a drop cloth and lay it down on the floor. It’s a simple move that will save you a headache later by catching the surprising amount of lint that’s bound to fall out.
Phase One: Safe Preparation and Disconnection
Safety is non-negotiable when you're working with appliances. The very first thing you need to do is cut the power to the dryer completely. For an electric model, that just means unplugging its heavy-duty cord from the wall. If you have a gas dryer, find the gas supply valve on the pipe behind it and turn it to the "off" position.
With the power secured, you can now gently work the dryer away from the wall. Go slow and easy; yanking it can damage the duct or the gas line. All you need is enough room to comfortably get behind it.
Once you have access, you’ll see the clamp holding the flexible duct to the back of the dryer. Use your screwdriver or nut driver to loosen that clamp, then wiggle the duct off the dryer's exhaust port. Don't be surprised if you see a big clump of lint right there, it’s very common.
This first peek can tell you a lot. A heavy buildup at this connection point is a huge red flag that you've got a bigger clog lurking deeper down the line. This is where many of the classic symptoms, like clothes taking forever to dry, begin. To see the full list, you can learn more about the common symptoms that indicate your dryer vent is clogged.
Now, just repeat the process at the other end, disconnecting the duct from the wall pipe that leads outside. The entire transition duct is now free, giving you clear access to clean it and the rigid pipe it connects to.
Phase Two: The Cleaning Process
This is where your cleaning kit earns its keep. The idea is to be thorough, making sure you clear the entire path from the back of your dryer all the way to the outside of your house.
Start by screwing together a few sections of the flexible rods from your kit and attaching the brush head. I recommend starting from the inside. Push the brush into the duct pipe in the wall and begin working it toward the exterior vent.
If you’re using a drill, connect it to the rod, make sure it’s on a low speed, and, this is critical, only ever spin it in the clockwise direction. If you go counterclockwise, the rod sections can unscrew themselves and get stuck deep inside the duct. Trust me, that's a problem you don't want to have.
As you push the brush deeper, let the spinning do the work. Add more rod sections as you go. You'll feel it when the brush hits a dense patch of lint. Just work the brush back and forth a bit to break it all up. Keep your vacuum hose handy to suck up the debris as it comes loose.
Insider Tip: Don't try to force the brush around a tight 90-degree corner. You risk damaging the ductwork or getting the brush hopelessly stuck. For ducts with sharp turns, a little patience goes a long way. Sometimes you have to attack it from both ends to fully clear those tricky spots.
Once you’ve gone as far as you can from the inside, head outdoors to the vent. Take off the vent cover or screen and give it a good cleaning. Then, do the same thing you did inside: insert the brush and work it back toward the house. This two-front approach guarantees the entire duct is clear.
Before you wrap up, give the dryer itself some attention. Use your vacuum's crevice tool to clean out the lint trap housing and the exhaust port where the duct connects. It’s amazing how much lint gets trapped right inside the machine.
This flow chart nails the key elements for a successful DIY cleaning job. It really shows that it’s not just about the brush, it’s the combination of having the right gear and taking the proper safety steps that gets the job done right.
Phase Three: Reassembly and Testing
With all that flammable lint gone, the last step is to put everything back together securely. A good seal is vital for both safety and efficiency, as it stops hot, moist air and lint from blowing into your wall cavity or laundry room.
Slide the flexible duct back onto both the dryer's exhaust and the wall pipe. Tighten the clamps you removed earlier until they're snug. You want a firm hold, but don't crank down so hard that you crush or damage the duct.
For a professional-grade seal, wrap the connections with HVAC foil tape. Regular duct tape will just dry out and peel off from the heat. Foil tape is made for these conditions and will create a durable, airtight seal that lasts.
With everything reconnected, carefully push the dryer back into position. Be mindful not to kink or flatten the ductwork behind it. A crushed hose creates an instant bottleneck and completely undoes all your hard work.
Finally, it's the moment of truth. Plug the dryer in (and turn the gas back on for a gas model). Run a cycle on an air-only or low-heat setting for 15 to 20 minutes.
Head outside and put your hand in front of the exterior vent. You should feel a strong, consistent flow of air. That’s how you know you’ve restored proper airflow and made your home safer. This quick annual job is a key part of smart homeownership. For a bigger picture on keeping your property in top shape, it's always a good idea to follow a seasonal home maintenance checklist that reminds you of crucial tasks like this one.
Understanding Your Home's Ductwork

Before you can tackle a dryer duct cleaning, you need to know exactly what you’re dealing with. The reality is, not all vent systems are built the same, and the type of ductwork snaking through your walls and crawlspaces has a huge impact on safety and how tough it'll be to clean. Let's walk through what to look for so you can get familiar with your home's setup.
The first thing to check is the material. You might be shocked to learn that some of the most common types are actually major fire hazards.
Comparing Dryer Duct Materials
That short, flexible hose connecting your dryer to the wall outlet is called a transition duct, and it’s a frequent source of problems. If you see a flimsy, white plastic or vinyl hose, stop what you're doing. That material is flammable, gets crushed easily, and its accordion-like design is a lint trap waiting to happen. It needs to be replaced, period.
To help you identify what you have and what you should have, here’s a quick rundown of the common materials you’ll find.
Dryer Duct Material Comparison
Material Type | Safety Rating | Airflow Efficiency | Best For |
|---|---|---|---|
White Vinyl Duct | Very Poor | Poor | Not Recommended; should be replaced. |
Flexible Foil Duct | Fair | Fair | Short, straight runs; prone to kinking. |
Semi-Rigid Aluminum Duct | Good | Good | Flexible connections with better airflow. |
Rigid Metal Duct | Excellent | Excellent | The main duct run inside walls and floors. |
The gold standard is a system using rigid metal ductwork for the long, main run inside your walls, paired with a short piece of semi-rigid aluminum for the final connection to the dryer. This setup gives you the best of both worlds: safety and performance. The smooth interior of the rigid duct gives lint almost nothing to cling to.
Want to learn more about the best materials and installation practices? We break it all down in our guide on achieving proper clothes dryer venting.
Spotting Common Installation Flaws
Even if you have the right materials, a shoddy installation can be just as dangerous as a clogged vent. One of the most common mistakes I see is a duct run that’s just too long. Most dryer manufacturers cap the recommended maximum length at 35 feet. What most people don't realize is that every 90-degree bend in the pipe adds an extra 5 feet of effective length.
A long, winding path makes your dryer struggle to push the air out, which causes lint to settle and the machine to overheat. Sharp bends are another huge red flag; they’re like speed bumps for airflow and create the perfect little pockets for lint to collect.
The best dryer vent is the shortest and straightest one possible. Take a minute to trace the path your duct takes from the laundry room to the outside wall. If it takes a scenic route with lots of turns, your risk of clogs is much higher, and you'll need to clean it more often.
This is a space seeing constant improvement. The global market for dryer vents, currently valued at USD $445.7 million, is projected to hit USD $640.4 million by 2035. This growth highlights just how critical proper airflow and safety have become for homeowners.
The Importance of the Exterior Vent Cap
All your hard work cleaning the inside of the duct will be for nothing if the exit is blocked. That little cap on the outside of your house is meant to keep critters and rain out while letting hot, moist air escape. All too often, it becomes the final bottleneck.
Take a walk outside and give your vent cover a good look. You're searching for common problems like:
Lint Blockage: A thick mat of lint can completely seal the flap shut.
Pest Nests: Birds and rodents find this warm, sheltered spot irresistible for building nests.
Physical Damage: A bent or broken cover can get stuck closed, trapping everything inside.
A blocked exit is just as bad as a clog deep inside the duct. It traps lint and moisture in the line and forces your dryer to overheat. Making a habit of checking this cap is one of the easiest, smartest things you can do to prevent a serious problem.
Knowing When to Call in a Professional
There's a special kind of satisfaction that comes from tackling a home maintenance job yourself. But as any seasoned homeowner knows, there's a fine line between a manageable DIY task and a project that’s best left to the pros. Cleaning your dryer duct definitely falls into that category.
Knowing your limits is a huge part of responsible homeownership. It’s about recognizing when calling in an expert is not just about convenience, it’s about safety and getting the job done right. A standard cleaning kit from the hardware store is great for a simple, ground-level duct. But when your home's layout throws a few curveballs, the game changes.
Complex Duct Runs and Accessibility Issues
One of the biggest reasons to hire a professional is a complicated duct route. If your dryer vent doesn't take a short, straight shot outside, that consumer-grade brush kit is probably going to fall short.
Here are a few classic scenarios where calling a pro is the smartest move:
Vents on the Roof: This one's a no-brainer. Getting on your roof is risky business without the right ladders, safety harnesses, and experience. Professionals are equipped to handle this safely and efficiently.
Long, Winding Paths: Does your duct snake through an attic, a tight crawlspace, or up between floors? These runs often have multiple elbows and bends where a DIY rod can easily get stuck or, worse, break off inside the duct.
Second-Story Laundry Rooms: If your laundry is upstairs, the vent is likely high off the ground. Trying to reach that without the proper equipment is not just difficult; it's a recipe for an accident.
In these situations, a professional brings more than just a helping hand. They have powerful, truck-mounted vacuum systems and flexible, commercial-grade brushes that can navigate tricky paths that would defeat a DIY kit every time.
Signs of a Deeper Problem
Sometimes, a clog is more than just a buildup of lint. Your dryer vent can become a home for pests or develop damage that a simple cleaning won't fix. If you come across any of these issues, it's time to put down the tools and pick up the phone.
A professional technician does more than just clean; they perform an inspection. They can spot issues like a bird's nest blocking the exit, rodent damage, or a disconnected section of ductwork hidden inside a wall that you would never see.
Keep an eye out for these red flags that scream "call an expert":
Pest Infestations: If you see droppings, find nesting materials, or hear scratching sounds, you've likely got critters. A pro can safely remove the nest and recommend a pest-proof vent cover to prevent a recurrence.
Visible Duct Damage: During your inspection, did you notice the duct is crushed, torn, or has sections that have come apart? That requires repair or replacement, not just cleaning. This is definitely a job for a specialist.
Persistent Symptoms: You've already tried cleaning it yourself, but the dryer still gets dangerously hot and the clothes are still damp after a full cycle. This points to a deeper blockage or a hidden problem your equipment couldn't reach.
The Professional Advantage
Hiring a certified technician is really an investment in your home's safety and your own peace of mind. They use high-velocity air tools and specialized equipment that deliver a much deeper, more thorough cleaning. This process removes the heavily compacted lint that DIY methods almost always leave behind.
They ensure the entire system, from the dryer connection all the way to the exterior vent cap, is completely clear and working as it should. This level of clean doesn't just reduce fire risk; it restores your dryer to peak efficiency, which can help you save on energy bills.
Understanding the ins and outs of ductwork and ventilation is what these experts do all day. For homeowners who want to learn more about overall system maintenance, checking out a guide on who cleans air ducts can be incredibly informative when it's time to choose a service. When you're facing a tricky, stubborn, or potentially damaged dryer vent, making that call is always the wisest choice.
Got Questions? We’ve Got Answers.
Even after walking through the steps, it's normal to have a few lingering questions about dryer duct cleaning. It’s one of those home maintenance tasks that’s easy to forget, so let's clear up some of the most common things people ask.
Getting these details sorted helps you handle this chore safely and effectively. It’s not just about getting the lint out; it’s about doing it the right way, at the right time.
How Often Should I Clean My Dryer Duct?
For the average family, a good rule of thumb is to clean the dryer duct once a year. That’s usually enough to keep lint from building up to a dangerous level.
However, your situation might be different. If you notice lint piling up faster, you’ll want to inspect and probably clean it every six months. This is especially true if you have:
A large family running laundry constantly.
Pets that shed a lot, that fur gets mixed in with lint and clogs things up fast.
A very long duct run or one with several tight turns.
Basically, more laundry means more lint, and a complicated path for the duct makes it harder for that lint to get out on its own.
Can I Use a Leaf Blower to Clean the Duct?
This is a common "life hack" that sounds clever, but please, do not do this. A leaf blower is a terrible idea for cleaning dryer ducts. Instead of blowing the lint out, the powerful blast of air can actually compact it into a dense clog in corners and bends. Now you have an even bigger problem.
Even worse, that much force can easily rip or disconnect flimsy ductwork, especially the older foil kind. If that happens, your dryer will start venting hot, moist, lint-filled air right into your walls or attic, creating a serious fire hazard you can't even see.
A proper brush kit is designed to scrape and break up lint from the duct walls. That physical scrubbing is what makes it effective and safe, something a blast of air just can't replicate.
What Does Professional Dryer Duct Cleaning Cost?
Hiring a professional to clean your dryer duct will typically run you between $100 and $200. The final price tag can vary a bit based on a few things.
The complexity of the job is the biggest factor. A long duct run, a vent that terminates on the roof, or hard-to-reach access points might push the cost toward the higher end of that range. Considering it prevents fires and helps your dryer run more efficiently, it's a small price to pay for safety and peace of mind.
Is My Flexible Foil Dryer Duct Safe?
This is a really important one. If you see a flimsy, white vinyl or a crinkly, thin foil duct behind your dryer, the answer is no, it's generally not considered safe. In fact, these types often don't meet modern building codes.
The accordion-style ridges on these ducts are perfect traps for lint, and the materials themselves can be flammable. The safest and most effective options are semi-rigid or rigid metal ducts. Their smooth interior walls allow lint and air to flow freely, dramatically reducing buildup. If you find a vinyl or thin foil duct, you should really look into getting it replaced by a professional.
Trying to figure out the ins and outs of dryer maintenance can be a headache, but you don't have to go it alone. For a professional cleaning that leaves no doubt about the safety of your Avondale or Phoenix home, you can count on the certified experts at Purified Air Duct Cleaning. We have the specialized tools to make sure your dryer is running safely and at peak efficiency. Ready for real peace of mind? Visit us online to get your free quote today.