how to clean dryer vent yourself: A DIY Guide
- Dec 3, 2025
- 13 min read
So, what does it take to clean your dryer vent yourself? The basics involve unplugging the dryer, pulling the vent hose off both the machine and the wall connection, and then getting in there with a special brush kit and a vacuum to clear out all that built-up lint. It's a straightforward DIY job, but it's one of the most important ones you can do for your home: it prevents fires, makes your dryer run better, and helps the appliance last longer.
Why Cleaning Your Dryer Vent Is So Important
Before you start pulling things apart, it helps to understand why this is so critical. Thinking about the risks can shift this from a weekend chore to an essential safety routine. A clogged dryer vent is more than just a minor headache; it's a genuine danger hiding inside your walls.
Every single time you run a load of laundry, your dryer produces lint, which are tiny, extremely flammable fibers. Your lint screen catches a lot of it, but you'd be surprised how much gets past it and pushed into the ductwork. Over months and years, that lint builds up, gets compacted, restricts airflow, and creates the perfect kindling for a fire.
Don't just take my word for it. The U.S. Fire Administration reports around 2,900 home clothes dryer fires every year, and the number one cause is a failure to clean them. That's not just a number; it's a completely preventable risk you can handle yourself.
The Hidden Costs of a Clogged Vent
Beyond the very real fire hazard, a clogged vent is a silent drain on your time and your bank account. When all that hot, moist air has nowhere to go, your dryer has to work overtime to get clothes dry. That leads to a few problems you've probably already noticed.
Higher Energy Bills: An inefficient dryer uses way more gas or electricity, which you'll see on your monthly utility statement.
Longer Drying Cycles: Are your clothes still damp after a full run? That’s the classic sign of a blocked vent.
Increased Appliance Wear: All that extra work puts a ton of strain on the dryer's motor and heating element, leading to early breakdowns and expensive repair calls.
Tackling this DIY project isn't just about cleaning; it’s about protecting your home, saving money on energy bills, and ensuring your appliance operates safely and efficiently for years to come.
More Than Just Fire and Finances
The perks don't stop at safety and savings. A clean vent allows your clothes to dry properly without the excessive heat buildup that can damage fabrics over time. If you want to dive deeper, you can explore the key dryer vent cleaning benefits for your home in our detailed guide: https://www.purifiedairductcleaning.com/post/6-key-dryer-vent-cleaning-benefits-for-your-home-in-2025.
What’s more, a backed-up system can actually push moist, lint-filled air back into your home. This is why cleaning your vent is also a key part of maintaining good indoor air quality. Homeowners are clearly catching on. The global market for dryer vent cleaning services has grown to an estimated $1.5 billion to $2.5 billion, showing just how seriously people are taking this crucial piece of home maintenance.
Gathering Your Tools for the Job
Any good DIY project starts with having the right gear lined up and ready to go. Before you start pulling things apart, taking just a few minutes to gather your supplies will make the entire process of cleaning your dryer vent much smoother and safer. The good news is you probably have most of what you need already, but there are one or two specialty items that really make a difference.
The single most important tool you'll want is a dedicated dryer vent cleaning kit. You can find these at any home improvement store or online, and they're worth every penny. These kits typically come with a lint brush head and several flexible rods you can screw together, letting you create a long "snake" that can navigate the twists and turns of your vent pipe. This physically breaks up caked-on lint in a way a vacuum alone just can't.
Essential Cleaning and Safety Gear
Now that you have your cleaning kit, let's round out the rest of your toolkit. Having a powerful vacuum cleaner with a hose and a narrow crevice attachment is absolutely essential for sucking up all the lint you're about to dislodge. You'll also need a screwdriver or a nut driver to loosen the clamps holding the vent hose, though some newer dryers use simple spring clamps you can squeeze by hand.
To help you get everything in one go, here’s a quick checklist of the must-haves and nice-to-haves for this job.
Essential Toolkit for DIY Dryer Vent Cleaning
Item | Category | Why You Need It |
|---|---|---|
Dryer Vent Cleaning Kit | Required | The brush and flexible rods are crucial for scrubbing the inside of the entire duct run. |
Vacuum Cleaner | Required | Needed to suck up all the dislodged lint from the duct, dryer, and floor. |
Screwdriver/Nut Driver | Required | For safely disconnecting the vent hose clamps from the dryer and the wall. |
Work Gloves | Recommended | Protects your hands from grime and potentially sharp metal edges on the ductwork. |
Dust Mask | Recommended | You'll be kicking up a lot of fine lint particles; this keeps them out of your lungs. |
Flashlight | Recommended | Invaluable for inspecting deep inside the dark vent pipe for any leftover blockages. |
Having these items within arm's reach before you start means you won't have to stop mid-project to hunt for a tool.
Critical Safety Preparations Before You Begin
Okay, this is the most important part of the entire process, and it happens before you even touch a single tool. Your first and most critical step is to completely cut power to the dryer.
For an electric dryer, it's simple: unplug the large power cord from the wall outlet. Don't just turn the machine off, physically disconnect it.
If you have a gas dryer, the process is even more vital. Find the gas supply line that runs to the back of the dryer and turn the shutoff valve to the "off" position. Usually, the valve is considered closed when the handle is perpendicular (at a right angle) to the gas pipe.
Making sure the appliance is completely disconnected from both electricity and gas is a non-negotiable first step. It eliminates any risk of electrical shock or gas leaks while you work, ensuring your DIY project is safe from start to finish. This simple precaution takes only a moment but provides essential peace of mind.
How to Clean the Dryer Vent Ductwork
With your tools in hand and the dryer unplugged, you're ready to tackle the main event. This is the part where you'll see just how much flammable lint has been building up inside your walls, completely out of sight. The goal here is to be thorough, working your way from the dryer connection all the way to the exterior vent until the entire path is clear.
The first move is to give yourself enough room to work safely. You'll need to gently slide your dryer away from the wall. I find it's best to "walk" it out by moving one side forward a few inches, then the other, repeating until you have plenty of space to get behind it comfortably.
Disconnecting and First Inspection
Now that you can get behind the dryer, find the clamp that holds the flexible duct hose to the back of the machine. Grab your screwdriver or nut driver and loosen that clamp until the hose slides off the exhaust port easily. Repeat the process for the connection at the wall.
With the hose completely detached, give it a quick inspection. Check for any rips, crushed spots, or severe kinks that could choke off the airflow. If you discover you have one of those flimsy, foil-style vinyl hoses, this is the perfect opportunity to upgrade to a much safer, more rigid metal duct.
This process really boils down to three key phases: safety prep, the actual cleaning, and the final cleanup.
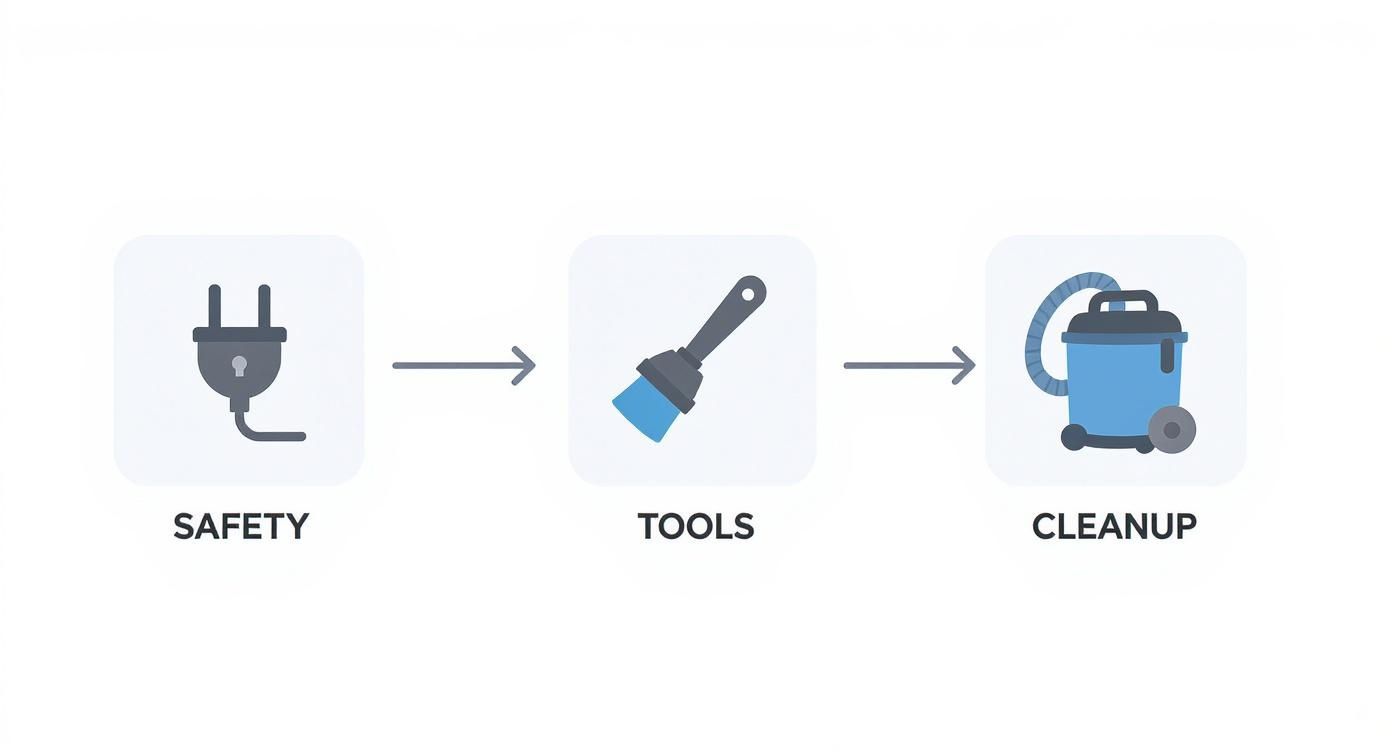
This simple visual reminds us that a good DIY job isn't just about the brushing. The prep work you do beforehand and the vacuuming you do after are just as critical for safety and success.
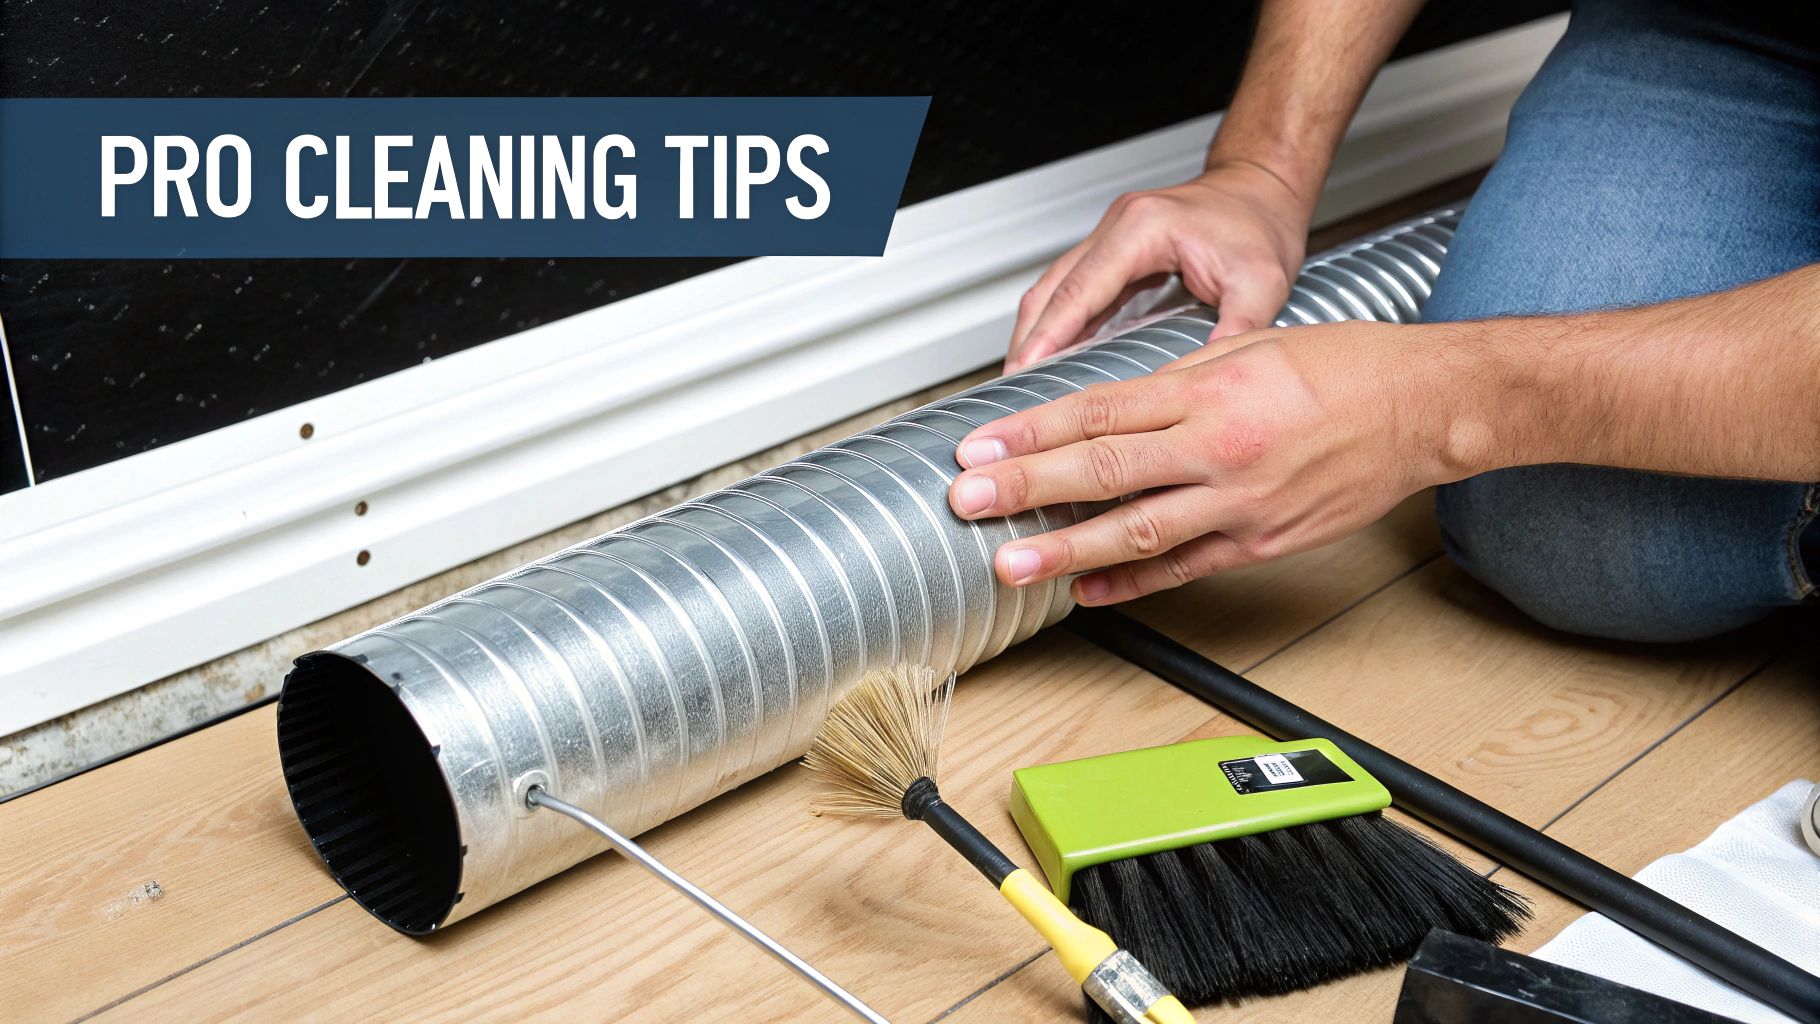
Cleaning the Ductwork From the Inside
This is where that dryer vent cleaning kit you bought really shines. Go ahead and attach the brush head to one of the flexible rods. It's a smart move to have your shop vac hose right at the opening to catch the mountains of lint you're about to dislodge.
Insert the brush into the duct opening in the wall and start feeding it in. As you push the brush deeper into the ductwork, you'll attach more rods one at a time to extend your reach. The trick is to use a combination of pushing and spinning motions. This lets the bristles really scrub the inside walls of the pipe, breaking up compacted lint.
For straight ducts: The brush should slide through with relative ease.
For ducts with elbows: The rods are designed to be flexible, but you’ll need to apply some steady, gentle pressure and keep rotating the brush to help it navigate the turns.
Pro Tip: If you have a cordless drill, you can attach the end of the rod assembly right into the chuck. Set the drill to a low speed and let it do the spinning for you. This provides a much more powerful scrubbing action that breaks up stubborn blockages that manual spinning can't touch.
Keep adding rods and pushing forward until you feel the brush hit the end at the exterior vent cap. You will honestly be shocked at the amount of lint that comes out. If you run into a serious blockage, we have another guide with more advanced techniques to clear your dryer vent clog safely and effectively.
Clearing the Exterior Vent Cap
Once you've cleaned the duct from the inside, it's time to head outside and find where the vent exits your house. This exterior cap is a notorious chokepoint for lint, leaves, and sometimes even bird or rodent nests.
Take a close look at the vent cap. It should have little flaps or louvers that are meant to open when the dryer is on and close when it's off. Carefully lift them and pull out any debris you can see.
Use your vacuum's crevice tool to suck out any lint packed just inside the opening. If you can, you can even use a short section of your brush kit from the outside to clean the last few feet of the duct, guaranteeing the entire line is completely clear.
Final Vacuuming and Reassembly
With the ductwork and exterior vent clear, the last step is to clean up the mess. Use your vacuum's hose attachment to clean out the flexible transition hose, the dryer's exhaust port on the machine itself, and the entire floor area where you've been working. Getting all this loose lint cleaned up is crucial, you don't want it to become a new fire hazard.
Now, you can reattach the flexible hose. Make sure you get a good, snug fit and tighten the clamps securely at both the wall and the dryer for an airtight seal. Slide the dryer back into place, but leave a few inches of clearance to avoid crushing or kinking the hose. With that, you're ready for the final verification.
Pro Tips for a Deeper and Safer Clean
Okay, you've cleared out the worst of the lint, and that’s a huge win. But if you want to take your work from a quick clean-up to a pro-level maintenance job, there are a few extra things I always recommend. These tips will give you a deeper clean and seriously boost the safety and efficiency of your dryer for the long haul.
Here's a little trick I use to wrap things up. Once you've got everything back together, run the dryer on a no-heat or air-fluff cycle for 15 to 20 minutes. This final step uses a blast of cool air to push out any lingering fine dust or tiny particles you might have dislodged, making sure the entire line is truly clear.
Inspect for Hidden Damage
With the vent hose disconnected, you have a rare opportunity to give it a proper inspection. This is your chance to spot problems that are usually hidden behind the dryer.
Check for Rips and Tears: Carefully run your hands along the duct and look for any small holes or cracks. These can leak hot, moist air, and lint, right into your laundry room or wall cavity.
Look for Kinks or Crushing: Make sure the hose isn't bent into a sharp angle or squashed flat. A crushed vent is a major bottleneck that chokes off airflow and becomes a magnet for lint buildup.
Identify Old Materials: If you see a white vinyl or flimsy foil-style duct, it’s time for an upgrade. Those materials aren't up to modern safety codes because they're flammable and crush easily.
Upgrading from a flimsy vinyl or foil duct to a rigid or semi-rigid metal one is one of the smartest safety improvements you can make. Metal ducts are far more durable, less likely to kink, and have a smooth interior that prevents lint from snagging, significantly reducing fire risk.
Turning your cleaning day into a quick safety audit like this is what makes the difference between just doing a chore and protecting your home. To dive deeper, check out our guide to preventing a dryer lint fire hazard, which covers these safety points in more detail.
Ensure a Secure Reconnection
After all that work, how you reattach the duct is just as important as the cleaning itself. A loose connection can be almost as bad as a clog. Always use metal worm-drive clamps to secure the vent to both the dryer and the wall connection. Please, don't use duct tape!
You'll want to tighten those clamps until you have a firm, airtight seal that won't vibrate loose over time. This simple step is critical for preventing dangerous carbon monoxide (on gas dryers) and humid, lint-filled air from leaking into your home.
Looking ahead, dryer maintenance is getting smarter. In the U.S., about 54% of industry stakeholders are starting to adopt smart venting solutions that use IoT tech for real-time monitoring. These systems can actually track airflow and send an alert to your phone when it's time to clean. You can learn more about these market trends over at factmr.com.
Knowing When to Call a Professional
Doing it yourself is a great way to save money and learn more about your home, but it’s just as important to know when to put the tools down and pick up the phone. Some dryer vent situations are just too complex or risky for a standard DIY kit. Recognizing the red flags is key to keeping your home safe.
The most common reason to call in a pro is a tricky vent run. If your ductwork is unusually long, winds its way up through the roof, or has a series of sharp, 90-degree turns, that brush kit from the hardware store just won't cut it. The flexible rods can easily snap or get hopelessly stuck, turning a simple weekend task into a major headache.
Red Flags That Signal It's Time for a Pro
Sometimes, the clearest sign you need help is what you find, or don't find, during your cleaning attempt. If you’ve given it your best shot and the dryer still isn't performing any better, you're likely dealing with a stubborn, compacted clog deep in the system that only specialized equipment can break up.
You should stop what you're doing immediately and call for professional help if you run into any of these issues:
Signs of a Pest Infestation: Discovering a bird's nest, rodent droppings, or other evidence of critters is a deal-breaker. The vent needs to be professionally cleared out and properly sanitized. Pests can also do a number on the ductwork itself, causing damage you might not see.
Visible Duct Damage: If you spot any large rips, crushed sections, or joints that have come apart inside your walls, it’s time for a pro. They have the tools and expertise to safely repair or replace the ductwork and restore proper airflow.
A Persistent Burning Smell: This is not something to ignore. If you still smell a burning odor after cleaning the parts of the vent you can reach, it points to a serious blockage or another urgent problem that needs an expert eye right away.
When you hire a professional, you're not just paying for a cleaning. You're investing in an expert inspection with commercial-grade equipment, like high-powered vacuums and camera scopes, that can find and fix problems a DIY approach simply can't handle.
Finding a Reputable Service
When you’ve decided it’s time to call in the cavalry, look for a certified and insured company that specializes in dryer vent cleaning. Don't be shy about asking about their process and the tools they use.
Always get an estimate upfront. For a detailed breakdown of what you should budget, check out our guide on the average cost of dryer vent cleaning and what to expect. Making the right call protects your home and, more importantly, gives you priceless peace of mind.
Common Questions About Dryer Vent Cleaning
Even with a good set of instructions, it's natural to have a few lingering questions before you start pulling your dryer away from the wall. Getting these cleared up can give you the confidence to do the job right and, more importantly, safely. Let's tackle some of the most common uncertainties we hear about cleaning a dryer vent.
One of the biggest questions is about frequency. A yearly deep clean is a solid rule of thumb for most households, but your situation might call for a different schedule. If you have a large family, pets that shed heavily, or a particularly long and winding vent path, you should probably clean it every six months. For a deeper dive, check out our guide on how often you should clean the dryer vent in our essential tips guide.
Answering Common DIY Doubts
Another thing people ask about is taking shortcuts, specifically using a leaf blower. I get the appeal; it seems like a fast way to blast everything out. But trust me, it's a bad idea. A leaf blower can easily compact wet, heavy lint into a solid plug. Even worse, the force can disconnect the ductwork hidden inside your walls, creating a massive fire hazard and a place for moisture to collect.
Stick with the right tools for the job. A dedicated brush kit combined with a powerful vacuum is the only way to go. This method physically breaks up and removes the lint, rather than just pushing it further down the line. It's much safer and far more effective.
Forget the calendar for a moment. The best way to know if your vent needs cleaning is to pay attention to your dryer. If clothes are taking forever to dry, the machine is hot to the touch, or you smell something burning, it’s not a guessing game anymore. It’s time to clean.
Spotting the Warning Signs
Knowing the red flags of a clogged vent helps you catch a small problem before it turns into a big one. Here are the top signs to look out for:
Longer Drying Times: You're running a second or even third cycle to get clothes dry.
Excessive Heat: The top of the dryer or the laundry room itself feels unusually warm.
Visible Lint: You can see lint and debris collecting around the exterior vent flap.
Stuck Vent Flap: The flap on the outside vent doesn't open when the dryer is on.
And since you're already in home maintenance mode, if you run into other appliance issues, you can learn how to stop water dripping into your washing machine. Keeping all your appliances in top shape is key.
If you've given it your best shot and are still having trouble, or if the job just feels like more than you want to handle, Purified Air Duct Cleaning is ready to step in. Our certified technicians use professional-grade equipment to guarantee your dryer vent is completely clear, safe, and running efficiently. Contact us today for a free quote and get the peace of mind that comes with a professional cleaning: https://www.purifiedairductcleaning.com