Your Guide to Preventing a Dryer Lint Fire Hazard
- Jul 4, 2025
- 18 min read
Updated: Jul 10, 2025
That appliance humming away in your laundry room is more than just a convenience; it's one of the leading causes of house fires. The main culprit is something surprisingly simple: dryer lint. This common problem is entirely preventable, but it starts with understanding just how a dryer lint fire hazard develops in the first place. Think of those tiny, aerated clothing fibers as the perfect kindling, packed tightly inside a hot metal box.

Why Your Dryer Is a Hidden Fire Risk
The innocent-looking fuzz you pull from the lint trap after every load is the ideal fuel for a fire. It's made up of microscopic fibers from cotton, polyester, and other fabrics. Because this material has such a massive surface area, it can ignite at surprisingly low temperatures. The real danger begins when this lint bypasses the filter and starts building up in the dryer's vent system.
Every time you run your dryer, you're bringing the three essential elements of a fire, fuel (lint), heat (from the heating element), and oxygen, into one enclosed space. A small clog is all it takes to throw this delicate balance into chaos.
How a Clog Creates a Fire Hazard
When lint collects in the flexible vent hose or the ductwork running to the outside of your home, it chokes off the flow of hot, moist air. This blockage forces your dryer to work much harder and run hotter because the heat has nowhere to go. It's a dangerous recipe for disaster. Over time, the appliance's high-limit safety switches, which are designed to shut the machine off if it gets too hot, can fail under the constant strain of overheating.
Eventually, the trapped heat can spike the temperature inside the duct high enough to ignite the accumulated lint. A startling number of residential fires begin this way, often smoldering silently inside the walls of a home before anyone notices.
According to the U.S. Fire Administration, failure to clean is the leading cause behind the roughly 2,900 clothes dryer fires reported each year. This statistic hammers home a critical point: simple, routine maintenance is your single most effective defense.
This buildup doesn't just create a fire hazard; it also traps moisture. That dampness can lead to a whole host of other problems. If you're curious about how trapped moisture can impact your home's health, take a look at our guide on how to avoid mold in your home and damp buildings.
Key Factors Contributing to Dryer Fires
To really understand the risk, it helps to see how several factors come together to turn an everyday chore into a serious threat. This is why being vigilant about maintenance is non-negotiable for home safety.
Here’s a breakdown of the primary elements that create a significant dryer fire hazard.
Hazard Factor | Description | Why It's Dangerous |
|---|---|---|
Lint Buildup | Flammable fibers collect in the trap, vent, and ductwork. | Lint is extremely combustible and serves as the perfect fuel source for a fire. |
Restricted Airflow | Clogs in the vent prevent hot air and moisture from escaping properly. | This forces the dryer to overheat, pushing internal temperatures into the danger zone. |
Heat Source | The dryer's own heating element provides the spark needed for ignition. | When it meets the fuel (lint) and oxygen, it completes the fire triangle, creating the perfect conditions for a fire. |
Each of these factors on its own is manageable. But when they combine inside your dryer vent, they create a perfect storm for a potential house fire.
How a Hidden Lint Buildup Can Suddenly Ignite
To really wrap your head around the sudden and destructive nature of a dryer lint fire hazard, you have to go back to the basics of fire itself. For anything to catch, you need three things: fuel, heat, and oxygen. It’s the classic "fire triangle," and your clothes dryer can, over time, become the perfect, self-contained environment for it.
The fuel source is the most obvious part: lint. These tiny, bone-dry fibers from your clothes and towels have a massive surface area compared to their weight. Think about it this way: trying to light a thick, dense log with a single match is tough. But a pile of dry wood shavings? That goes up in a flash. Lint is just like those shavings, ready to ignite the second it gets enough heat and oxygen.
The Chain Reaction of Ignition
A lint fire doesn't just happen out of the blue. It’s a predictable chain reaction that kicks off when lint slips past your dryer's filter. With every single load, a small amount of lint escapes the screen and makes its way into the hidden parts of your dryer system, the vent hose right behind the machine and the ductwork that runs through your walls to the outside.
Over months, or even years, this escaped lint builds up. It acts like a dam, choking off the flow of hot, moist air that the dryer is designed to push outside. With its exit blocked, that superheated air has nowhere to go. This forces the dryer's heating element to work overtime, getting much hotter than it's supposed to and creating a dangerous feedback loop.
The image below shows just how flammable this seemingly harmless fuzz really is.
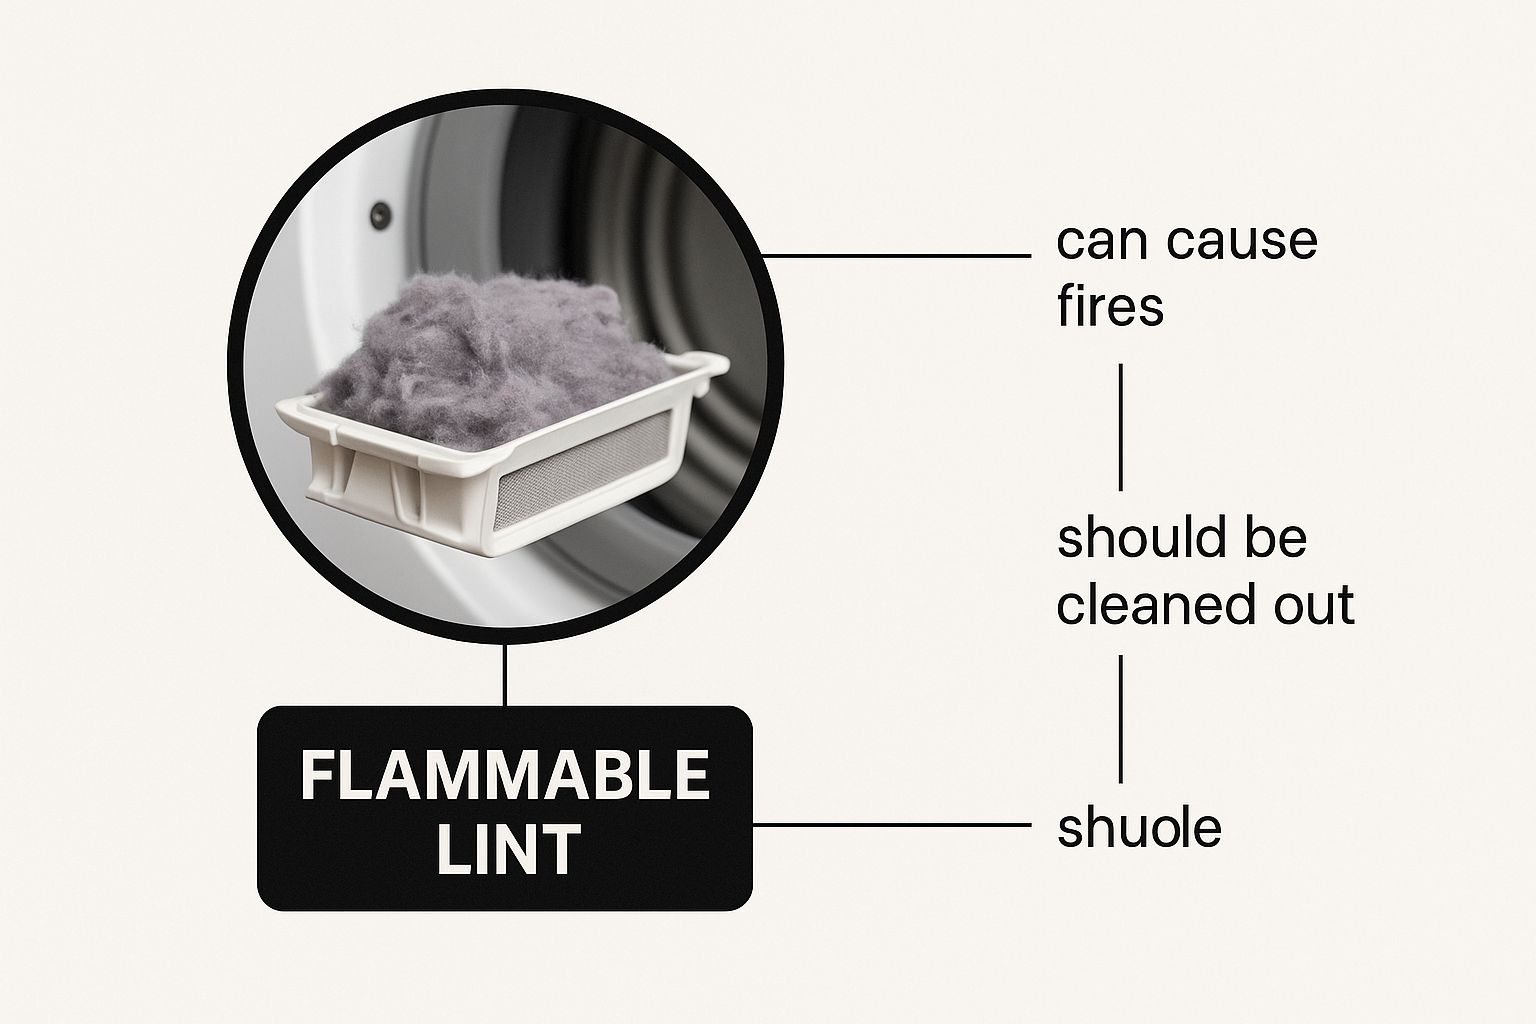
This visual is a stark reminder that the lint you see on the screen is the same stuff building up inside your vent, just waiting to become fuel.
When Heat Meets Fuel
As the dryer’s internal temperature skyrockets because of the blocked airflow, it eventually hits the flash point of the trapped lint. This is the moment the fire triangle snaps shut. The overworked heating element provides the intense heat, the lint provides the tinder-dry fuel, and the air trapped in the vent supplies the oxygen.
The Critical Tipping Point: It's this combination of a big lint clog and strangled airflow that turns a normal drying cycle into an emergency. The dryer isn't just drying clothes anymore; it's actively superheating a stockpile of highly flammable material right inside your home.
This hidden danger is exactly why the statistics are so sobering. According to U.S. Fire Administration data, clothes dryers are involved in roughly 15,600 structure fires every year in the United States. These incidents lead to hundreds of injuries and rack up over $100 million in property damage annually. The number one cause? The ignition of combustible lint, with "failure to clean" being cited in about one-third of all cases. You can dig deeper into these findings and prevention on the UL Fire-Safety Research Institute website.
From Smolder to Blaze
A fire inside a dryer vent doesn’t always start with a bang. More often, it begins as a slow, smoldering fire, quietly burning through the lint packed deep inside a wall or ceiling. Because it's completely hidden from view, it can burn for quite a while, undetected, until it generates enough heat to set the surrounding building materials, like wooden studs or insulation, on fire.
Once the fire breaks out of the metal ductwork, it can tear through a home's structure with shocking speed. This step-by-step process, from a simple clogged vent to a full-blown house fire, is precisely why understanding the mechanics behind the dryer lint fire hazard is so critical. It’s not some vague, random threat. It's a clear sequence of events that you can stop with proper maintenance.
Finding the Hidden Lint Buildup Spots in Your Dryer

If you're faithfully cleaning the lint trap after every load, that's a fantastic habit. But here's the hard truth: it's only the first, most basic step in preventing a dryer lint fire hazard. The lint you can easily see isn't the most dangerous stuff. The real problem is the lint that builds up in the hidden pathways of your dryer's exhaust system.
Think of it like this: your dryer vent is a highway for hot, moist air. When lint creates a traffic jam, everything backs up. Airflow stops, heat builds, and that's when things get dangerous.
To truly protect your home, you need to know where these invisible clogs form. Let's go beyond that pull-out screen and take a tour of the critical hotspots where lint quietly accumulates, turning a helpful appliance into a serious risk.
The Lint Trap Cavity
The first hidden spot is the very slot you slide the lint screen into. Sure, the screen catches the big stuff, but with every cycle, smaller fibers get pulled past it and settle down into this cavity. Over time, this space can get packed with a thick, dense layer of lint that feels almost like felt.
This is an especially dangerous buildup because it's right next to the dryer's internal workings, where the heat is most intense. You absolutely need a specialized long-handled brush to reach down and clear this area out. Ignoring it is like leaving a pile of kindling right next to an open flame.
The Flexible Transition Hose
That flimsy, accordion-style hose connecting the back of your dryer to the wall is a notorious lint trap. These hoses, often made of foil or plastic, have a ribbed design that is practically perfect for snagging fibers as they fly by. And since they live behind the dryer, they almost never get inspected.
Crucial Safety Note: A kinked or crushed transition hose is one of the most common causes of restricted airflow. It’s incredibly easy to accidentally flatten this duct when you push your dryer back against the wall. This creates an immediate and severe blockage, sending the fire risk through the roof.
Inside the Dryer Ductwork
This is the main event—the long, smooth-walled pipe that runs through your walls or ceiling to the outside. Even in a perfectly straight run, lint will slowly coat the inner surfaces, narrowing the passage little by little. The problem gets exponentially worse with every 90-degree turn in the ductwork. Each bend creates turbulence, causing lint to fall out of the airstream and settle into a pile.
A clog deep inside this duct is so perilous because it's completely out of sight. It silently turns your entire vent system into a super-heated tinderbox, just waiting for the right conditions to ignite. This is often where the pros come in, using high-powered tools to effectively clear these long, inaccessible runs.
Behind and Under the Drum
It's surprising, but a good amount of lint can actually work its way past the drum's seals and into the main cabinet of the dryer itself. This fluff settles all over the motor, the belts, and even the heating element housing. A significant buildup here is a direct dryer lint fire hazard, as it places highly flammable fuel in direct contact with the machine's hottest parts and electrical components.
The Exterior Vent Opening
Finally, the journey for the hot air and lint ends at the vent cap on the outside of your house. This is the last stop, but it’s often the first place a major blockage starts.
You need to check what kind of vent you have:
Louvered Vents: The little flaps on these can get caked with lint and outdoor grime, essentially gluing them shut.
Screened Vents: Some caps have a wire mesh to keep pests out. Bad idea. These screens clog with lint incredibly fast, sealing the entire system.
Roof Vents: Vents that exit through the roof are particularly prone to clogs. Gravity is working against them, making it harder to push lint out and much easier for blockages to form right at the opening.
When this final exit is blocked, the whole system backs up. Pressure and heat build from the outside in, maximizing the fire risk throughout the entire line.
Warning Signs Your Dryer Is a Ticking Time Bomb
A serious dryer lint fire hazard doesn't just happen out of the blue. Long before a fire ever starts, your appliance is sending out clear, unmistakable distress signals. These aren't complicated error codes on a digital display; they're simple, sensory clues that tell you something is dangerously wrong with its airflow.
Learning to spot these red flags is one of the most important things you can do to prevent a disaster. Think of them as your dryer's cry for help. Ignoring them is like hearing a smoke alarm chirp and just turning up the TV. Each symptom points directly to a clog in the system, which means heat is trapped and building up to dangerous levels.
Your Clothes Take Forever to Dry
This is easily the most common warning sign, and the one most people dismiss. If you suddenly find yourself running a single load of towels or jeans through two, or even three, full cycles just to get them dry, you almost certainly have a vent blockage.
This isn't just an inconvenience or a spike in your electricity bill. It's a direct symptom of choked airflow. The hot, damp air has nowhere to go, so it gets trapped inside the drum, tumbling your clothes around in a steamy, humid mess. This classic sign of inefficiency means the vent is clogged with lint.
The Dryer Is Hot to the Touch
Of course, a dryer gets warm during a cycle. But it should never be alarmingly hot. If you can't comfortably rest your hand on the top or sides of the machine, that's a huge red flag. This excessive heat is a clear sign the appliance is overheating because the blocked vents are preventing it from cooling itself down.
A dryer that's dangerously hot on the outside means the internal temperature is soaring far beyond its safe operating range. This is the perfect storm needed to ignite the highly flammable lint packed inside your ductwork.
You Notice a Burning Smell
A burning odor is the most urgent warning your dryer can possibly give. If you catch a faint, acrid smell while the machine is running, it often means that lint has started to scorch against the hot heating element. You are smelling a fire in its very first stage.
This smell is your last-ditch warning before flames can erupt. Never, ever ignore it. Unplug the dryer immediately and do not use it again until the entire vent system, from the machine's interior to the exterior vent cap, has been professionally inspected and cleaned.
The Laundry Room Feels Humid
Your dryer's main job is to pull all the moisture out of your clothes and push it outside. If your laundry room starts feeling like a sauna during a cycle, it means that moist air is backdrafting into the room instead of escaping. This is another crystal-clear sign of a major obstruction in the ductwork.
The scary part is how often these signs are ignored. Homeowners tend to underestimate the risk, which is why a shocking 34% of people fail to clean their dryers regularly. According to the U.S. Fire Administration, this negligence leads to about 2,900 dryer fires every year, causing $35 million in property damage. You can get more details on this risk and how to prevent it from SERVPRO's fire damage resource center.
The Outside Vent Flap Is Blocked
Take a quick walk outside to where your dryer vents out of the house. You should see a cap with a little flap or louvers designed to open up when the dryer is on. If you see lint and gunk caked around this opening, or notice the flap isn't opening at all, you've found the choke point.
Here's a simple checklist to connect what you're seeing with the real danger:
Clothes Still Damp? Airflow is too weak to carry moisture away.
Dryer Overheating? Heat is trapped and building to dangerous levels.
Smell Something Burning? Lint is scorching on the heating element.
Vent Flap Stuck? The exhaust exit is completely sealed off.
Each of these clues is a direct symptom of restricted airflow, the root cause of a dryer lint fire hazard. Spotting them early gives you the power to act before it’s too late.
Your Step-By-Step Guide to Cleaning the Entire Dryer Vent System
Knowing the risk is one thing, but taking action is what actually keeps your home safe from a dryer lint fire hazard. This guide isn't just about cleaning the screen you can see; we're going deep. Think of this as a full-system flush for your home's safety, clearing out the hidden pathways where dangerous clogs love to form.
This is your blueprint for turning that awareness into real, life-saving action.
First Things First: Safety and Preparation
Before you even dream of touching a hose, let's talk safety. There’s no sense in preventing one hazard just to create an electrical or gas one.
Kill the Power: Your first move is always to completely disconnect the dryer from the wall. For electric models, that’s a simple unplug. If you have a gas dryer, you also need to shut off the gas supply valve, which you'll typically find on the pipe right behind the appliance.
Gather Your Gear: You don't need a pro-level workshop, but having the right tools makes the job infinitely easier and more effective. You'll want a vacuum with a hose attachment, a screwdriver or nut driver, and, this is the most important part, a specialized dryer vent cleaning kit. These kits come with a flexible, multi-section brush designed to snake its way through the entire length of your ductwork.
Once you're prepped and ready, it's time to get to work.
Step 1: Clean the Lint Trap and Its Housing
Sure, you clean the lint screen after every load. But what about the deep, dark cavity it slides into? This spot is ground zero for blockages.
Grab your vacuum's long, skinny crevice tool and suck out every bit of lint you can see in the trap housing. Then, take a long, flexible brush and get deep down in there to loosen the compacted gunk the vacuum missed. You are going to be shocked by how much stuff comes out.
Step 2: Disconnect and Clean the Transition Hose
It's time to get behind the dryer. Gently pull the appliance away from the wall so you can see what's going on. That flexible hose connecting your dryer to the wall duct is the transition hose. Loosen the clamps holding it on both ends and carefully take it off.
This transition hose is a major weak point. If you find a flimsy, white plastic or foil accordion-style hose, it needs to go. Immediately. These types are not only flammable but they crush easily and are notorious for trapping lint. Do yourself a favor and upgrade to a rigid or semi-rigid metal duct for far better airflow and peace of mind.
With the hose off, you can take it outside for a thorough cleaning or, better yet, just replace it. Don't forget to vacuum out the port on the back of your dryer and the duct opening in the wall while you're at it.
Step 3: Clear the Main Vent Duct
This is the big one. Cleaning this main duct is the single most important step for getting rid of a hidden dryer lint fire hazard. This is where your vent cleaning kit becomes the hero.
Start by assembling the brush with its first flexible rod. Insert it into the duct from inside your laundry room, and begin pushing and rotating it. As you push deeper, keep adding more rod sections, continuing to spin the brush until you can feel it reach the vent cap on the outside of your house. This spinning action is what breaks up years of caked-on, compacted lint.
For the best results, have a partner stationed outside at the vent opening. They can help guide the brush out and clear away the mountain of debris that will get pushed through. Pro tip: If you have a leaf blower, you can use it to blast out all the loosened lint from the inside, sending it all outside for one easy cleanup.
Step 4: Clean the Exterior Vent Cap
You're not done until the exit is clear. Head outside and take a good look at your vent cap.
Remove any screens. Wire mesh or grates might seem like a good idea to keep pests out, but they are incredibly effective at trapping lint. They need to be removed.
Clear the flaps. Make sure the louvered flaps can open and close without any resistance. Use a brush to clear away any built-up lint or outdoor debris.
Check for damage. Ensure the cap itself isn't broken or blocked by bushes, weeds, or anything else.
A full, top-to-bottom cleaning lets your dryer breathe properly, which drastically lowers its operating temperature and removes the fuel a fire would need to start. While DIY cleaning is a fantastic preventative measure, some homes have very long or complex vent runs that are best handled by a professional. For those tougher jobs, looking into professional dryer vent cleaning services can give you total confidence that every single inch of your vent system is clear and safe.
When to Call a Professional for Dryer Vent Cleaning

While consistent DIY cleaning is your first line of defense against a dryer lint fire hazard, there are times when a brush kit from the hardware store just won't cut it. Knowing the limits of do-it-yourself maintenance is every bit as important as doing the maintenance itself. The goal is a completely clear vent, and some situations make that nearly impossible to achieve without expert help.
Many modern homes have long, complex dryer vent runs that snake through walls, ceilings, and attics. A standard DIY brush kit, often just 10 to 20 feet long, might not even reach the halfway point. For every bend and twist in that ductwork, the risk of your brush getting stuck—or failing to dislodge a dense clog—goes up dramatically.
When Your Home’s Layout Demands an Expert
Certain home designs practically guarantee that a professional cleaning will be necessary at some point. These setups create the perfect storm for hidden blockages that are completely out of reach for standard tools.
You should seriously consider calling a professional if:
Your vent run is over 25 feet long. The longer the duct, the harder it is for your dryer to push out lint, leading to faster and heavier buildup.
The ductwork has multiple sharp turns. Every 90-degree elbow acts as a natural collection point for lint, and trying to navigate these with a flimsy DIY brush is a recipe for frustration.
Your dryer vents out through the roof. Fighting gravity makes these vents notoriously difficult—and unsafe—to clean thoroughly from the ground.
You've never had the vent professionally cleaned. If you've lived in your home for years, there could be a massive, compacted clog that only industrial-strength equipment can break apart.
A professional service isn't just about convenience; it's about guaranteeing a completely clear passage. Technicians use high-powered vacuums and rotating brushes that scrub the entire length of the duct, ensuring no hidden fire hazards are left behind.
The stakes are incredibly high. Dryers and washing machines are linked to nearly 16,000 fires each year in the U.S., with dryers causing a staggering 92% of them. As noted in these dryer fire statistics and prevention tips on EnvistaForensics.com, failure to clean is a primary cause, which means many of these incidents are completely preventable.
DIY Cleaning vs Professional Dryer Vent Servicing
Deciding whether to tackle the job yourself or hire a pro often comes down to your home's specific layout and your own comfort level. This comparison should help clarify which path is right for you.
Aspect | DIY Cleaning | Professional Service |
|---|---|---|
Thoroughness | Good for short, straight vents but can easily miss deep or compacted clogs. | Complete, end-to-end cleaning using high-powered tools for guaranteed results. |
Tools Used | Basic flexible brushes and a standard household vacuum. | Commercial-grade vacuums, compressed air tools, and powerful rotary brushes. |
Cost | Low initial cost for a brush kit, but potentially ineffective. | Higher upfront investment, but provides comprehensive safety and peace of mind. |
Best For | Routine annual maintenance on simple, short, and straight vent runs. | Long or complex vents, initial deep cleans, roof-exiting vents, or any known blockage. |
Ultimately, a hybrid approach often works best for homeowners. You can handle the simple, routine cleanings yourself, but it's wise to invest in expert help every year or two to tackle the deep-seated issues you can't see or reach. To learn more, check out our guide on the benefits of professional dryer vent cleaning for fire prevention and safety.
Answering Your Top Dryer Safety Questions
Even after you get the big picture of dryer lint fire hazards, some practical, real-world questions usually pop up. Let's tackle the common what-ifs and clear up any confusion so you feel totally confident in protecting your home.
How Often Should I Clean the Entire Vent System?
For a typical family, our professional recommendation is a deep cleaning of the entire dryer vent system at least once a year. Think of this less as a suggestion and more as a critical safety check-up for your home.
Of course, your reality might demand a different schedule. You should always match your cleaning frequency to your laundry habits:
Large Families or Heavy Use: If the dryer is running almost daily, you'll want to bump that up to every six to eight months.
Households with Pets: Pet hair is a game-changer. It mixes with lint to form dense, stubborn clogs that are harder to move. For pet owners, an annual cleaning is the absolute bare minimum.
Smaller Households: If you're only doing a few loads a week, a thorough annual cleaning is generally just right.
Is It Safe to Use a Leaf Blower to Clean the Vent?
I see this DIY hack pop up all the time, but please, skip this one. While a leaf blower has enough force to blast out some of the loose, fluffy lint, it's really the wrong tool for the job. It's like trying to scrub a greasy pan with just a paper towel.
The real danger is the heavy, caked-on lint that sticks to the inside walls of the ductwork; a leaf blower simply doesn't have the scrubbing power to break that loose. Even worse, the intense pressure can easily disconnect or damage the ductwork hidden inside your walls. If that happens, you've created a far more dangerous situation where hot, moist, lint-filled air is blowing directly into your wall cavity, creating a hidden fire risk you can't even see.
Key Takeaway: Real safety isn't about just blowing out the easy stuff. It's about dislodging and completely removing that compacted, sticky lint. A specialized rotary brush system is dramatically more effective, and safer, than a leaf blower.
Are Some Dryer Vents Safer Than Others?
Absolutely. The materials and design of your vent system are hugely important for your home's safety. Those flimsy, white plastic or foil accordion-style ducts are a major fire hazard and should be ripped out and replaced on sight. They crush easily, creating blockages, and their ridges are perfect traps for lint. Some are even flammable themselves.
Your safest options by far are:
Rigid Metal Ducting: This is the gold standard. The smooth interior surface promotes excellent airflow and gives lint very little to grab onto, drastically reducing buildup.
Semi-Rigid Metal Ducting: This flexible metal hose is a solid, safe choice for the short transition piece that connects the back of your dryer to the main duct in the wall.
What Should I Do if I Suspect a Dryer Fire?
If you ever smell something burning, see smoke, or think a fire might have started in your dryer or vent line, your immediate actions are critical.
Do NOT open the dryer door. Opening it will feed a rush of fresh oxygen to the fire, which can turn a small smolder into a full-blown blaze in seconds.
Turn the dryer OFF if you can safely get to the controls. Only unplug it if you can do so without putting yourself in danger.
Get everyone out of the house immediately. Don't hesitate.
Call 911 from a safe location outside.
Ensuring your dryer vent is professionally cleaned and maintained is the most effective way to eliminate these risks. The expert technicians at Purified Air Duct Cleaning use specialized equipment to guarantee your entire vent system is clear and safe, giving your family total peace of mind. Schedule your service today at https://www.purifiedairductcleaning.com.