How to Clean the Dryer Vent Duct: A Home Safety Guide
- Jan 12
- 15 min read
To clean the dryer vent duct, you first disconnect the dryer, then use a specialized brush kit and vacuum to remove lint from the entire duct system, from the back of the appliance to the exterior vent cap. This simple process is critical for preventing house fires and improving your dryer's efficiency.
Why Cleaning Your Dryer Vent Is a Critical Home Safety Task
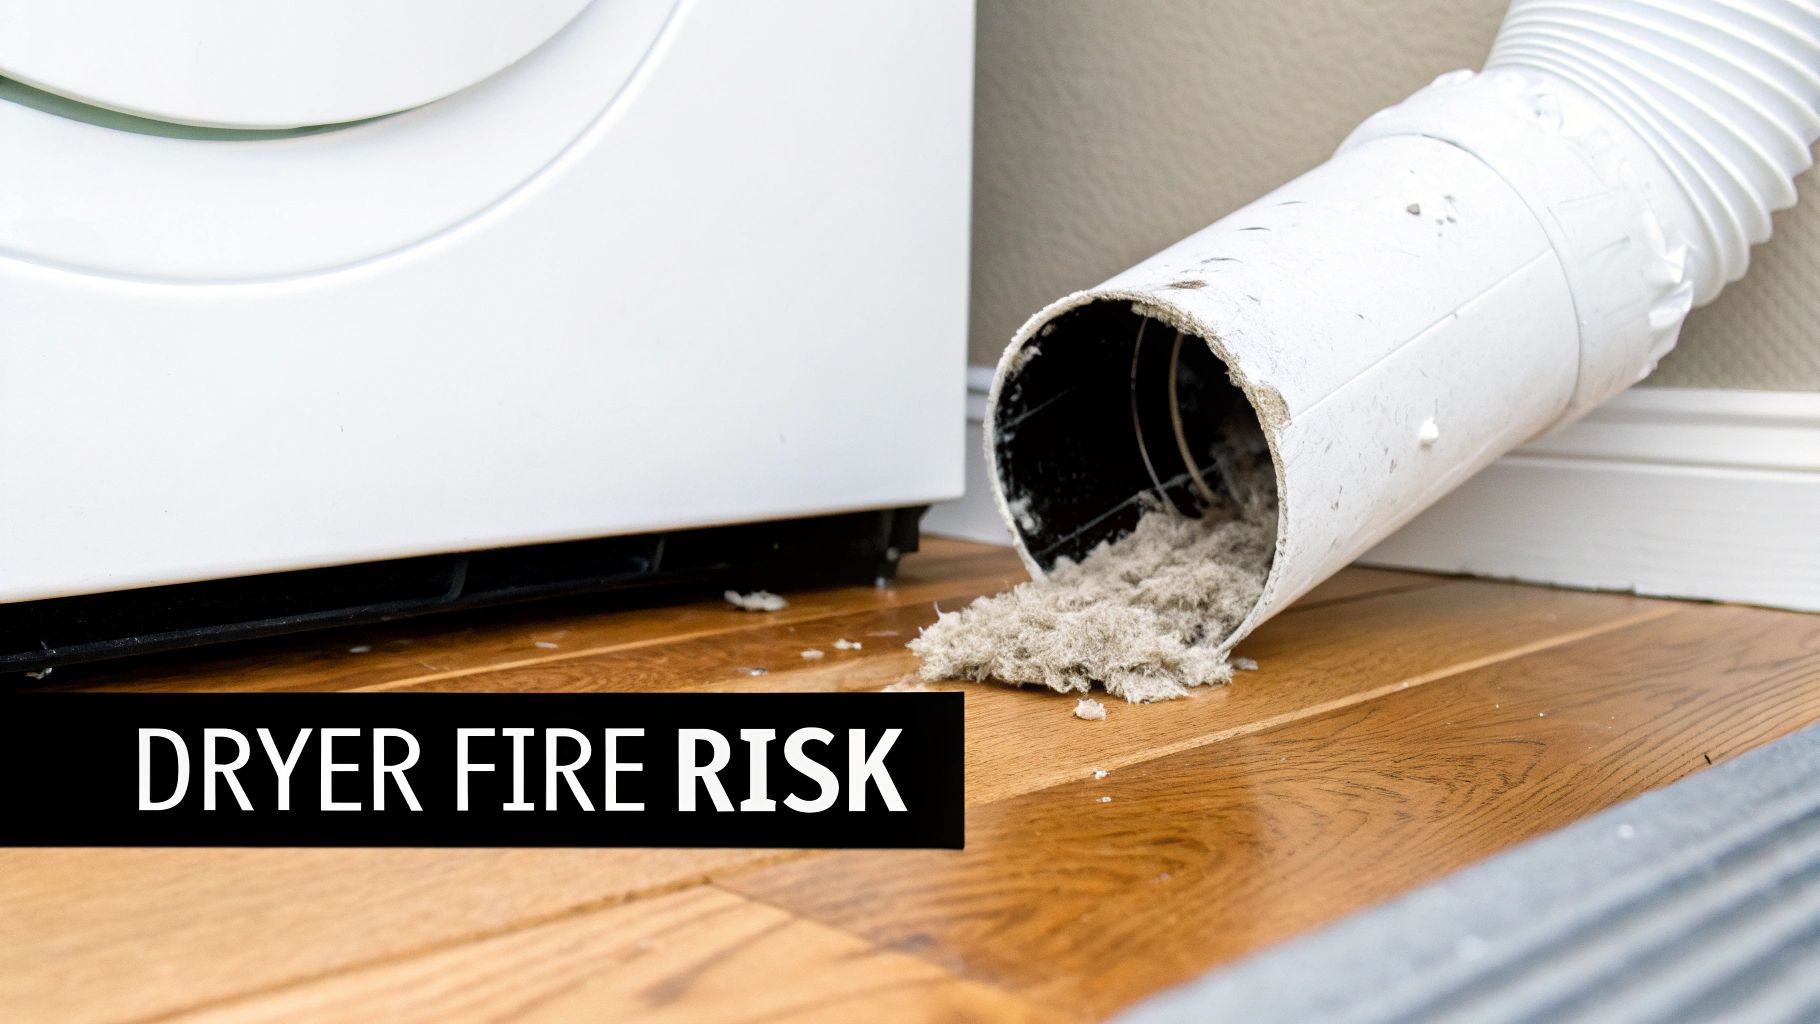
That fluffy lint you pull from your dryer's filter after each load? That’s only a tiny fraction of what your clothes actually produce. The rest of it, a highly flammable mix of fabric fibers, dust, and hair, gets pushed into the dryer vent duct with hot, moist air. Over time, this stuff builds up and creates a dense, dangerous blockage.
This buildup chokes off the airflow your dryer needs to function safely. It forces the machine to work harder and run much hotter than it's designed to. Eventually, the dryer's high-temperature safety limits can fail under the constant strain, allowing heat to build until it ignites the trapped lint. This exact scenario is a leading cause of thousands of preventable house fires every single year.
Beyond Fire Prevention The Practical Benefits
Besides the crucial safety angle, learning how to clean the dryer vent duct properly delivers some immediate, noticeable rewards for your home and your wallet. When your vent is clear, the dryer can operate the way it was meant to. You'll start to see a few key improvements right away.
Faster Drying Times: With proper airflow, your clothes will dry much faster, often in just one cycle. No more running the same damp load over and over again.
Lower Energy Bills: An efficient dryer uses a lot less energy. A clean vent can directly translate into real savings on your monthly utility bills.
Longer Appliance Lifespan: When you reduce the strain on your dryer's heating element and motor, you prevent premature wear and tear. This helps you avoid expensive repairs or having to buy a whole new appliance.
This isn't just another chore; it's a proactive home maintenance task that protects your investment and, most importantly, your family. For Phoenix area residents, the experts at Purified Air Duct Cleaning are always ready to help ensure this job is done right.
The Growing Importance of Vent Maintenance
In recent years, the attitude toward dryer vent cleaning has shifted from a minor task to a global safety priority. Industry studies show the dryer vent cleaning services market was worth around USD 1.86 billion and is projected to climb to about USD 3.5 billion by 2035.
In places like North America, where dryers are found in over 70–80% of homes, regulators and insurance companies now regularly recommend routine vent maintenance. It's a proven way to reduce fire claims and cut down on energy waste. This growing awareness highlights just how essential this task has become.
Ultimately, keeping this pathway clear is a fundamental part of responsible homeownership. Understanding how to prevent dryer fires is a key piece of this puzzle, but it's not the only one. Taking a broader look at general home fire safety equipment and preventative measures can help keep your entire home protected.
Gathering the Right Tools for the Job
Before you even think about pulling your dryer away from the wall, let's talk tools. Taking a few minutes to get your supplies in order is the difference between a smooth, successful cleaning and a frustrating, messy ordeal. Trust me, trying to tackle this job without the right equipment can be useless at best and, at worst, you could actually damage your ductwork.
Think of it like any project around thehouse: preparation is everything. Having what you need within arm's reach means no last-minute trips to the hardware store with your laundry room in disarray. This is probably the single most important part of getting a thorough, safe clean.
Your Essential Toolkit for a Clean Dryer Vent
Most of what you'll need is pretty standard stuff, but there's one special piece of gear that's an absolute must-have. You simply can't clear out that caked-on, compacted lint without it. Let's break down what you need to have ready.
Dryer Vent Cleaning Kit: This is the non-negotiable star of the show. These kits come with a specialized brush head and a set of flexible rods that you screw together as you go. This setup is what lets you navigate the entire length of your vent, even if it has a few gentle curves. Before you buy, do a quick estimate of your vent's length to make sure the rods will reach all the way to the outside.
A Powerful Vacuum: A shop vac is perfect for this, but your household vacuum will do the trick if it has a good hose attachment. The goal is to suck up the mountains of lint you're about to dislodge so it doesn't end up all over your laundry room.
Screwdriver or Nut Driver: The duct is usually attached to your dryer and the wall port with simple circular clamps. You'll need the right tool to loosen them; it's typically a Phillips head screwdriver or a small nut driver.
Duct Tape: It's smart to have a roll of high-quality foil duct tape on hand (not the gray cloth stuff). You might need it to temporarily seal a connection while you clean or patch up a small crack in rigid metal ducting.
Safety Gear: Don't blow this off. A simple dust mask is essential, you don't want to be breathing in years' worth of fine dust and lint particles. A pair of work gloves will also save your hands from the surprisingly sharp metal edges on the ductwork and clamps.
A word of caution: I’ve seen people try to use a leaf blower for this job. While it might blast out some of the loose stuff, it won't scrape off the lint that's stuck to the duct walls. Worse, the force can actually blow apart the duct sections hidden inside your walls, creating an invisible and extremely dangerous fire risk.
Prepping Your Workspace for Safety
With your tools lined up, it’s time to get the area and the appliance ready. This is a critical safety step, especially if you have a gas dryer.
First things first, you need to completely cut the power. For an electric dryer, that means unplugging the big, heavy-duty cord from its special outlet. If you have a gas dryer, you must shut off the gas supply line at the valve behind the appliance before you unplug its standard power cord.
Once you're sure it's disconnected, gently slide the dryer away from the wall. You need to give yourself enough room to work comfortably behind it. Go slow to avoid scratching the floor or kinking the vent hose. Having this clear access is the key to properly cleaning your dryer duct work and getting it done like a pro.
The Complete Process for Cleaning Your Dryer Vent Duct
Alright, you’ve got your tools laid out and the area is prepped, now for the main event. This is where we get hands-on and remove the lint clog that’s been choking your dryer’s efficiency and creating a serious fire risk. I'll walk you through the process step-by-step, making sure we hit every critical spot.
Don't worry about any confusing technical terms. This is a straightforward mechanical cleaning job. We’ll disconnect the ductwork, scrub out its entire length, clear the outside vent, and even clean out a sneaky spot inside the dryer itself that most people miss. Follow along, and you’ll get it done right.
This visual breaks down the prep work into three essential phases: safety, tools, and access.

As the infographic shows, a good cleaning starts well before you ever pick up a brush. Getting your safety gear and access sorted out is just as important as the cleaning itself.
Disconnecting the Duct for Full Access
First things first, you need to carefully detach the flexible duct from the back of your dryer and from the wall port. Typically, you'll find simple metal clamps holding each end. Grab your screwdriver or nut driver and loosen them just enough to wiggle the duct free.
Heads up, some lint is bound to fall out when you pull it off, so having your vacuum ready is a good idea. Once both ends are disconnected, you've got a clear shot at the entire duct. Gaining this full access is the only way to do a truly thorough job.
Cleaning the Duct Interior
Now it's time to put that vent cleaning kit to work. Attach the brush head to one of the flexible rods and feed it into one end of the duct. Then, connect your power drill to the other end of the rod.
Set your drill to a low-speed setting and start it rotating as you push the brush deeper into the duct. The spinning motion does the hard work, scrubbing the caked-on lint off the duct walls, while you guide it forward. Keep adding more rods as you go until the brush has traveled the entire length.
You might be shocked by how much lint you pull out. It's not unusual to end up with a pile the size of a small pillow, especially if it's been a few years since the last cleaning.
Here’s a pro tip: Always keep the brush spinning when moving it both forward and backward. If you stop the drill while the brush is inside, the bristles can easily get snagged on the duct's internal ridges, making it a real pain to pull back out.
This kind of DIY maintenance is getting more popular, and for good reason. The entire air duct cleaning service market was valued at about USD 3.89 billion and is projected to hit USD 8.04 billion by 2034. Dryer vent cleaning is a huge part of that growth because of its direct link to fire safety and lower energy bills. Even the market for DIY tools reflects this, with dryer vent cleaning kits reaching about USD 610 million as more homeowners tackle basic cleaning between professional services. You can discover more insights about the growing dryer vent market from industry reports.
Clearing the Exterior Vent Cap
With the inside of the duct clean, head outside to where the vent exits your house. Find the exterior vent cap and remove the cover; it's usually held on with a few screws or clips.
This spot is a magnet for lint, leaves, and sometimes even birds' nests, which can create a complete blockage. Pull out any visible gunk by hand. Just as important, check that the little flap or louvers on the vent can move freely. A stuck flap is almost as bad as a clog inside the duct.
Use your vacuum with a hose attachment to suck out any remaining debris from the pipe leading back into the house. Cleaning from both ends like this ensures there are no hidden pockets of lint left behind.
Don't Forget the Dryer's Lint Trap Housing
This is the step everyone forgets, but it’s absolutely essential. You already clean the removable lint screen regularly, but the cavity it slides into, the lint trap housing, is another major lint collector.
With the dryer still unplugged, take your vacuum's crevice tool and reach deep down into that housing. Scrape the sides and vacuum out all the compacted fluff you can find. If you have a flexible vacuum hose attachment, it will make this part much easier.
By clearing this final chokepoint, you guarantee that air can flow freely right from the drum, making the most of your freshly cleaned duct. It's the final touch for restoring your dryer's safety and performance.
Putting It All Back Together: Reassembly and Final Checks

You did it. You’ve pulled a shocking amount of lint out of your dryer vent, and the hard part is officially over. But don't just shove the dryer back and call it a day. Putting everything back together correctly is just as crucial for safety as the cleaning itself.
Taking a few extra minutes here to create a secure, airtight connection ensures all that hard work actually pays off. It's what keeps your dryer running safely and efficiently, and it's your best defense against future problems.
Securing the Duct Connections
Start by reattaching the vent duct to the back of the dryer and then to the wall port. You want to slide the duct as far onto each connection point as possible to get a really solid, snug fit. This is key for creating the best seal.
Next, grab those metal clamps you set aside earlier. Position one over each end of the duct, right where it overlaps the port, and use your screwdriver or nut driver to tighten them down. The goal is a firm grip; you shouldn't be able to easily pull the duct off. Just be careful not to crank down so hard that you crush or damage the duct material.
Crucial Tip: Whatever you do, never use duct tape to secure a dryer vent. Despite the name, standard duct tape isn’t made to handle the heat and moisture from a dryer. It will dry out, get brittle, and fail, which could lead to hot, moist, lint-filled air blowing into your wall cavity.
Inspecting and Upgrading Your Ductwork
Before pushing the dryer back, give the entire length of the vent duct a quick once-over. Look closely for any tears, holes, or sections that have been crushed flat. Even a tiny puncture can leak lint and hot air, which is both a fire risk and a drag on your dryer's efficiency.
Also, make sure there are no sharp bends or kinks in the line. Airflow loves a straight path; sharp turns are a perfect spot for lint to start building up all over again.
If you’re looking at an old, flimsy, foil-style accordion duct, now is the absolute best time to replace it. Those ducts are notorious for trapping lint in their deep ridges and are easily crushed behind the dryer. Consider upgrading to a much safer option:
Semi-Rigid Metal Duct: This is a great middle-ground. It's far more durable than foil, has a smoother interior for better airflow, and still offers enough flexibility for most installations.
Rigid Metal Duct: This is the gold standard for safety and performance. A solid, smooth-walled metal duct offers almost no resistance to airflow and is the most durable option you can get.
Getting the right materials in place is a huge part of home safety. A little knowledge about proper clothes dryer venting made simple can make a world of difference.
The Final, All-Important Test Run
With everything securely reconnected and inspected, it’s time for the moment of truth. Carefully slide your dryer back into its spot, paying close attention to the duct behind it. The last thing you want to do is crush or kink your freshly cleaned vent.
Once the dryer is in place, plug it back into the wall. If you have a gas dryer, don't forget to turn the gas supply valve back on.
Now, set your dryer to an air-only or fluff cycle and let it run for about 15 to 20 minutes. Head outside to the exterior vent cap. You should feel a strong, consistent flow of air coming out. That steady breeze is your confirmation that the path is clear and all your connections are sealed tight. It's the final step that gives you peace of mind that the job was done right.
When to Call a Professional for Dryer Vent Cleaning
While the DIY approach we've covered can be a lifesaver for routine maintenance, it definitely has its limits. Knowing how to clean your own dryer vent is a great skill, but recognizing when a job is beyond your tools, or comfort level, is just as crucial for your safety.
Think of it this way: you can change your car’s oil, but you probably wouldn’t try to rebuild the engine. Some vent systems are far more complex than a simple, short run straight through an exterior wall. When you run into those trickier setups, calling in an expert isn’t giving up; it’s making the smart, safe choice for your home.
Signs That a Professional Is Needed
Certain red flags are clear indicators that a standard DIY brush kit and your Shop-Vac just aren't going to cut it. If you come across any of these issues, it’s time to put down the tools and pick up the phone.
Exceptionally Long Duct Runs: If your vent duct travels a long way, especially up through an attic or down into a crawlspace, a consumer-grade brush kit probably won't have the length or rigidity to clean the entire path. Professionals use powerful, truck-mounted vacuum systems that can easily clear ducts well over 25 feet long.
Complex or Inaccessible Ducts: Does your vent take multiple sharp turns or exit through the roof? These configurations are notoriously difficult to clean without specialized equipment. It's incredibly easy for lint to get trapped in hard-to-reach elbows, creating a hidden fire hazard.
Stubborn or Complete Blockages: You run your brush through and hit a solid wall of debris that just won't budge. You could be dealing with a heavily compacted clog or even a bird's nest. Trying to force it can damage the ductwork. Pros have tools that can safely break up and extract these kinds of serious obstructions.
Signs of Pest Infestation: Finding droppings, nesting materials, or chewed-up sections of your duct is a major problem. A professional can not only clear out the mess but also help you figure out how pests got in, which is key to preventing it from happening again.
When you hire a certified technician, you’re not just paying for a cleaning. You're investing in a comprehensive safety inspection that ensures your entire system, from the dryer connection to the exterior cap, is secure and functioning correctly.
The Professional Advantage in Phoenix
For homeowners in Avondale, Phoenix, and the surrounding areas, a professional service like Purified Air Duct Cleaning brings tools and technology that go far beyond a simple brush. Our technicians use high-velocity air systems and powerful vacuums to dislodge and capture nearly all the lint, even the fine, sticky particles that a household vacuum leaves behind.
This level of thoroughness is becoming even more critical. New reports show that 54% of U.S. stakeholders and 48% in Western Europe are already using smart vent solutions with IoT capabilities that can alert homeowners when airflow drops. This trend shows how data-driven care is the future of home safety and efficiency.
Hiring an expert ensures every inch of your ductwork is cleared out, which maximizes your dryer's performance and, most importantly, minimizes your fire risk. Understanding the value of professional dryer vent cleaning for fire prevention can give you genuine peace of mind. When the safety of your home and family is on the line, getting the job done right is the only thing that matters.
Common Questions About Dryer Vent Duct Cleaning
Once you've wrapped up a thorough cleaning, it's totally normal to have a few questions pop up about how to keep things running smoothly. Getting a handle on the finer points of this maintenance task helps you build a safe, efficient routine for the long haul. Let's dig into some of the most common things homeowners ask us.
Tackling these practical concerns head-on will give you the confidence to maintain your system like a pro. The goal here is to make this crucial safety check a simple, predictable part of your home care schedule, not a source of stress.
How Often Should I Clean My Dryer Vent?
As a solid rule of thumb, you should plan on cleaning your dryer vent duct at least once every year. This annual clean-out is enough for most families and is a widely accepted safety standard.
However, your mileage may vary. Some homes generate lint at a much faster rate, meaning you'll need to clean more often. You might be looking at a six-month schedule if:
You have a big family and the laundry machine is always running.
You’ve got furry friends who shed a lot. Pet hair is notorious for mixing with lint and creating clogs in record time.
Your dryer vent duct is extra long or has a bunch of twists and turns.
You frequently dry heavy items like towels, comforters, or blankets.
Honestly, the best way to know is to pay attention to your dryer. If you start noticing that clothes are still damp after a full cycle, that’s a dead giveaway that airflow is choked off. It’s time for a cleaning, no matter how long it’s been. Learning to spot these early warnings is a key homeowner skill; you can get the full rundown in our guide on how to tell if your dryer vent is clogged.
Can I Use a Leaf Blower Instead of a Brush Kit?
We hear this one a lot. While it might sound like a clever, time-saving hack, using a leaf blower is a really bad idea, and we strongly advise against it. Sure, a powerful blast of air might push out some of the loose lint near the ends, but it does absolutely nothing to scrub away the stubborn, caked-on stuff that clings to the inside of the duct.
Worse yet, it's a huge safety risk. That intense air pressure can easily blow apart duct connections hidden inside your walls or ceiling. When that happens, you’ve got a major fire hazard on your hands, with hot, damp, lint-filled air venting directly into your home's framework.
A brush kit is designed to mechanically break loose and scrub away stubborn lint. A vacuum then safely captures it. A leaf blower just shoves the problem around and can create bigger, more dangerous issues you can't even see.
What Is the Difference Between the Lint Trap and the Vent Duct?
This is a fantastic question because it gets to the heart of the two different parts of the system that need your attention.
The lint trap is that mesh screen you pull out from the top or inside of your dryer. This needs to be cleaned after every single load. No exceptions. Its job is to catch the lion's share of the lint coming off your clothes.
The vent duct is the entire channel, usually a long, flexible tube, that carries all the hot air, moisture, and fine lint particles that sneak past the trap. This is the pathway that runs from the back of your dryer all the way to the vent cap on the outside of your house. Cleaning the trap is a daily chore, but it is no substitute for the essential annual deep cleaning of the entire vent duct.
My Dryer Still Takes Too Long to Dry. What Else Is Wrong?
That is incredibly frustrating. If you've just done a meticulous job cleaning the entire vent line, from the machine to the exterior cap, and your clothes are still coming out damp, the clog probably isn't your problem anymore.
First, go back and double-check your work. Make sure the duct is connected securely at both ends, with no sharp bends, kinks, or crushed sections restricting the airflow. Sometimes the fix is that simple.
If the ductwork looks good, the issue is likely with the appliance itself. The most common culprits are a failing heating element or a faulty moisture sensor. At this point, your best bet is to call a qualified appliance repair technician to get a professional diagnosis and fix the machine.
Keeping your dryer vent clear is a simple but incredibly effective way to protect your home and keep your appliances running efficiently. If you ever feel like you're in over your head or are dealing with a particularly tricky system, the certified professionals at Purified Air Duct Cleaning are always here to help. We’ll make sure the job gets done safely and correctly. Learn more about our expert services at purifiedairductcleaning.com.