The Best Way to Clean Dryer Vents A Practical Home Safety Guide
- Dec 22, 2025
- 16 min read
The best approach to cleaning your dryer vents is really a one-two punch: consistent DIY maintenance paired with an annual professional deep clean. For most homeowners, running a specialized brush and vacuum kit through the vent every six months is a smart, preventative habit. But for a truly thorough and safe cleaning, you can't beat the high-powered equipment a professional service brings to the job.
Why Your Dryer Vent Is a Hidden Fire Hazard
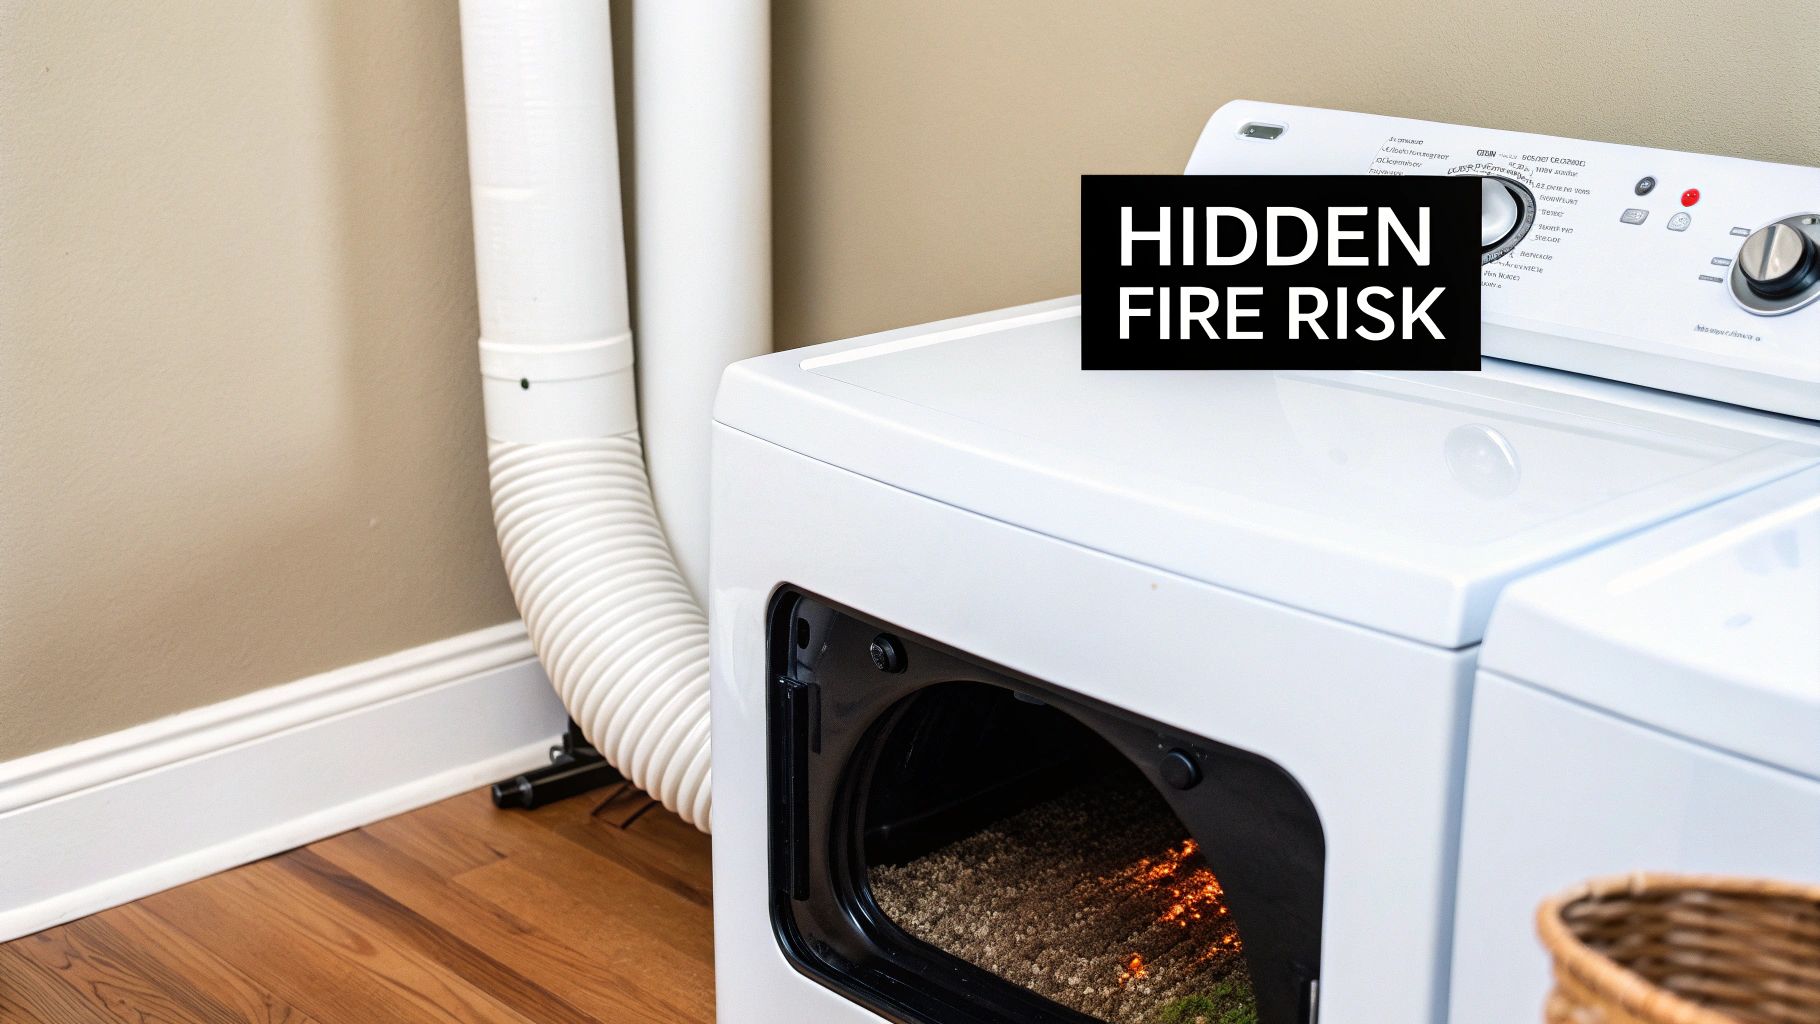
That little handful of fluff you pull from the lint trap after each load? That’s just the tip of the iceberg. Behind the scenes, a shocking amount of this highly flammable material gets past the filter and packs itself deep inside your home's vent system. This hidden buildup isn't just an inconvenience; it's a serious accident waiting to happen.
As lint accumulates, it chokes off the airflow, forcing your dryer to work harder and run much hotter. When temperatures inside that constricted vent climb high enough, the compacted lint can easily ignite, sparking a dangerous fire that can spread rapidly through your walls.
It’s a bigger problem than most people realize. Clogged dryer vents are responsible for thousands of devastating house fires across North America every year. In the U.S. alone, they lead to over 15,000 dryer-related fires annually, causing millions in property damage.
Beyond the terrifying fire risk, a clogged vent is also a silent drain on your wallet. When your dryer can't push hot, moist air through a blocked passage, drying times can double or even triple. That inefficiency hits you directly with higher energy consumption and steeper utility bills.
The Core Benefits of a Clean Vent
Taking care of this often-overlooked task delivers two huge advantages that protect both your home and your budget. It's a simple bit of maintenance with a massive impact.
Drastic Fire Risk Reduction: This is, without a doubt, the most critical benefit. Clearing out that flammable fuel from your vent system eliminates the primary ingredient for a fire. A clean, open path for hot air prevents the dangerous heat buildup that leads to ignition. For a deeper dive, you can learn more about the primary causes of dryer fires and how to prevent them in our detailed guide.
Improved Energy Efficiency: A clear vent lets your dryer work the way it was designed to, drying clothes faster while using far less energy. This not only saves you money on every cycle but also reduces the strain on the appliance, which can help extend its lifespan.
Making the Right Cleaning Choice
So, how do you get it done? It really comes down to two paths: tackling it yourself with a DIY kit or hiring a professional service. The right choice hinges on your comfort level with home maintenance, the complexity of your vent system, and frankly, how long it's been since it was last cleaned.
A critical mistake I see homeowners make all the time is underestimating how long and complicated their vent run is. A simple brush kit might only clear the first few feet, leaving a dangerous blockage packed deeper inside the walls where you can't see or reach it.
To help you decide what's best for your situation, it helps to see a direct comparison. Looking at the differences in cost, effectiveness, and effort will make it much clearer which approach will give you the peace of mind you need.
DIY vs Professional Dryer Vent Cleaning at a Glance
Before you grab a kit from the hardware store or book a service call, take a quick look at this comparison. It breaks down the pros and cons of each method to help you make an initial assessment.
Aspect | DIY Cleaning | Professional Service |
|---|---|---|
Cost | $20 - $50 for a one-time kit purchase. | $100 - $250+ depending on location and complexity. |
Effectiveness | Good for short, straight vents and routine upkeep. | Highly effective for all vent types, including long or complex runs. |
Tools Used | Basic flexible brush rods, vacuum attachments. | High-pressure air tools, powerful vacuums, and diagnostic cameras. |
Safety | Risk of damaging the vent or getting tools stuck. | Safe and insured. Technicians are trained to handle all situations. |
Time | 1-2 hours of your time. | 30-60 minutes for a trained professional. |
Best For | Homeowners comfortable with maintenance and with simple vent layouts. | Anyone with long vent runs, bends, or who wants guaranteed results. |
Ultimately, while a DIY approach has its place for minor upkeep, a professional service provides a level of safety and thoroughness that a home kit simply can't match, especially for vents that haven't been cleaned in over a year.
Spotting the Telltale Signs of a Clogged Vent
Your dryer is pretty good at telling you when something’s wrong. It sends out clear signals when its vent is clogged and struggling for air, you just have to know what to look for. Think of it as becoming a detective in your own laundry room.
Many of these symptoms are easy to brush off as the machine just getting old, but they almost always point to a dangerous lack of airflow. When you ignore them, you’re overlooking a significant fire risk building up inside your walls. Catching these red flags early is everything.
Performance Problems You Can't Ignore
One of the first and most obvious clues is a nosedive in your dryer's performance. A clog forces the appliance to work overtime just to do its basic job, leading to issues you can see and feel after every single load.
Is your laundry still damp after a full cycle? That’s a massive indicator. You might find yourself running the dryer a second or even a third time to get towels and jeans completely dry. This isn't just annoying; it's a direct sign that hot, moist air is trapped in the drum instead of being properly vented outside. For a complete rundown, check out our guide on how to tell if your dryer vent is clogged.
Another dead giveaway is how your clothes feel when the cycle finishes. If they are unusually hot to the touch, it means the dryer is overheating because it can’t get rid of the hot air. The machine itself might also feel excessively hot on the top or sides.
Alarming Sensory Clues
Your own senses are powerful tools for sniffing out a clogged vent. These signs often pop up once a blockage has become more serious, so acting on them immediately is critical for your home’s safety.
A distinct burning smell is the most urgent warning sign you can get. When lint gets packed tightly into the vent, the intense heat from the dryer can start to scorch it, creating a smell like something is toasting or burning. This means you are dangerously close to a fire.
You might also notice other things around the laundry area:
Excessive lint buildup on the floor behind or around the dryer.
More moisture and condensation in the laundry room than usual.
A musty, mildew-like odor on your "clean" clothes, a classic sign of trapped, damp air.
The outside of your home offers one of the clearest clues. Go find where your dryer vents to the exterior. If that little flap on the vent cover barely opens, or doesn't move at all, when the dryer is running, you've got a significant blockage on your hands.
Finally, keep an eye on the lint screen inside the dryer. Yes, you should be cleaning it after every use, but pay attention if it seems to be filling up faster than normal. This can happen when air pressure from the clogged vent backs up, forcing more lint into the trap. All these signs point to one conclusion: it’s time to take action before a simple cleaning job turns into an emergency.
A Practical Guide to DIY Dryer Vent Cleaning
Tackling your own dryer vent cleaning is one of those incredibly satisfying home maintenance jobs. It's a project that directly boosts your home's safety and your dryer's performance. With the right tools and a bit of patience, you can clear out that dangerous lint buildup and get the air flowing like it should. This is more than just a quick vacuum job; it’s a systematic process to make sure the entire line is clear, from the back of your machine all the way to the outside world.
Before diving in, you’ll need to round up the right gear. Most hardware stores carry dryer vent cleaning kits, and they are absolutely essential for doing this right. A decent kit will come with several flexible rods that screw together and a brush attachment made specifically for scrubbing the inside of the duct.
You’ll also need a few other things you probably already have:
A strong vacuum with a hose attachment.
A screwdriver or nut driver for the duct clamps.
A dust mask, you don't want to be breathing in all that lint.
A pair of work gloves.
My advice? Don’t cheap out on the kit. Flimsy rods can snap or, even worse, disconnect inside the vent. That turns a simple DIY job into a major headache. Look for kits that mention reinforced connectors or high-flexibility materials.
Getting Started The Right Way
First things first: safety. Before you even think about moving the dryer or taking anything apart, you have to cut the power.
Unplug your dryer from the wall outlet. If you have a gas dryer, you also need to shut off the gas supply. Look for a valve on the pipe behind the dryer; turn the handle so it’s perpendicular (90-degree angle) to the pipe. That's the "off" position. This simple step eliminates any risk of shock or a gas leak.
Now you can gently slide the dryer away from the wall. Give yourself plenty of room to work comfortably behind it. This is also the perfect time to vacuum up all the dust bunnies and lint that have been hiding back there.
Disconnecting and Cleaning the Ductwork
With the dryer pulled out, you'll see the flexible tube (the duct) that connects your dryer to the wall vent. It's held on by a couple of round clamps. Use your screwdriver or nut driver to loosen them and carefully pull the duct off both the dryer and the wall pipe.
Start with that flexible transition duct you just removed. Use your vacuum's hose to suck out all the loose lint. After that, take one of the brush rods from your kit and manually scrub the inside to break free any caked-on gunk.
Next, focus on the lint trap housing inside the dryer itself. Pull out the lint screen, and using a narrow vacuum attachment or a special lint trap brush, reach down into that slot. You'll be amazed at how much lint bypasses the screen and gets stuck down there.
You might be shocked at what you find. I once helped a friend who swore his dryer was broken, but when we cleaned the lint trap housing, we pulled out a packed, foot-long "lint snake." His dryer immediately started working like new again.
Tackling the Main Vent Run
Alright, now for the main event: cleaning the long vent pipe that runs through your walls. This is where those flexible rods are your best friend.
Attach the brush head to one rod section. Insert it into the wall opening and start pushing it in, adding more rod sections as you go. Here’s a pro tip: connect the rods to a power drill set on a low-speed, clockwise rotation. The spinning action does a fantastic job of scrubbing the vent walls and helps the brush work its way through any turns.
As you push the brush deeper, it's a huge help to have a partner hold a vacuum hose at the opening to catch the lint as you break it loose. Work in short sections, push forward a few feet, then pull back to dislodge the buildup. Keep going until you feel the brush hit the exterior vent cover. For an even more detailed guide, check out these pro tips for quick results when cleaning dryer duct work.
Navigating 90-degree bends can be tricky. The key is to go slow and let the spinning brush do the work. If you try to force it, you risk damaging the ductwork, especially the older, fragile foil-style ducts.
The infographic below shows the exact problems this cleaning process solves.
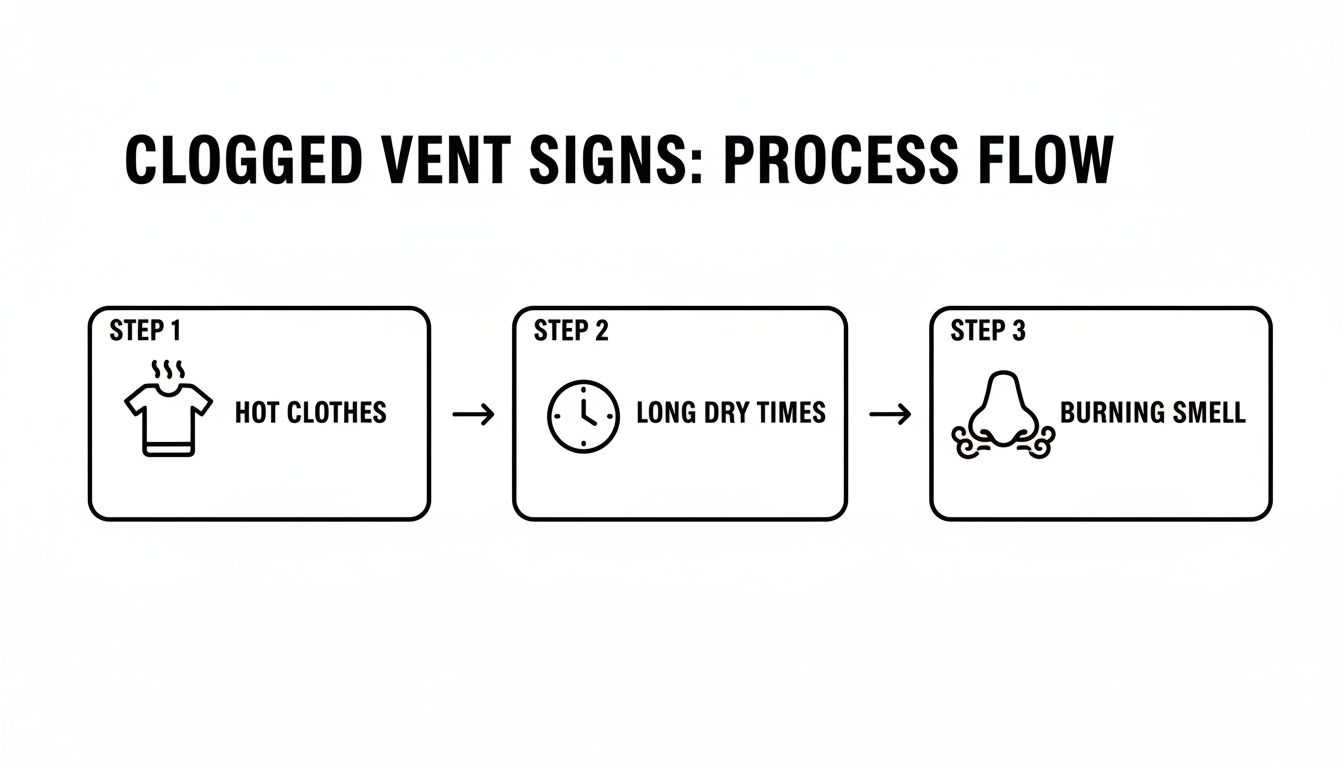
By clearing that blockage, you’re hitting the root cause of overheating, ridiculously long drying cycles, and that scary burning smell.
Final Steps and Reassembly
Once you've cleaned the duct from the inside, head outside and check the exterior vent cover. Clear away any lint that got pushed out. Most importantly, make sure the flap or louvers can open and close freely. A flap that's stuck shut will just trap the lint all over again.
With everything clear, it's time to put it all back together. Reconnect the flexible duct to the wall pipe and the dryer, making sure those clamps are nice and snug for an airtight seal. Any leaks will just blow lint and moist air into your laundry room.
Gently slide the dryer back into place. Be really careful not to crush or kink the ductwork behind it; a kinked duct is just as bad as a clogged one. Plug the dryer back in and, if applicable, turn the gas valve back on.
The final step is to run the dryer on an air-only or low-heat cycle for about 15 minutes. This will blow out any last bits of loose lint. Do one final check outside to make sure you feel strong, consistent airflow coming from the vent.
Knowing When to Call a Professional Cleaner
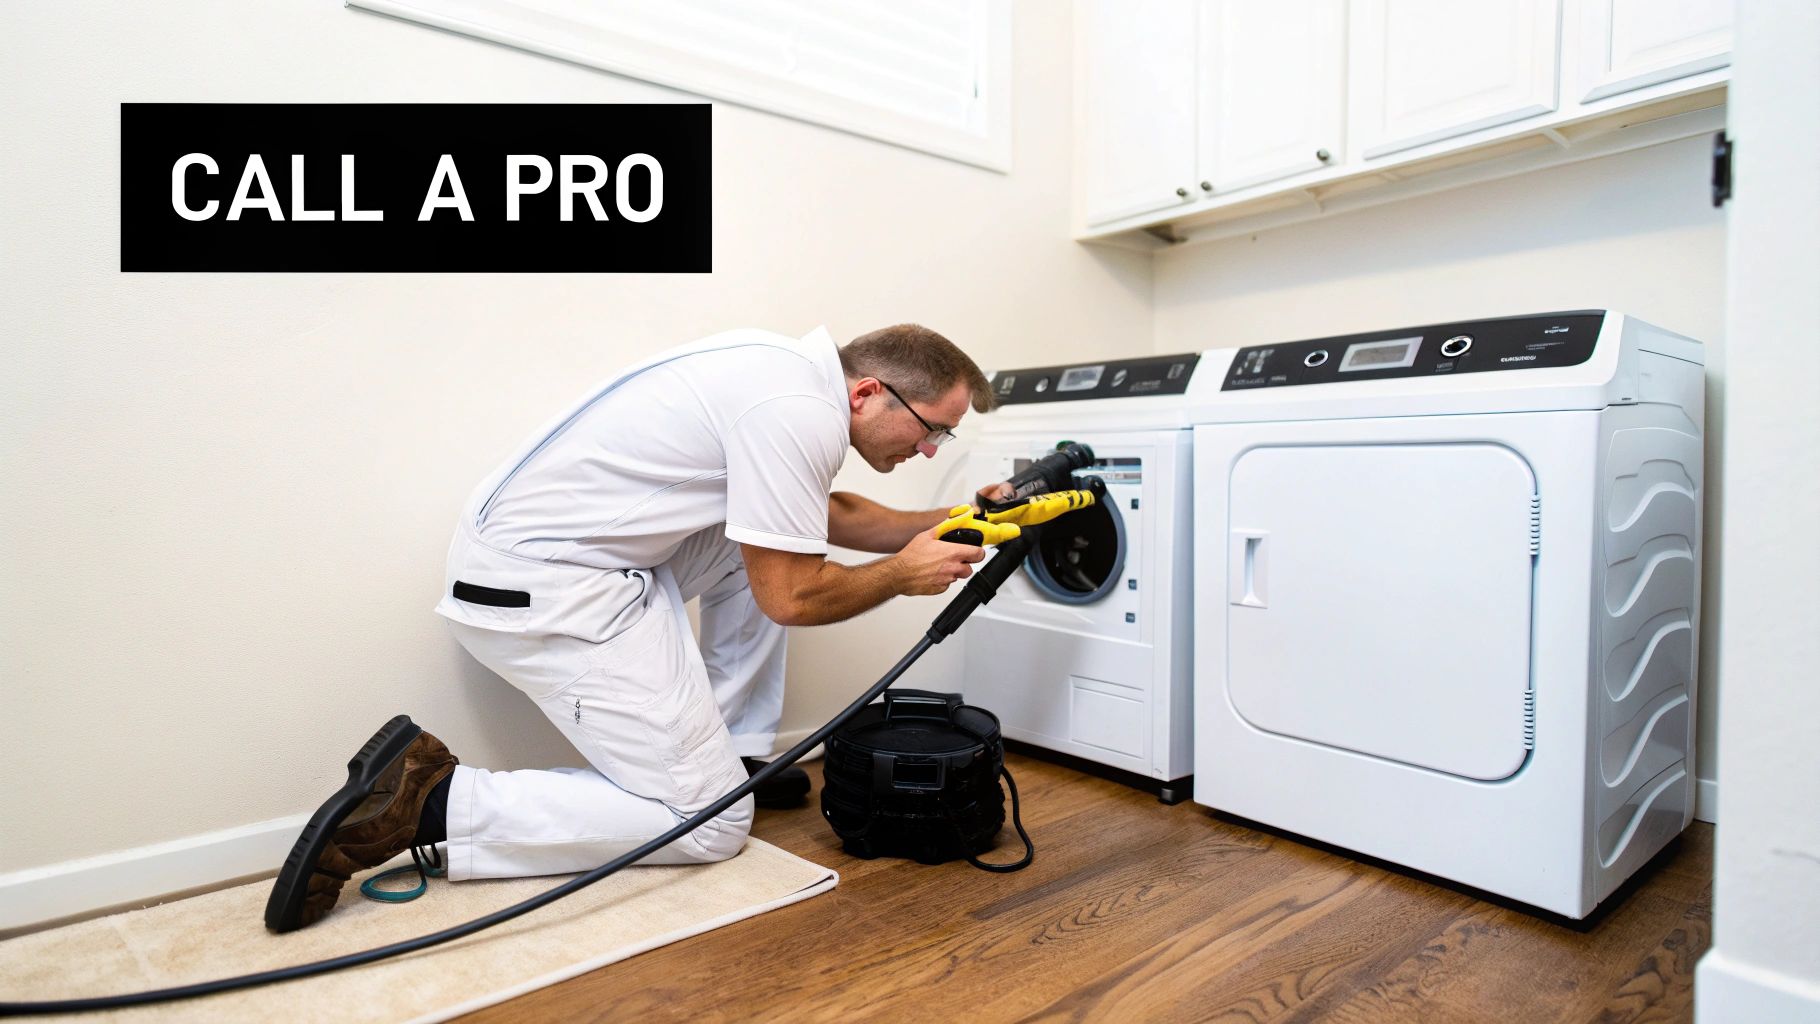
While a dedicated DIY approach can certainly handle routine upkeep, some situations are just beyond the scope of a home cleaning kit. Knowing when to put down the brush and call in a pro is key to ensuring your vent is completely and safely cleared out, not just partially clean.
For certain home layouts and vent configurations, trying to force a DIY solution can do more harm than good. You could end up damaging the ductwork or, even worse, compacting the lint into a denser, more dangerous blockage.
Red Flags That Demand an Expert
If your home’s vent system matches any of these descriptions, your smartest and safest move is to pick up the phone. These aren’t just suggestions; they are clear signs that a professional cleaning is necessary.
You should call a professional if:
Your vent run is exceptionally long. Any duct path that stretches over 25 feet is a job for a pro. The standard kits you buy at the store simply don't have the length or rigidity to clean that far, leaving hazardous lint buildup deep inside.
The vent terminates on the roof. Getting up there requires specialized equipment and creates a serious safety risk for homeowners. Professionals have the right ladders, safety harnesses, and tools to do the job without any drama.
You suspect your duct is made of flimsy vinyl. Those white, plastic-like, accordion-style ducts are a well-known fire hazard and are no longer up to code in most places. A technician can confirm if you have one and recommend a safe, rigid metal replacement.
One of the most common things we see is when a DIY cleaning just doesn't fix the problem. If you've cleaned the vent yourself but your clothes still take ages to dry, it’s a tell-tale sign that a stubborn clog remains, one that only professional-grade equipment can break through.
The Professional Advantage: Advanced Tools and Techniques
When you hire a professional, you're not just paying for an extra set of hands. You’re getting access to powerful, specialized equipment that you can't just pick up at the local hardware store. This is what makes their service so much more effective.
The biggest difference-maker is their use of high-powered vacuums and compressed air systems. These tools create incredible suction and force that can dislodge years of compacted lint, debris, and even small animal nests that have made a home in there. They pull the blockage out of the system, not just push it around.
Plus, many services now use camera inspection systems. A technician can run a small, flexible camera through the entire length of the vent to visually confirm that every single inch is spotless. This eliminates all the guesswork and guarantees a truly thorough job. Reputable professional home services businesses often prioritize clear communication and transparent methods like this to build trust.
Why Professional Cleaning Is More Effective
Let's be honest: even the best DIY kits have their limits. They're great for light maintenance, but they often struggle to navigate sharp turns in the ductwork or reach blockages buried deep within the system.
This is exactly where a professional service shines. Expert reviews consistently show that home kits can leave behind 40-60% of the lint. In contrast, professionals using high-powered vacuums and flexible rods can extract nearly all of the debris. This restores peak airflow and can slash drying times by as much as 30%, saving you money on your energy bill right away.
Ultimately, investing in a professional service offers an unmatched level of safety and peace of mind. To see the full picture, you can learn more about how professional dryer vent cleaning services prevent fires and improve safety in our detailed overview. It’s a small price to pay for a guaranteed result that protects your home, family, and appliances.
Is Professional Dryer Vent Cleaning Worth the Cost?
While the DIY route has its appeal, there are times when calling in a professional is the smartest, safest move you can make. That naturally leads to the big question: what does it cost, and is it really worth it? The best way to look at this service isn't as an expense, but as a strategic investment in your home's safety and efficiency.
You can typically expect a professional dryer vent cleaning to cost somewhere between $100 and $250. That price tag can shift a bit depending on what the technician finds when they arrive.
A few key things can influence that final number:
Vent Length and Complexity: A short, straight vent is a quick job. But if your vent snakes through an attic or crawlspace with a bunch of tight turns, it's going to take more time and specialized tools to clean it right.
Accessibility: Is the exterior vent cover on the first floor or way up on the roof? A second-story or rooftop vent requires tall ladders and extra safety precautions, which can add to the cost.
Level of Blockage: If it's been years since the last cleaning, or if a family of birds decided to build a nest in there, the job will be a lot more involved than a simple maintenance clean.
More Than Just a Cleaning, It's an Investment
The return you get from this service goes way beyond just a lint-free duct. We're talking about real, measurable savings and priceless peace of mind.
A clean, unobstructed vent lets your dryer run the way it was designed to. It operates more efficiently, using less energy to get your clothes dry. That translates directly to lower utility bills, month after month.
Plus, you're preventing your dryer from constantly overheating and straining to do its job. This reduces the wear and tear on motors, belts, and heating elements, which can significantly extend the life of your appliance. That means you avoid the high cost of a premature replacement or an emergency repair bill. For a deeper look at the numbers, check out our guide to dryer vent cleaning costs.
But the most important return isn't something you can track on a spreadsheet: it's safety. By clearing out that highly flammable lint, you're making a direct investment in protecting your home and family from a devastating fire.
The True Price of Putting It Off
The risk of a dryer fire isn't just theoretical. Lint-clogged vents are a real and frighteningly common hazard, leading to an estimated 18 deaths and 84 injuries each year in the U.S. The property damage alone tops $236 million annually.
The best defense is a proactive one. An annual professional cleaning using compressed air and inspection cameras can clear 99% of blockages. That's a huge leap from the typical 70% effectiveness of most DIY kits, a critical difference, especially in older homes where fire risks can be higher.
When you look at the big picture, this service fits perfectly within a smart home maintenance strategy. In fact, many contractors bundle it into their comprehensive HVAC maintenance plans, right alongside other essential system tune-ups. When you weigh the modest cost against the massive benefits of energy savings and home safety, the value becomes crystal clear.
Frequently Asked Questions About Dryer Vent Safety
Even after you've got a game plan for dryer vent cleaning, it's normal to have a few lingering questions. When it comes to something so critical for your home's safety and your dryer's performance, you want to be completely sure you're doing things right.
This is where we tackle the common "what ifs" and "should I reallys?" that we hear from homeowners all the time. We'll clear up any confusion, bust a few dangerous myths, and make sure you have the confidence to keep your system running safely.
How Often Should I Really Clean My Dryer Vent?
You'll often hear the standard advice to clean your dryer vent once a year. For an average household, that's a pretty solid rule of thumb. But let's be realistic, not every home is "average." Your laundry habits and even the way your house is built can mean you need to clean it more often.
You should seriously consider bumping that schedule up to every six to nine months if any of these sound familiar:
You have a big family: More people equals more clothes, which means a whole lot more lint is being generated, and fast.
You've got pets: All that pet hair is a nightmare for your dryer vent. It weaves into the lint, creating dense, heavy clogs that are tough to move.
Your vent run is long and winding: The longer the path from your dryer to the outside, the more places lint has to settle and build up, especially around elbows and bends.
You wash a lot of heavy items: Think bedding, towels, and big fluffy rugs. These items shed an incredible amount of fiber compared to your t-shirts and jeans.
The bottom line is to tailor your cleaning schedule to your home's actual needs, not just a generic calendar reminder.
Can I Just Use a Leaf Blower Instead of a Kit?
This is one of those DIY "hacks" that sounds clever in theory but is a genuinely terrible idea in practice. While you might imagine a powerful blast of air clearing everything out, what actually happens can be far more destructive and dangerous.
The sheer force from a leaf blower can easily pop apart the duct sections hidden inside your walls or attic. If that happens, you're now pumping hot, moist, lint-filled air directly into your home's structure. This creates a hidden fire hazard and is the perfect recipe for a serious mold problem. Worse yet, the blast often just compacts wet, heavy lint deeper into the vent, turning a simple blockage into a solid plug.
The goal of safe vent cleaning is always to pull lint out of the system, never to push it further in. A proper rotating brush and vacuum are designed to do just that, making them the only safe and effective choice.
What's the Difference Between a Duct and a Vent?
People tend to use these terms interchangeably, but they're actually two different parts of the same system. Knowing which is which is helpful, especially if you ever need to call a pro and describe a problem.
The Duct: This is the short, flexible tube connecting the back of your dryer to the wall. It’s often called the "transition duct." Think of it as the on-ramp.
The Vent: This is the main event. It's the entire run of rigid piping that goes from that wall connection, through your house, and terminates at the vent cover on the outside.
A thorough cleaning means you're tackling both: the transition duct and the entire vent system. Clearing out just one isn't enough.
Is My White Vinyl Dryer Duct a Safety Risk?
Yes. Full stop. If you pull your dryer out and see a white, plastic, accordion-style tube, it needs to be replaced immediately. This isn't just an outdated part; it's a known fire hazard.
These flimsy ducts are dangerous for a few key reasons. First, their ribbed, flexible design is a magnet for lint, causing clogs to form much more easily than in smooth metal. Second, the plastic material itself has very low heat resistance. If a spark or fire were to start in the lint, this type of duct could quickly melt or ignite, allowing the fire to spread right into your wall.
For these reasons, white vinyl ducts are prohibited by almost all modern building codes. The proper, safe replacement is a rigid or semi-rigid metal duct. Its smooth interior resists lint buildup, and it's non-combustible. Swapping out that one part is one of the most important safety upgrades you can make in your laundry room.
Ready to ensure your dryer vent is completely clean and safe? The certified technicians at Purified Air Duct Cleaning use professional-grade equipment to remove hazardous lint buildup, improve your dryer's efficiency, and give you total peace of mind. Schedule your professional cleaning today by visiting us at https://www.purifiedairductcleaning.com.