How to Clean a Roof Dryer Vent a Homeowner's Guide
- Feb 10
- 16 min read
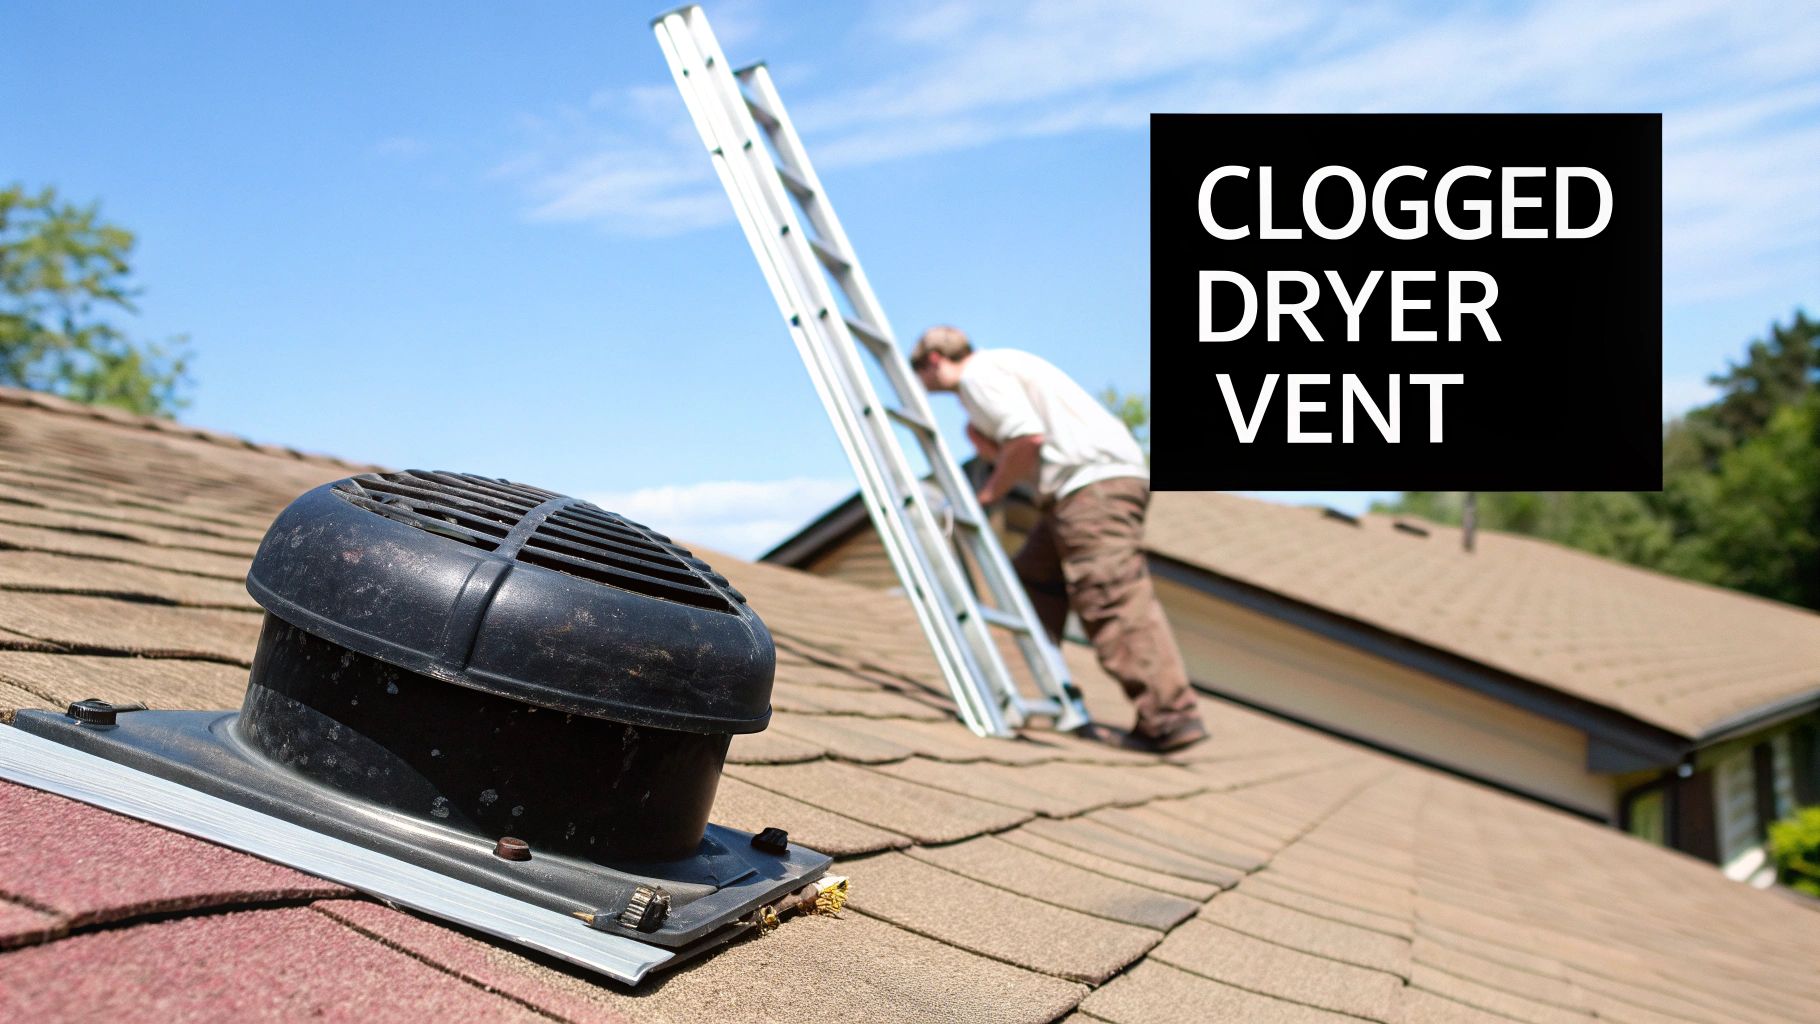
Knowing how to clean a roof dryer vent is more than just a chore; it’s a critical safety task. This isn't just about wiping things down; it involves clearing out the entire ductwork, from the vent cap on your roof all the way back to where it connects to your dryer.
The job requires you to unplug the dryer, get up on the roof safely, take off the vent cover, and then use a specialized brush kit to scrub out the whole length of the pipe. Honestly, it’s a non-negotiable part of essential home maintenance that keeps your home safe from fires and helps your dryer run the way it should.
Why Cleaning Your Roof Dryer Vent Is Non-Negotiable
It’s easy to forget about that little vent cap up on your roof, but ignoring it can lead to some pretty serious problems. Every single time you run a load of laundry, your dryer pushes out hot, moist air filled with highly flammable lint. When the vent is clear, that stuff escapes without any issue.
But when it gets clogged, that lint has nowhere to go. It just keeps building up, layer after layer, creating a major fire hazard that's completely hidden inside your walls and ceiling. This isn't just about efficiency; it's about protecting your property and your family.
The Hidden Dangers of a Clogged Vent
A blocked vent makes your dryer work way harder than it's supposed to. All that strain causes the appliance to overheat, which can fry internal parts like the heating element and motor. In the worst-case scenario, that intense heat can actually ignite the lint that's trapped inside.
The statistics are pretty alarming. The U.S. Fire Administration reports that failure to clean dryer vents is the leading cause of roughly 2,900 house fires every year. The takeaway here is that most of these fires are completely preventable with basic upkeep.
Beyond the fire risk, a clogged vent creates other headaches. All that trapped moisture is the perfect breeding ground for mold and mildew inside the ductwork, which tanks your home's air quality. And if you have a gas dryer, a blockage can cause a deadly buildup of carbon monoxide inside your home, a colorless, odorless gas you won't know is there until it's too late. For a deeper dive, check out our guide on how to prevent dryer fires at home.
Recognizing the Warning Signs
Your home will usually give you a few clues that your roof dryer vent needs some attention. Catching these signs early can stop a small problem from turning into a disaster. Keep an eye out for these red flags:
Longer Drying Times: Are your clothes, especially heavy things like towels and jeans, still damp after a full cycle? A clog is the most likely culprit.
Overheating Appliance: The top of your dryer feels really hot to the touch while it’s running or right after it finishes.
Burning Smell: You notice a faint burning odor in the laundry room. That's a sign lint is getting scorched somewhere in the system.
Excess Humidity: The laundry room feels stuffy and humid when the dryer is on, maybe with some condensation on the windows.
These aren't just minor annoyances; they're direct warnings that your dryer is struggling. The National Fire Protection Association (NFPA) notes that clothes dryer fires cause over $236 million in property damage annually in the U.S. Paying attention to these signs is one of the most important things you can do to protect your home.
Gearing Up: Assembling Your Toolkit for a Safe Cleaning
Trying to clean a roof dryer vent without the right gear is more than just a bad idea, it’s downright dangerous. Before you even think about putting a foot on a ladder, the most critical part of the job is gathering all your tools and safety equipment. Having everything laid out and ready to go stops you from making risky trips up and down or, worse, a last-minute run to the hardware store mid-job.
Think of it like this: you wouldn't tackle a plumbing disaster without a wrench, so don't even consider climbing up to a vertical vent without the proper setup. A well-stocked toolkit is your first line of defense against accidents and the key to a job well done.
First, let's go over everything you'll need to get the job done right. This table breaks down the essentials, from the core cleaning tools to the non-negotiable safety gear.
Essential Toolkit for Roof Dryer Vent Cleaning
Category | Item | Key Features & Purpose |
|---|---|---|
Cleaning Gear | Rotary Dryer Vent Brush Kit | The MVP of this project. It attaches to a drill to scrub lint from duct walls. Get one with flexible, interlocking rods that can reach the full duct length (12 to 20 feet is common). |
Cleaning Gear | Cordless Drill | Powers the rotary brush. Make sure the battery is fully charged before you head up. A dead battery mid-clean is a major hassle. |
Cleaning Gear | Wet/Dry Shop Vacuum | Your cleanup crew. Position it at the interior vent opening to catch the massive amount of lint you're about to dislodge from above. |
Cleaning Gear | Screwdriver or Nut Driver | For removing the vent cap on the roof. Check the screw heads beforehand to grab the right size and type (Phillips, flathead, hex, etc.). |
Safety Gear | Extension Ladder | Must be tall enough to extend at least three feet above the roofline for a safe transition. Ensure it's on level, solid ground. |
Safety Gear | Non-Slip Footwear | Absolutely mandatory. Proper roofing boots or shoes with high-traction soles are essential for preventing a slip on shingles. |
Safety Gear | Roof Safety Harness | A smart investment, especially for steeper roofs. It connects to a secure anchor point and is your ultimate backup. |
Safety Gear | Safety Glasses/Goggles | Protects your eyes from the inevitable shower of dust, lint, and debris that will come out of the vent. |
Safety Gear | Sturdy Gloves | Protects your hands from sharp metal edges on the vent cap or ductwork. |
Having these items ready will make the entire process smoother and, most importantly, safer.
Why This Specific Gear Matters
When it comes to the cleaning tools, the rotary dryer vent brush kit is the real hero. A simple brush just won't cut it for a vertical vent. The spinning action of a drill-powered brush is what actually scours the caked-on lint from the inside of the duct walls. You’ll need a reliable cordless drill to power it, and trust me, you want that battery fully juiced before you’re perched on a roof.
Your wet/dry shop vac plays a crucial supporting role. By placing it at the indoor opening of the dryer duct before you start, you’ll catch the vast majority of the lint you knock loose. This one simple setup step saves you a massive cleanup headache inside your laundry room later.
Safety Isn't Optional, It's Everything
Now, let's talk seriously about safety. Working on a roof carries real risks, but they are completely manageable if you respect the height and use the right gear. Your safety equipment is every bit as important as the cleaning tools.
Taking the time to secure yourself properly is the single most critical aspect of this entire process. A fall from a roof can have life-altering consequences, so never cut corners on safety.
Your extension ladder is your only way up and down. It absolutely must extend at least three feet past the edge of the roof to give you something stable to hold onto as you step on and off. Paired with this are non-slip footwear; I can't stress this enough. Good boots designed for roofing give you the grip you need to stay planted.
For anyone working on a roof with any kind of noticeable pitch, a roof safety harness is a wise move. It provides that essential lifeline in case of a slip. Finally, always wear safety glasses to keep flying debris out of your eyes and a good pair of gloves to protect your hands. And if you want a deeper dive into ductwork management, you can read our guide on the best way to clean your dryer duct for more professional tips.
The Complete Process for Cleaning Your Roof Vent
Alright, you've got your tools and you've thought through the safety plan. Now for the main event: actually cleaning the vent. While it isn't rocket science, you do need to be methodical. A careful, step-by-step approach ensures you get the job done right without missing anything important.
We'll tackle this in a few phases, starting with some simple but crucial prep work inside before moving on to the more hands-on work up on the roof. Following these steps in order just makes the whole process smoother and, most importantly, safer. Cutting corners, especially with safety, is a recipe for an accident or a half-done job that leaves dangerous lint behind. Let's start inside.
Indoor Preparation Before You Climb
Before you even think about setting up the ladder, a couple of quick jobs in the laundry room will set you up for success. This is all about making the cleanup a breeze and ensuring you're working safely.
First things first, and this is non-negotiable: unplug your dryer from the wall outlet. It doesn't matter if it's gas or electric; you have to kill the power. This completely removes the risk of a nasty shock or the machine accidentally turning on while you're working.
Next, gently pull the dryer out from the wall so you can get to the ductwork. You'll see the flexible duct that connects the back of your dryer to the vent pipe in the wall. Go ahead and disconnect it from the wall port. Doing this gives you the perfect spot to stick the hose of your shop vacuum.
Pro Tip: Use a few pieces of duct tape to secure the vacuum hose inside the wall duct opening. This creates a good seal that will suck up almost all the lint and gunk as it falls down from the roof, saving you from a massive cleanup mess inside later.
With the dryer unplugged and the vacuum ready to go, the indoor prep is done. Time to head outside and get to the source of the problem.
Safely Accessing and Working on the Roof
This is where your focus on safety really has to kick in. How you set up your ladder and move around on the roof is probably the most critical part of this whole job.
Start by finding a patch of firm, level ground for your extension ladder. A good rule of thumb is to place the base one foot away from the house for every four feet of height to the roofline; this gives you the ideal angle. Make sure the ladder extends at least three feet above the edge of the roof. That extra height is your handhold, and it makes getting on and off the roof a whole lot safer.
Once you're on the roof, take it slow. If your roof has a steep pitch, don't even think about it without a proper roof safety harness anchored securely. Always keep three points of contact when you move: two feet and a hand, or two hands and a foot.
This diagram lays out the core steps: safety first, then the tools, and finally the cleanup.
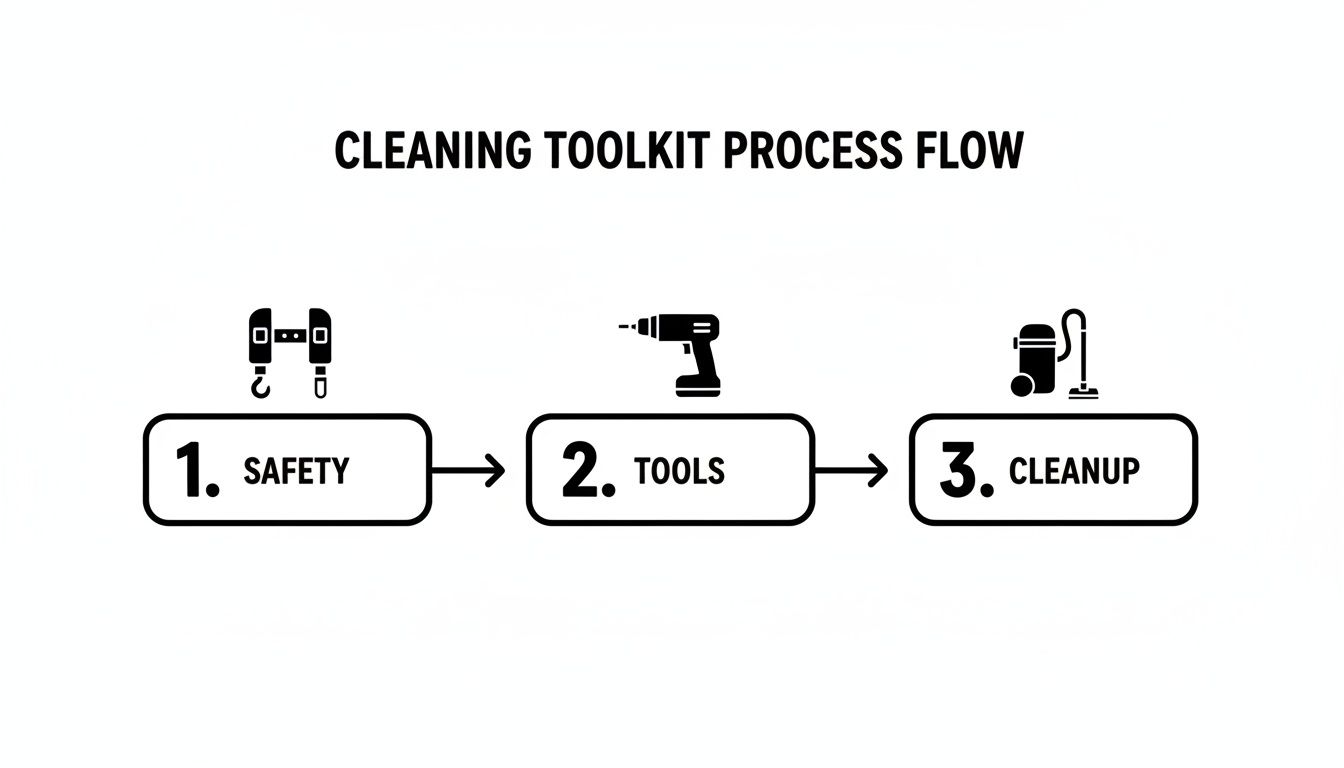
As you can see, a solid foundation of safety is what allows you to use your tools effectively and get the job done right.
Removing the Vent Cap and Cleaning the Duct
Now that you're safely in position, find the dryer vent cap. It's usually a small, hooded fixture. Grab your screwdriver or nut driver and take off the screws holding it down. Put those screws and the cap somewhere they won't go sliding off the roof.
You should now be looking right into the dryer duct opening. Before breaking out the brush, use your gloved hands to pull out any big, obvious clumps of lint right at the top. Clearing this initial blockage will make the next step much more effective.
It's time for the rotary brush kit. Connect enough of the flexible rods so you can easily reach the bottom of the duct, but don't make it so long that it becomes hard to handle. Attach the brush to one end and hook the other end up to your cordless drill.
Have someone turn on the shop vacuum inside. Now, start feeding the brush into the duct. Set your drill to a low or medium speed, making sure it's spinning in a clockwise direction, and slowly push the brush down the pipe. Clockwise is critical here, if you spin it counter-clockwise, the rod sections can unscrew and get stuck inside the vent, which is a whole new headache.
Work the brush up and down in short sections, letting the bristles scrub the caked-on lint from the duct walls. You'll literally feel the resistance ease up as the lint breaks free. Keep adding more rod sections until you've cleaned the entire length of the pipe, right down to the bend near your laundry room. You won't believe how much stuff comes out.
If you want to understand more about the specific risks tied to roof vents versus wall vents, you can get the full picture by venting a dryer through the roof in our detailed guide. It gives some great context for why this cleaning is so vital.
Final Steps and Reassembly
Once you’ve given the entire duct a thorough scrubbing, slowly pull the brush all the way back out. Before putting the cap back on, take a quick look at the duct opening for any damage like cracks or dents. Don't forget to clean the vent cap itself, picking out any lint stuck to the screen or the damper flap.
That little damper flap is really important. It’s designed to open when the dryer is running and close when it's off to keep pests and cold air out. If it's caked with lint, it can't do its job.
With everything clean, pop the vent cap back into place and screw it down securely. Make sure you get a good seal to prevent any water leaks. That's it, your work on the roof is officially done.
Carefully make your way back to the ladder and climb down. Head back inside, turn off the shop-vac, and disconnect the hose. Take a peek inside the canister; you should see a very satisfying pile of lint.
The last step is to reattach the flexible duct to the wall and the back of your dryer, ensuring the connections are snug. Slide the dryer back into place, plug it in, and you're good to go. I always like to run a quick, empty timed dry cycle to test everything out and blow out any final loose bits.
When to Put Down the Tools and Call a Professional
Knowing how to clean a roof dryer vent is a great skill for any homeowner, but there are definitely times when the best tool in your kit is your phone. Even the most ambitious DIYer can hit a snag that’s safer and more effectively handled by a professional. This isn’t about admitting defeat; it’s about making a smart call to protect yourself, your home, and your dryer from much bigger headaches.
The trick is recognizing the red flags that signal a job has escalated beyond a simple cleaning. Sometimes, what looks like routine maintenance can quickly uncover a deeper problem that requires specialized gear and a whole lot of experience.
Unforeseen Obstacles and Damage
One of the most common surprises we see is finding out your vent has become prime real estate for birds or rodents. Getting a nest out isn't just a matter of pulling out twigs. You're often dealing with compacted debris, animal waste, and ductwork that's been damaged, stuff your basic brush kit just can't handle.
Another major showstopper is finding physical damage to the vent line itself. If you spot any cracks, holes, or crushed sections in the ductwork as you’re cleaning, that’s a serious issue. A compromised vent can leak highly flammable lint into your attic or ceiling, creating a hidden fire hazard that’s far worse than the original clog.
These situations call for more than a cleaning; they need a professional repair or full replacement, which is well beyond the scope of a typical DIY project.
When Your Best Efforts Aren't Enough
So, you've followed all the steps. You’ve pulled out a mountain of lint, and you're pretty sure your tools reached the full length of the duct. But after all that work, you run a test cycle and your clothes are still damp. This is a classic sign of a deeper, more stubborn blockage that you can't see.
Stubborn blockages are often caused by heavy, moist lint that has become compacted over time, essentially turning into a solid plug. Standard rotary brushes may not have the power to break through these severe clogs, which require high-powered vacuums and specialized tools that only professionals have.
It's also common with extra-long vent runs or ducts with multiple sharp bends. Your DIY kit simply might not have the reach or flexibility to navigate the entire path effectively. A professional service uses tools like camera scopes to see exactly where the problem is and ensure the entire line is clear from end to end.
The Value of Professional Expertise
Calling in a pro isn’t giving up; it's a smart investment in your home's safety and your own peace of mind. The dryer vent cleaning industry has seen major growth for a reason: people are realizing how important it is. The U.S. market was valued at around $800 million in 2020 and is expected to grow by over 5% annually through 2028. This trend highlights the real demand for expert services that can handle complex jobs safely.
A professional brings several key advantages to the table:
Specialized Equipment: They come with high-velocity air tools and powerful vacuums that are worlds away from consumer-grade kits.
Safety and Insurance: Pros are trained to work safely on roofs and are fully insured. This protects you from any liability if an accident happens on your property.
Diagnostic Skills: A good technician can spot underlying issues you might miss, like poor installation, improper duct materials, or hidden damage.
If you decide the job is too big or too risky, making that call is the right choice. A crucial first step is knowing how to verify a contractor's license to ensure you’re hiring a qualified and legitimate expert. To learn more, check out our article on protecting your home with professional services.
The Financial Upside of Regular Vent Maintenance
It’s easy to look at vent maintenance as just another chore, another line item on the home budget. But that misses the bigger picture entirely. This isn’t just an expense; it’s one of the smartest financial moves you can make for your home, and it pays for itself again and again. The most immediate return shows up somewhere you check every month: your utility bill.
When your dryer vent gets clogged, the appliance has to work incredibly hard to force hot, damp air through a dense wall of lint. This struggle means it has to run longer and longer. Suddenly, you're running two, maybe even three, full cycles just to get one load of towels dry. Every single one of those extra minutes adds up on your energy bill.
A clean vent, on the other hand, lets your dryer breathe. Air flows freely, moisture gets whisked away, and your clothes dry in a fraction of the time. Simply learning how to clean a roof dryer vent can literally cut your drying times in half, which you’ll definitely notice when the power bill arrives.
Extending the Life of Your Dryer
The savings on your energy bill are just the start. The real financial knockout comes from making your dryer last longer. Constant overheating and overwork put a ton of strain on the dryer’s most critical and most expensive parts: the motor and the heating element.
These components just aren't built to handle the intense, prolonged heat caused by a blocked vent. That relentless stress leads directly to premature failure. What should be a reliable appliance for a decade can quickly turn into something that needs expensive repairs or a full replacement in just a few years.
A single dryer replacement you didn't have to make is a massive financial win. A new, quality dryer can set you back anywhere from $500 to over $1,500. That’s a major, often unexpected, expense that affordable, routine maintenance can help you push off for years.
Think of it this way: a professional cleaning is a small, predictable cost that helps you dodge a large, unexpected one. It’s a direct investment in your machine's longevity, ensuring you get every bit of value out of the appliance you already own.
The Proven Returns of Professional Cleaning
These financial benefits aren't just theory; they're backed by real-world results. We see it every day. Homeowners are always surprised by the operational improvements and the real money they save.
It’s even more dramatic on a commercial scale. A case study of a Denver spa, for example, saw an incredible 30% drop in utility bills after starting quarterly vent cleanings. Even better, their dryer repair costs went to zero, saving them over $5,000 in a single year. While a spa’s dryers run constantly, the principle is identical for your home. Industry data consistently shows that clear vents can slash drying cycles by up to 50%, leading to serious energy savings. You can see more on these commercial savings over at DryerVentTechs.com.
This proves a key point: the money you spend on maintenance isn't gone. It's just redirected from what you would have spent on bloated energy costs and future repair bills. For a full breakdown of what to expect, check out our guide on the cost to clean a dryer vent.
A Proactive Approach to Home Finances
At the end of the day, building regular vent cleaning into your home maintenance rhythm is just plain smart money management. It breaks the reactive and expensive cycle of "repair and replace" and turns it into a proactive, money-saving habit.
You're not just protecting a major appliance; you're lowering your monthly overhead and getting invaluable peace of mind by eliminating a serious fire risk. The evidence is clear: the small cost of a yearly cleaning delivers real, tangible returns. It’s one of the rare home maintenance tasks that not only protects your investment but actively puts money back in your pocket.
Answering Your Top Questions About Roof Dryer Vent Cleaning
After walking through the whole process, from the tools you'll need to the final inspection, a few common questions always seem to come up. It's totally normal to have some lingering "what ifs." Let's tackle those head-on so you have all the information you need.
Think of this as the final check-in before you decide whether to climb that ladder yourself or call in the pros.
How Often Should I Clean My Roof Dryer Vent?
For most households, a full, professional-level cleaning once a year is the sweet spot. This is a solid rule of thumb that keeps your home safe and your dryer running like it should.
But your laundry routine is what really dictates the schedule. You’ll want to bump that up to every six months if you:
Have a big family and the dryer is constantly running.
Own furry friends that shed a lot, as pet hair is a major clog-builder.
Regularly wash bulky items like comforters, heavy towels, or rugged work clothes.
Forget the calendar for a second, though. Your dryer will tell you when it’s time. If your clothes are still damp after a normal cycle, that’s a loud and clear signal that the vent is clogged and needs to be cleaned out immediately.
Is Cleaning a Roof Vent Harder Than a Wall Vent?
Absolutely, yes. Cleaning a roof-mounted vent is a whole different ballgame compared to a simple wall vent. The biggest hurdle is obvious: the height. You’re working off a tall extension ladder and, most likely, navigating a sloped roof.
The actual cleaning method differs, too. You have to work from the top down, letting gravity assist as you push loosened lint toward a vacuum set up on the ground.
Even with gravity on your side, the job requires a steady hand, a good sense of balance, and the right safety gear, like a harness. It's far more physically demanding and riskier than cleaning a vent you can reach from the ground.
Can I Just Use a Leaf Blower to Clear the Vent?
We hear this one a lot, and it’s a shortcut we strongly recommend you avoid. A leaf blower might blast out some of the loose lint right at the opening, but it doesn't have the power to deal with the real problem: compacted, caked-on buildup stuck to the duct walls.
Worse yet, a leaf blower can actually create a bigger issue. It often just shoves a partial clog deeper into the vent, packing it into a solid plug that’s even tougher to get out. The right tool for the job is a rotary brush system that physically scours the inside of the vent, breaking up and removing all the lint for a truly clean and safe duct.
Are you worried about the fire hazard lurking in your attic? Tired of running the dryer twice for one load of towels? Purified Air Duct Cleaning delivers expert, professional dryer vent cleaning services throughout the Phoenix area, including Avondale, Glendale, and Mesa. Our certified technicians have the proper tools and safety training to manage any roof vent job, ensuring your home is safe and your dryer runs at peak efficiency. Don't risk a dangerous fall or an incomplete cleaning; contact us today for a free quote and get the peace of mind you deserve.