How to clean evaporator coils: A practical guide to better AC performance
- Dec 8, 2025
- 18 min read
Knowing the right way to clean your evaporator coils usually comes down to using a good no-rinse spray cleaner and a soft brush to get the dirt and grime off those delicate fins without damaging them. For a more thorough job, you’ll first need to kill the power to your HVAC system at the breaker. From there, you can access the coil panel on your indoor unit, apply the cleaner, and let it foam up and drip down into the condensate pan. It's a straightforward maintenance task that can make a huge difference in your AC's cooling power and efficiency.
Why Cleaning Your Evaporator Coils Matters

Let's be real, cleaning your HVAC system probably isn't at the top of your weekend to-do list. But ignoring the evaporator coils is one of the most common, and costly, mistakes a homeowner can make. This is more than just a simple chore; it’s a critical part of saving money, keeping your family healthy, and making sure your expensive HVAC system lasts as long as it should.
Think of the evaporator coil as the lungs of your air conditioner. It’s where all the cooling magic happens, as warm indoor air flows over it and the heat gets pulled out. When that coil gets caked in a layer of dust, pet dander, and other gunk, it simply can't "breathe" properly. This forces your entire system to work overtime just to hit the temperature you set on the thermostat.
The Hidden Costs of Dirty Coils
The fallout from that extra strain is a big deal, and it hits multiple parts of your home life. In the same way you must understand why regular cleaning is a critical maintenance step for solar panels to get the most out of them, keeping your evaporator coils clean has a direct impact on your AC's performance and your wallet.
When coils are dirty, your system’s efficiency takes a nosedive. That means higher energy use month after month, which you'll definitely see on your utility bills. Neglecting this task can lead to some serious headaches:
Skyrocketing Energy Bills: A dirty coil acts like an insulator, trapping heat and making the heat transfer process far less effective. Your AC has to run much longer cycles to cool your home, leading to a direct spike in energy consumption.
Poor Indoor Air Quality: Those damp, dark coils are a perfect breeding ground for mold, mildew, and bacteria. As air circulates, these contaminants get blown all through your home, which can trigger allergies and other respiratory problems.
Reduced System Lifespan: The constant strain on the compressor and other key components causes premature wear and tear. What could have been a simple cleaning job can quickly turn into an expensive repair or, even worse, a full system replacement.
This isn't just a minor issue; it's a huge factor in your system's overall health. A dirty coil can slash an HVAC system's efficiency by 15% to 30%, potentially jacking up your energy costs by as much as 40%.
The professional maintenance market clearly reflects this reality. The evaporator coil cleaning services industry has ballooned into a major business, hitting a global value of around USD 4.1 billion. That number really drives home how essential this maintenance is for HVAC longevity and performance.
Ultimately, taking the time to learn how to clean evaporator coils is an investment that pays for itself. If you're looking for other ways to get more out of your system, check out our guide on how to improve HVAC efficiency and lower energy bills.
At-a-Glance Benefits of Clean Evaporator Coils
To put it all in perspective, here's a quick breakdown of why keeping your evaporator coils clean is so important. These benefits show a clear return on the small investment of time or money it takes to get the job done right.
Benefit Category | Impact of Cleaning | Potential Improvement |
|---|---|---|
Energy Efficiency | Allows for optimal heat transfer, reducing the system's workload. | Efficiency gains of 15-30%. |
Cost Savings | Lowers monthly energy bills by reducing overall runtime. | Up to 40% reduction in cooling costs. |
Air Quality | Eliminates breeding grounds for mold, mildew, and bacteria. | Fewer allergens and contaminants circulating. |
System Longevity | Reduces strain on the compressor and other critical components. | Extends the lifespan of the HVAC unit. |
Cooling Performance | Restores the AC's ability to cool your home quickly and effectively. | More consistent and powerful cooling. |
As you can see, the advantages are clear and significant. Regular maintenance isn't just about preventing problems; it's about optimizing performance across the board.
Gathering the Right Tools and Safety Gear
Before you even think about opening up your HVAC unit, let's talk prep. Getting all your ducks in a row with the right equipment is the difference between a quick, successful cleaning and a frustrating afternoon that ends with a call to a pro. The right tools don't just make the job easier; they protect the very delicate components you're trying to clean.
Imagine the fins on your evaporator coil are like the thin pages of a book: packed tightly together and incredibly easy to bend or crush. This is exactly why you can't just grab any old brush. A stiff wire brush might seem like a good idea for tough grime, but it will absolutely mangle those soft aluminum fins, choke off airflow, and create a much bigger problem than you started with.
Essential Cleaning Supplies
Your success here really hinges on using the right stuff. This isn't the time to experiment with household cleaners from under the kitchen sink, as they can corrode the coils.
Soft-Bristle Brush: This is non-negotiable. You need a brush gentle enough to knock off surface dust and gunk without bending a single fin.
No-Rinse Evaporator Coil Cleaner: This is your magic in a can. These specially formulated sprays foam up to get deep between the fins, then liquefy and drip away, taking all the dirt with them down the condensate drain.
Spray Bottle with Water: Good to have on hand for a light rinse, especially if it's too cool outside to run the AC. Without the system's natural condensation, you'll need to help wash the cleaner away manually.
Shop Vacuum with a Brush Attachment: Perfect for sucking up all the loose, fluffy debris before you start spraying. It makes the chemical cleaner's job much easier.
When you're at the hardware store, you'll see a few options. Stick with a no-rinse spray, as it's the most user-friendly for a DIY job. Make sure the label explicitly says it's for indoor evaporator coils. Some heavy-duty coil cleaners are acidic and designed only for the tougher outdoor condenser unit. Using that inside would be a costly mistake.
Prioritizing Your Safety
Working on an HVAC system means dealing with electricity and chemicals. Safety can't be an afterthought; it has to be the very first step.
Before you remove a single screw, your first move, always, is to kill the power to the unit. Skipping this can lead to serious injury or fry your system's electrical components.
Never, ever skip these two steps:
Turn Off the Thermostat: Find your thermostat and switch it to the "Off" position. This ensures it won't try to kick on while you're in the middle of working.
Shut Off the Breaker: Head to your home's main electrical panel and locate the breaker for your indoor air handler (sometimes labeled "Furnace" or "AHU"). Flip it firmly to "Off."
With the power safely disconnected, it's time to gear up. That gunk caked on your coils is a nasty mix of dust, potential mold spores, and allergens you definitely don't want to be breathing in. The cleaner itself can also be an irritant. For a deeper dive into overall system care, check out our ultimate 2025 HVAC preventative maintenance checklist for more safety and upkeep tips.
Here’s the personal protective equipment (PPE) you'll want to have on:
Safety Glasses: Protects your eyes from chemical splashes and any debris you kick up.
Gloves: Keeps the coil cleaner and all that grime off your skin.
Mask or Respirator: Prevents you from inhaling dust, mold, and chemical fumes.
Once you have your tools laid out and your safety gear on, you're ready to get started with confidence.
A Practical Walkthrough for Cleaning Evaporator Coils
Alright, you've got your safety gear on and your tools laid out; it's time to get to work. Forget the dense technical manuals. This is a real-world, step-by-step guide to cleaning those coils, which will directly translate to better AC performance and cleaner air in your home. We'll walk through it together.
The whole process is pretty simple, but there's one golden rule: be gentle. Those thin aluminum fins on the coil are incredibly easy to bend. If you get too aggressive with a brush or vacuum, you'll end up crushing them, which blocks airflow and completely defeats the purpose of cleaning them. Treat it like you're dusting a fragile antique, not scrubbing the garage floor.
Finding and Accessing the Indoor Coil
First things first, you have to find the evaporator coil. It lives inside your indoor air handler, which is typically tucked away in a basement, attic, utility closet, or crawlspace. The coil itself is housed inside a metal cabinet, usually in an "A" shape (we call it an A-frame coil) or sometimes as a flat slab, positioned right where the air flows through.
To get to it, you'll need to remove an access panel. This is usually a metal door held on by a few hex-head screws or clips.
Scan the air handler for a removable panel, paying close attention to where the main refrigerant lines go into the unit. That's your spot.
Unscrew the panel and put the screws somewhere safe, a magnetic tray or even just a small cup will save you a headache later.
Carefully pull the panel off. Sometimes, there's a layer of metallic tape sealing the edges. You can gently peel this back or slice it with a utility knife.
With the panel off, you'll get your first look at the coil. If it hasn't been cleaned in a while, don't be shocked to see a thick, fuzzy blanket of gray dust, lint, and pet hair.
This simple illustration shows you the only three things you really need to get this done right.
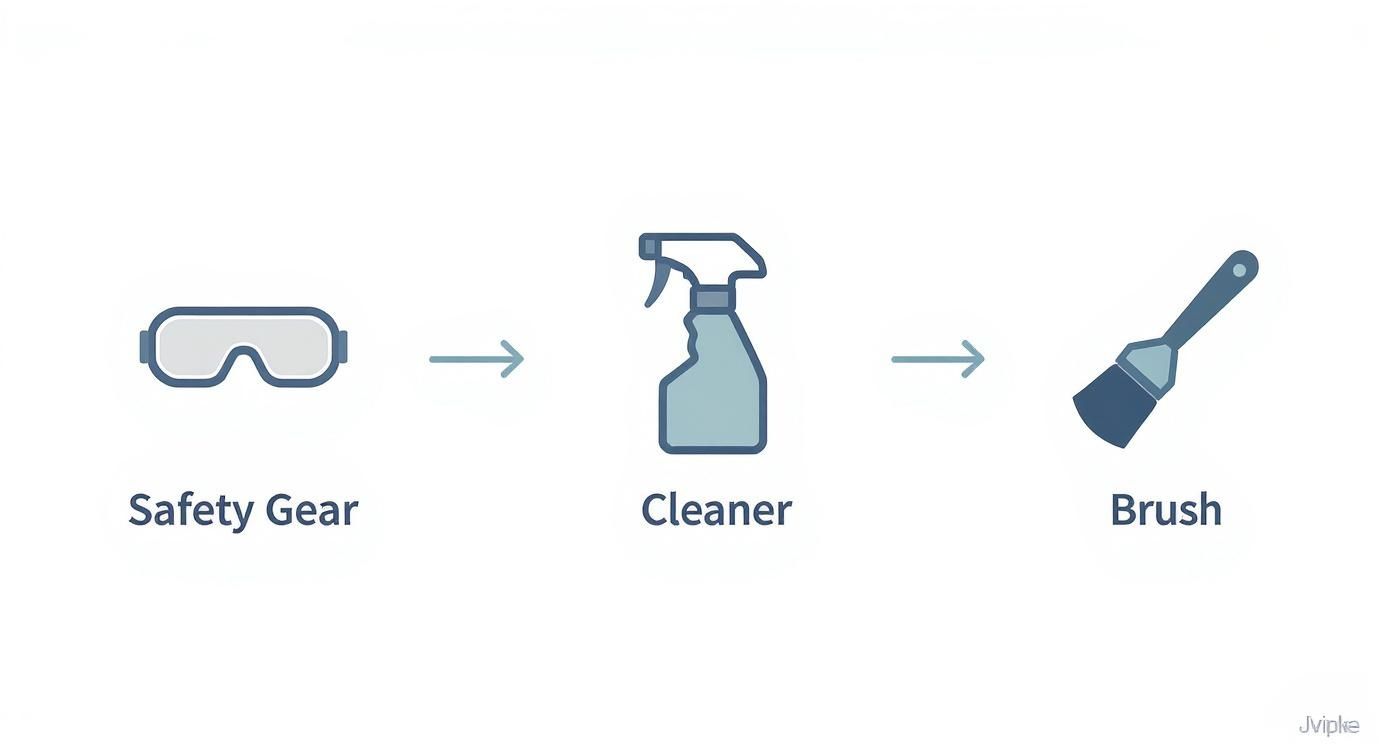
As you can see, a successful cleaning really just boils down to having the right protection, the right cleaner, and a gentle brush.
The Initial Dry Cleaning Phase
Before you break out any sprays, your first move is a dry clean. The goal here is just to get rid of all the loose, surface-level gunk. This is a critical step because it clears the way for the chemical cleaner to get to the really stubborn, caked-on grime underneath.
Grab your soft-bristle brush and gently start sweeping the fins. Make sure you always brush in the same direction as the fins, almost always up and down. If you brush sideways, you'll bend them for sure. You'll be surprised how much dust and hair comes loose.
For even better results, follow up with a shop vacuum that has a soft brush attachment. This lets you suck up the debris as you loosen it, keeping it from falling deeper into the unit or flying around the room. Again, a light touch is all you need. Let the vacuum's suction do the heavy lifting.
Pro Tip: If your air handler is in a tight spot like a cramped closet, getting good access is half the battle. A long-handled brush and a vacuum with a flexible hose extension will be your best friends here. Just take it slow and focus on one small section at a time.
Applying the Coil Cleaner Correctly
Now it's time for the deep clean. This is where your can of no-rinse evaporator coil cleaner comes in. The beauty of this stuff is its foaming action, which expands and works its way deep between the fins where a brush just can't reach.
Start spraying at the top of the coil and work your way down in a smooth, even pattern. You want to coat the entire surface, making sure the foam is getting pushed all the way from the front to the back of the coil. Don't be stingy; a nice, thick coat is what you're after.
You’ll see the foam start bubbling and lifting the dirt out almost immediately. After a few minutes, it will start to turn back into a liquid, carrying all that grime with it down into the condensate drain pan below. That's exactly how it's supposed to work. Give the cleaner about 10-15 minutes to do its job, or whatever the can's instructions recommend.
Rinsing and Finishing the Job
That "no-rinse" label can be a bit confusing. The product is designed to be self-rinsing when your AC runs, but giving it a little help doesn't hurt and ensures no sticky residue is left behind.
If it's hot outside: You're in luck. Just put the access panel back on, turn the power on, and run your air conditioner. The condensation that naturally forms on the cold coils will give everything a final, thorough rinse.
If it's too cool to run the AC: A quick manual rinse is a good move. Fill a regular spray bottle with clean water and give the coils a light misting from top to bottom. You're not trying to soak them, just giving the cleaner and dirt a final push down into the drain pan.
While you're at it, peek at the condensate drain pan and the opening to the drain line. Make sure they're clear of any gunk so the dirty water can escape. Once you're satisfied, reattach the access panel securely, flip the power back on at the circuit breaker, and set your thermostat back to normal.
Cleaning your evaporator coils is a huge win for your system's health, but it's just one piece of the puzzle. To get the full picture, check out our expert tips for cleaning your whole HVAC system, where we cover everything from ducts to vents. You’ll be left with a much more efficient AC that's ready to keep you cool.
Troubleshooting Common Cleaning Hiccups
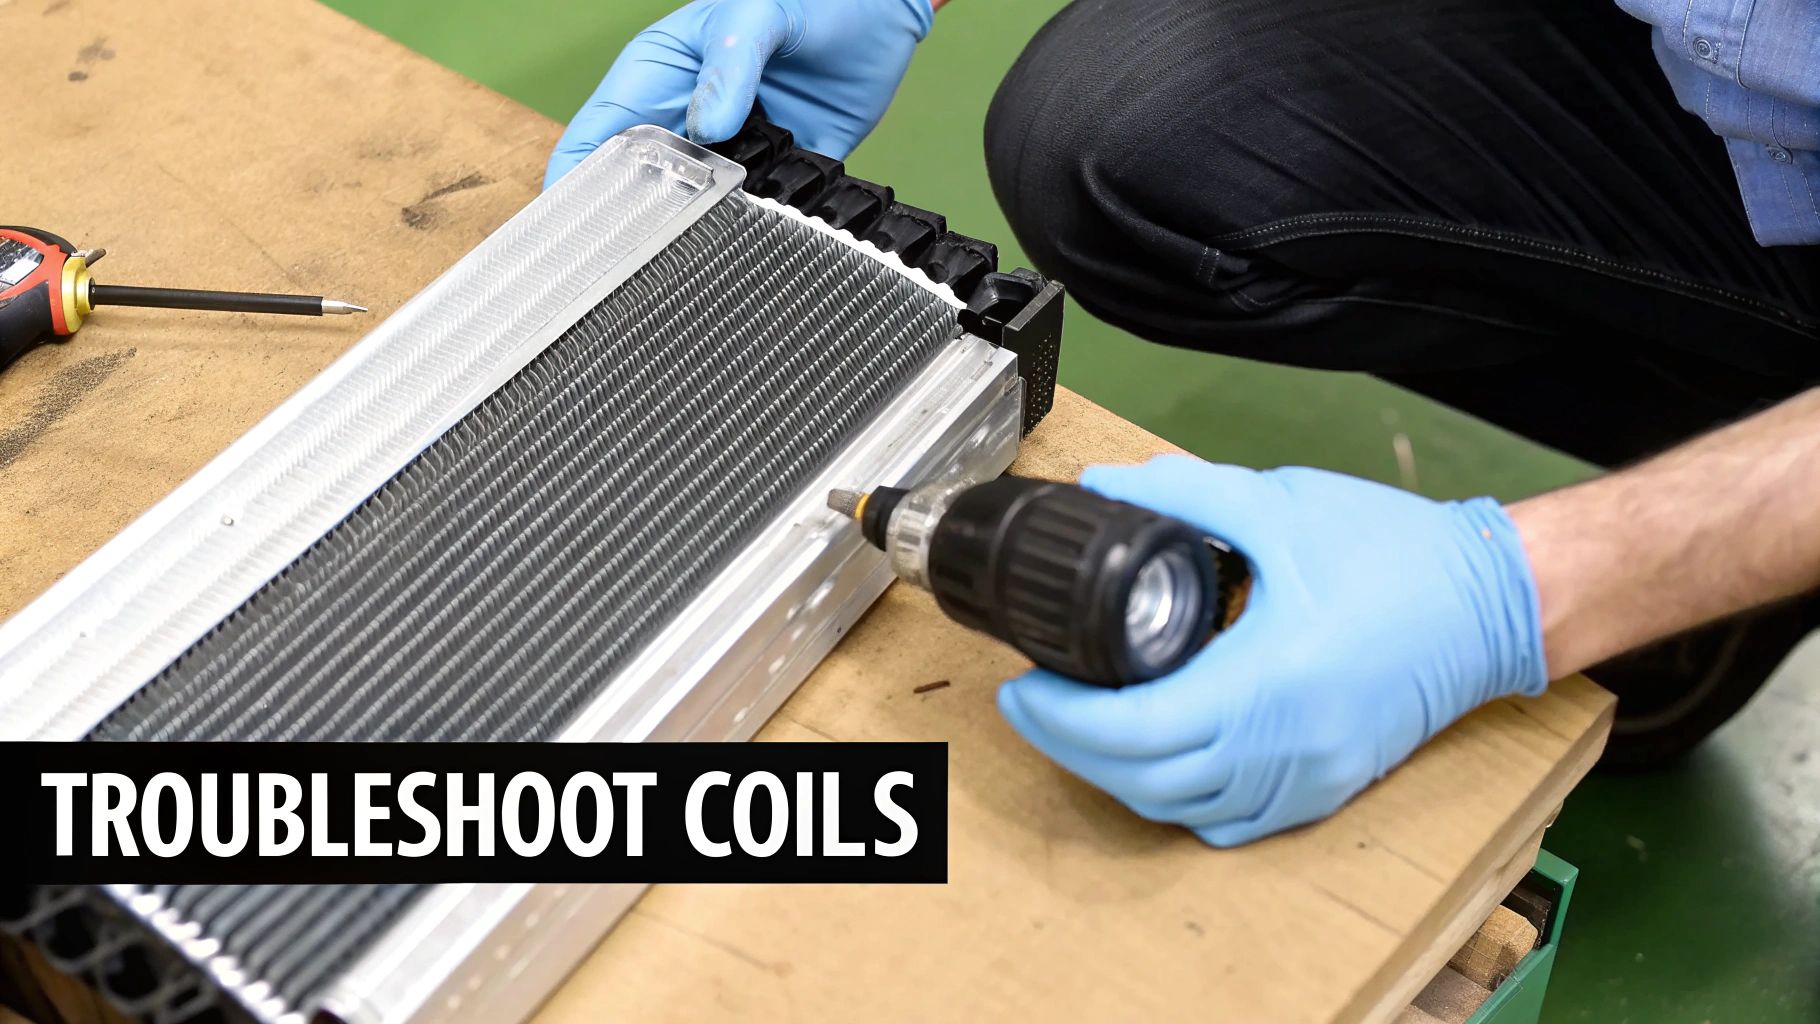
Even the most carefully planned DIY project can throw you a curveball. When you're cleaning your evaporator coils, you might run into a few common issues. Don’t worry; think of this as your field guide for navigating those little snags and keeping your project on track.
Most of the problems you’ll face are minor and easily fixed with the right approach. From bent fins to a stubborn drain line, these are normal parts of the process. The trick is knowing what to do when they pop up, so a small hiccup doesn’t escalate into a real headache.
What to Do About Bent Coil Fins
One of the most common "oops" moments is accidentally bending some of the delicate aluminum fins. It happens. A slip of the brush or a bump from a vacuum nozzle is all it takes. While it might look bad, a few bent fins aren't a disaster, but they do need to be fixed.
When fins get bent, they block airflow, which completely defeats the purpose of cleaning the coils in the first place. Luckily, there's a simple, inexpensive tool made just for this problem: a fin comb.
What it is: A fin comb is a small tool with plastic or metal teeth perfectly spaced to match the fins on your coil.
How to use it: Gently slide the comb’s teeth into the fins just above the bent area. Then, carefully pull it straight down, following the grain of the fins, to comb them back into place.
Why it's important: Straight fins are crucial for allowing air to pass through freely, ensuring efficient heat exchange.
Whatever you do, don't try to use a screwdriver or knife. You're far more likely to tear the fins and make the problem worse. A proper fin comb is the right tool for the job and a smart addition to any DIY toolkit.
Dealing with a Clogged Condensate Line
Dirty evaporator coils and a clogged condensate drain line often go hand in hand. All that gunk you just cleaned off the coils has to drain somewhere, and it all funnels down into the drain pan and out through this small pipe. If the line is already partially blocked, the extra debris from cleaning can easily create a full-on clog.
When that line clogs, water will back up and overflow the drain pan, which can lead to some serious water damage. Checking and clearing it is a smart final step in your cleaning routine.
A wet/dry shop vacuum is your best friend here. Find the end of the condensate drain line outside your house (it's usually a white PVC pipe near your condenser unit). Place the vacuum hose over the end of the pipe, using your hands or a cloth to create a tight seal. Let it run for a minute or two to suck out any blockages.
This simple trick can pull out all the sludge, algae, and gunk that's built up, ensuring water can flow freely away from your system.
Spotting the Difference Between Dirt and Mold
Sometimes, what looks like a stubborn patch of dirt might actually be something more sinister: mold. It’s absolutely critical to know the difference, because mold requires a completely different and more careful approach.
Regular Dirt and Dust: This usually looks like a fuzzy or caked-on layer of gray or brown. It's typically dry and flakes away easily when you touch it with a brush.
Mold Growth: Mold often shows up as spots of black, green, or even white. It might have a slimy or fuzzy look and is almost always accompanied by a musty, damp smell.
If you even suspect you’re looking at mold, stop immediately and call a professional. A company like Purified Air Duct Cleaning has the specialized equipment and biocides to eliminate the mold safely and prevent its spores from spreading through your home. Keeping indoor air quality high is a huge reason for the growth in HVAC services; in Europe, for instance, the commercial coil cleaning market is valued at over USD 670 million, largely driven by strict efficiency standards. You can dive deeper into this trend over at Cognitive Market Research.
Deciding Between DIY and a Professional Service
So, you've seen what it takes to clean your evaporator coils, and now you're at a fork in the road: should you roll up your sleeves and tackle this yourself, or is it time to call in a pro? This is a common question, and honestly, the right answer is different for everyone. There’s a lot of satisfaction (and savings!) in a successful DIY job, but you also need to be realistic about what can go wrong.
Doing it yourself puts you in the driver's seat. You save on labor costs, get to know your HVAC system a little better, and can knock it out whenever you have a free afternoon. If your coil is easy to get to and just has a light layer of dust, a can of no-rinse cleaner and a bit of patience might be all you need to get things running smoothly again.
But the DIY route has its own set of risks. Those little aluminum fins on the coil are incredibly delicate and bend if you so much as look at them wrong. Using the wrong cleaner can corrode the metal, and worst of all, you might not even clean it thoroughly, leaving behind stubborn grime that keeps dragging down your system’s efficiency.
Evaluating the DIY Approach
For many homeowners, going the DIY route is a great option, especially if the situation is right. It’s hands-down the most budget-friendly way to go and keeps you on top of routine maintenance.
You're probably a good candidate for a DIY cleaning if:
Your coils are easy to access. If the air handler is sitting in an open basement or a roomy utility closet, the job is a thousand times easier.
The buildup is light to moderate. A simple fuzzy blanket of dust and pet hair is something you can definitely handle with a soft brush and a can of coil cleaner.
You're comfortable with basic tools. If popping off an access panel doesn’t intimidate you and you have a steady hand, you've got this.
The biggest win here is the cost savings. To get a clear picture, you can check out our detailed breakdown of what goes into HVAC coil cleaning costs and see exactly what you'd be saving on labor. Just keep in mind that one slip-up could mean a much more expensive repair call down the line.
When a Professional Is the Smarter Choice
Sometimes, calling a certified technician is the safest and most effective play. A pro doesn't just show up with a can of foam; they come with years of experience and specialized gear that delivers a deep clean you just can't replicate with DIY methods. Many technicians use tools like high-pressure steam cleaners or powerful flushing wands to blast away gunk from deep within the coil.
You should seriously consider hiring a service like Purified Air Duct Cleaning when:
The coils are seriously filthy. If you’re looking at a thick, greasy mess that’s been building up for years, you’ll need a professional-grade cleaning.
You think you see mold. Any sign of black spots or a persistent musty smell means you need an expert who can safely eliminate the mold without spreading spores through your home.
Your coils are in a tricky spot. For units crammed into tight attics or awkward crawlspaces, a technician has the know-how to get it done right without causing damage.
You're just not comfortable doing it. There's absolutely no shame in leaving it to an expert. Peace of mind is worth a lot.
A professional service does more than just clean. A good technician will also spot other potential problems, like low refrigerant levels or a clogged condensate drain, catching small issues before they turn into major headaches.
When you're weighing your options, the same principles for finding reputable professional service companies for any home project apply here. Always check for good reviews, proper certifications, and insurance.
The value of professional service is clear when you look at the market. The global demand for commercial HVAC coil cleaning was valued at around USD 1.2 billion and is projected to more than double to USD 2.5 billion by 2033. This boom is happening because more and more people are realizing how critical clean coils are for energy efficiency and healthy indoor air.
A Simple Decision-Making Framework
To help you make the call, we've put together this quick comparison table. It breaks down the key things to consider so you can confidently choose the right path for your system and your home.
Decision Guide: DIY vs. Professional Coil Cleaning
Consideration | Best for DIY When... | Best for Professional When... |
|---|---|---|
Coil Accessibility | The access panel is easy to reach with ample workspace. | The unit is in a tight attic, crawlspace, or closet. |
Severity of Dirt | You see a light, fuzzy layer of dust and debris. | There is thick, greasy grime or suspected mold. |
Your Comfort Level | You are confident working with basic tools and around equipment. | You prefer to avoid the risk of damaging the system. |
Tools and Time | You have a couple of hours and are willing to buy the cleaner. | You want a deeper clean using specialized equipment. |
In the end, it’s a personal call. An honest look at the complexity of the job and your own skill set will always point you in the right direction.
Frequently Asked Questions About Coil Cleaning
Even with a step-by-step guide in front of you, it's natural to have a few more questions. Let's tackle some of the most common ones we hear from homeowners about cleaning evaporator coils. Getting these details sorted out will help you handle this maintenance task like a pro.
How Often Should I Clean My Evaporator Coils?
This is probably the number one question people ask, and for good reason; consistency is everything.
For the average home, a thorough cleaning once a year is a solid rule of thumb. This annual schedule is usually enough to prevent dust and grime from escalating into a serious problem that kills your AC's efficiency. A lot of people find it easiest to just roll it into their spring cleaning routine.
However, your situation might call for a more frequent schedule. You'll want to clean them more often if:
You have pets: Fur and dander are magnets for your HVAC system. If you share your home with furry friends, checking and cleaning the coils every six months is a much safer bet.
You live in a dusty or high-pollen area: If your local environment is naturally dusty or you get hit hard with seasonal pollen, your system is constantly battling airborne particles. A semi-annual cleaning is probably necessary to keep things running smoothly.
Someone in the home smokes: Smoke leaves behind a sticky residue on coils, which then acts like flypaper for every bit of dust that passes by. In this case, cleaning every six months is definitely recommended.
While you're thinking about coils, it's a good time to consider the rest of your system, too. Clean coils are great, but dirty ductwork can cause its own set of problems. To get the full picture, check out our expert guide on how often to get your air ducts cleaned.
Can I Just Use Soap and Water?
It’s tempting to just reach for the dish soap, but please don't. Using standard household soaps is one of the bigger mistakes you can make. They often leave a sticky film behind that can actually attract more dirt, completely undoing all your hard work. Plus, they aren't designed to break down the specific kind of greasy, grimy buildup found on coils.
A dedicated, no-rinse foaming coil cleaner is formulated specifically for this job. It’s designed to dissolve oily buildup and organic gunk without corroding the delicate aluminum fins or leaving a performance-killing residue.
Spending a few bucks on the right product is a small price to pay for doing the job correctly and protecting your expensive HVAC equipment.
Are There Signs of Dirty Coils I Can Spot Easily?
Absolutely. Your AC will usually give you some pretty clear hints that it's struggling long before you have to pop the cover off. If you know what to look for, you can catch a dirty coil problem early.
Keep an eye (and ear) out for these red flags:
Weak Airflow: Does the air coming from your vents feel a bit lazy or weak? A clogged coil is one of the most common culprits, acting like a roadblock for the air.
Musty Odors: If you get a whiff of a damp, "dirty sock" smell when the air kicks on, that’s a classic sign of mold and mildew growing on the moist, dirty coils.
AC Runs Non-Stop: Is your air conditioner running constantly but your house never seems to cool down? That thick layer of grime on the coils is acting like an insulator, forcing the system to work overtime.
A Sudden Jump in Your Energy Bill: A surprise spike in your electricity costs during cooling months is a massive clue. It screams that your AC's efficiency has plummeted, and dirty coils are almost always the prime suspect.
Catching these signs early means you can tackle the problem before it leads to bigger headaches and more expensive repairs.
Are your coils caked with years of grime, or would you rather have the peace of mind that comes with a professional touch? The certified technicians at Purified Air Duct Cleaning have the specialized tools and experience to get your system running like new again. Contact us today for a free quote and start breathing easier. You can learn more at https://www.purifiedairductcleaning.com.