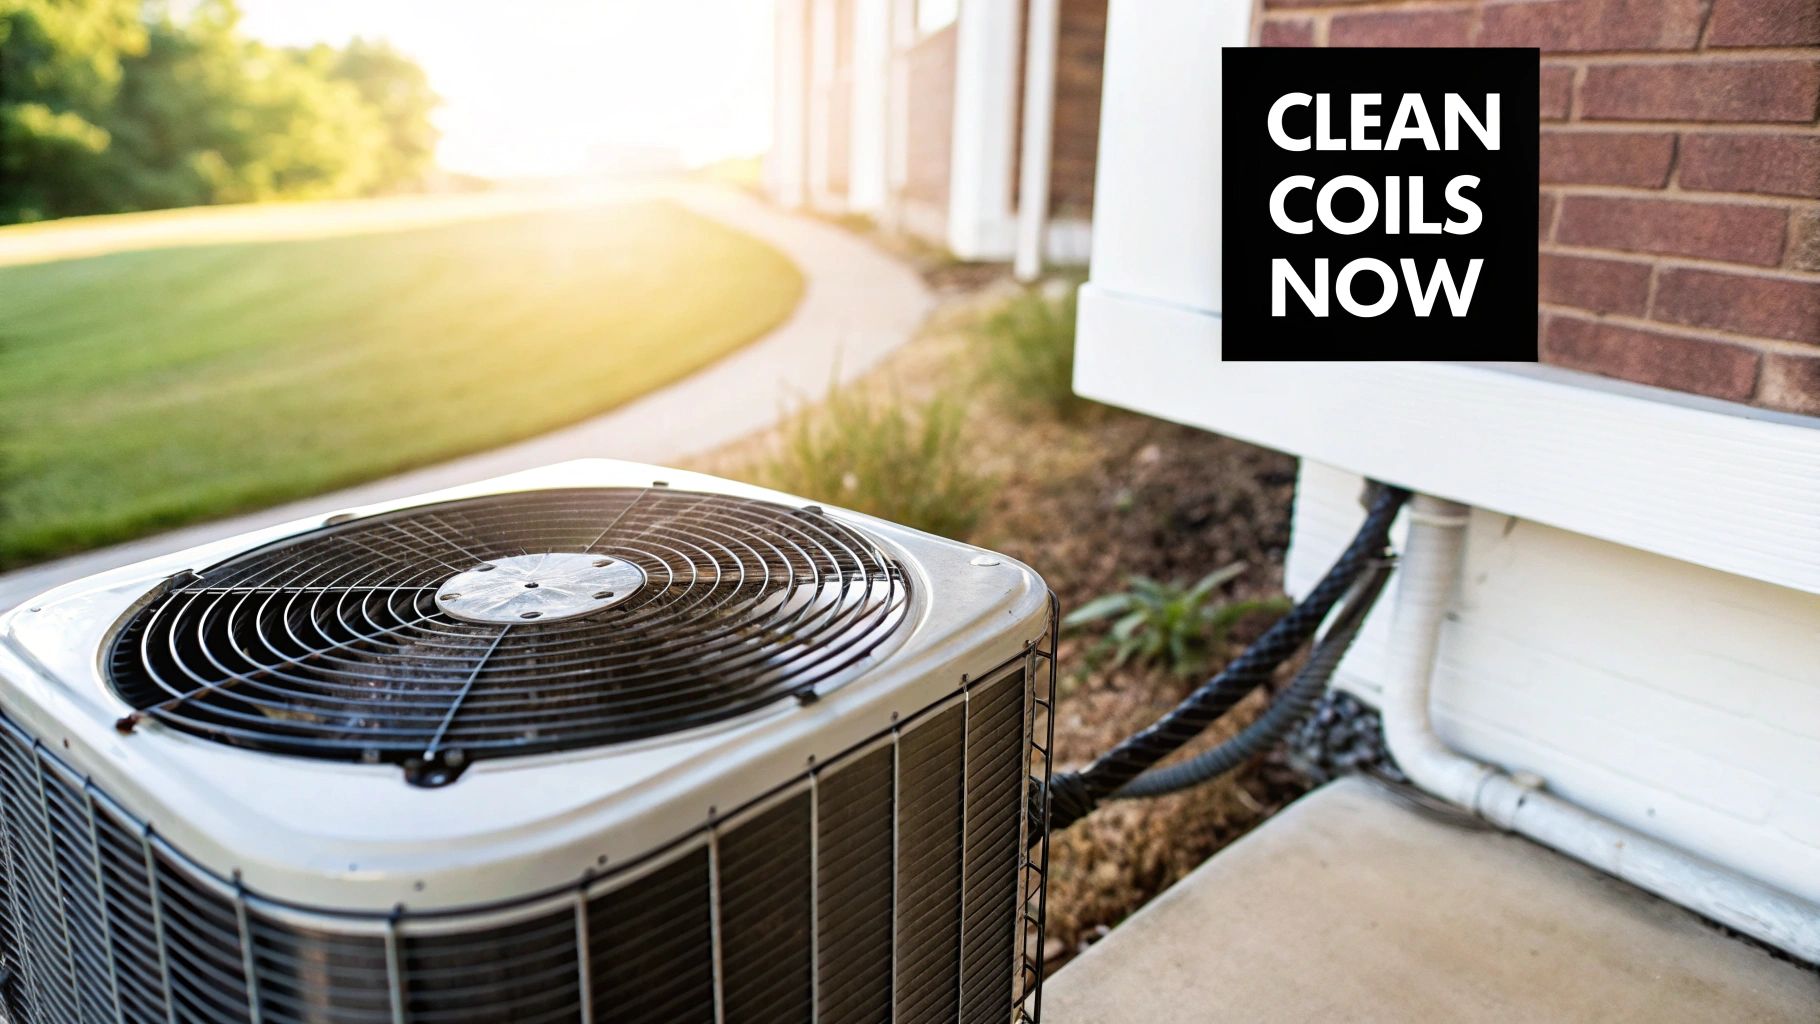
How to Clean Condenser Coils A Practical Homeowner's Guide
- Jan 31
- 12 min read
At its core, cleaning your condenser coils is a simple process: turn off the power, clear away debris, use a good coil cleaner, and give it a gentle rinse with a garden hose. But don't let the simplicity fool you. This is one of the most important maintenance tasks you can do for your AC, as it has a massive impact on its ability to cool your home efficiently.
Why Cleaning Condenser Coils Is a Non-Negotiable HVAC Task
Think of your condenser coils as the lungs of your outdoor AC unit. For the system to work right, they need to breathe freely. Those delicate aluminum fins are doing a critical job; they’re pushing all the heat your AC has pulled from inside your house back out into the open air.
But when a blanket of dust, grass clippings, or cottonwood fluff settles on these coils, it's like wrapping your AC unit in a winter coat. This buildup acts as an insulator, forcing the entire system to work much, much harder to get rid of that heat. The result? A major drop in performance and efficiency.
The Link Between Dirty Coils and High Energy Bills
Picture this common scenario in a Phoenix-area home during the peak of summer: the AC runs nonstop, but the house just won't get cool. More often than not, the real culprit is a clogged condenser unit baking in the sun, completely unable to transfer heat effectively.
That struggle translates directly to your utility bills. A dirty condenser coil can spike your AC's electricity use by as much as 30%. You end up paying more for less comfort, and the constant strain puts serious wear and tear on expensive parts like the compressor. You can find more details on how to improve your system's performance in our guide on boosting HVAC efficiency.
Forcing your AC to run with dirty coils is like trying to run a marathon while breathing through a straw. The system is starved for airflow, overworks itself, and ultimately risks a major breakdown when you need it most.
The Growing Importance of Coil Maintenance
This isn't just anecdotal advice from the field; it's a recognized factor in system longevity and energy savings. The global market for coil cleaning services is currently valued at $1.4 billion and is expected to nearly double by 2033. This growth isn't just a business trend, it shows a wider understanding that clean coils are absolutely essential for efficient operation.
Understanding the benefits of routine care, as outlined in this guide to preventive maintenance, really highlights why cleaning condenser coils is so vital. It’s a simple, proactive step that saves you money, protects your equipment, and guarantees your home stays cool when it matters most.
Assembling Your Toolkit for a Safe and Effective Clean
Before you even think about hosing down your AC unit, let's talk prep work. A little bit of planning is what separates a smooth, successful cleaning from a frustrating (and potentially dangerous) afternoon project. Gathering the right gear first ensures you can work efficiently and, most importantly, avoid any electrical mishaps or damage to your system.
The good news? You probably have most of this stuff in your garage or garden shed already. A couple of specialized items can make a huge difference, though. Think of it as a small investment to protect the much, much larger investment you have in your home's HVAC system.
First Things First: Safety Gear
Your absolute #1 priority is safety, and that starts with killing the power to the unit. I can't stress this enough; it's a non-negotiable first step. To make sure the unit is completely de-energized and safe to handle, you need to turn off the power in two separate places.
At the Indoor Thermostat: Find your thermostat and switch it to the "Off" position. This simple action prevents it from trying to kick on the AC while you're in the middle of working on it.
At the Outdoor Disconnect Box: Head outside and look for a small metal box mounted on the wall near your condenser. Open it up and you'll either see a switch to flip to "Off" or a block you can physically pull out. This severs the high-voltage connection.
I always tell homeowners to assume the unit is live until they've personally shut off the power at both the thermostat and the outdoor disconnect. This quick two-step check completely eliminates the risk of a serious electrical shock.
Gathering Your Cleaning Supplies
With the unit safely powered down, you can round up the rest of your tools. Having everything within arm's reach from the get-go just makes the whole job go smoother.
Here's a quick checklist of what you'll want to have on hand. A few of these items are crucial for protecting the very delicate components you're about to clean.
Essential Toolkit for Cleaning Condenser Coils
Item | Purpose | Where to Find |
|---|---|---|
Work Gloves & Safety Glasses | Protects hands from sharp metal fins and keeps debris out of your eyes. | Hardware store, home improvement store, or likely in your garage. |
Garden Hose with Spray Nozzle | Used for rinsing the coils. The key is a gentle, wide spray. | Any home & garden center. |
Foaming Coil Cleaner | A non-acidic cleaner that safely dissolves grime without corroding the coils. | HVAC supply store, home improvement store, or online. |
Coil Fin Comb | A small, inexpensive tool used to gently straighten bent aluminum fins. | HVAC supply store or online. It’s a real game-changer! |
Having the right stuff makes all the difference. That inexpensive fin comb, for instance, can restore airflow and efficiency in minutes by straightening out fins that have been bent by hail or lawn equipment.
This kind of preparation is the foundation for solid home maintenance. If you want to get more organized with tasks like this, take a look at our guide for creating a preventive maintenance schedule template to keep your entire system running like it should.
Your Guide to Cleaning Coils Like a Pro
Alright, with your tools laid out and the power cut, it's time to get down to business. Remember, this isn't a race. The goal here is a methodical, gentle cleaning that protects your unit while getting rid of all the gunk that's been dragging down its performance. We'll walk through this in a few clear stages to make sure you get a professional-level clean without causing any headaches.
First things first, let's clear the area. Your AC unit needs room to breathe, so think a good two feet of clear space all around it. Start by getting rid of any leaves, grass clippings, weeds, or overgrown shrubs crowding the unit. This simple step not only helps with daily airflow but also gives you the room you need to work without tripping over anything.
Applying and Rinsing the Coil Cleaner
Now for the main event. Give the outside of the unit a gentle rinse with your hose. You're just trying to knock off the loose surface debris. I recommend using a spray nozzle set to a wide, gentle shower. You're watering a delicate plant, not power-washing a fence. One of the most common, and expensive, DIY mistakes I see is using high pressure, which can easily bend the fragile aluminum fins.
Once the surface is damp, it's time for the foaming coil cleaner. Start at the top and work your way down, spraying an even coat across the fins on every accessible side. You'll see the foam expand and work its way deep between the fins, breaking down all that stubborn dirt and grime that water alone can't touch. Just let it sit and do its thing for about 5-10 minutes.
This infographic gives a great visual breakdown of the process.
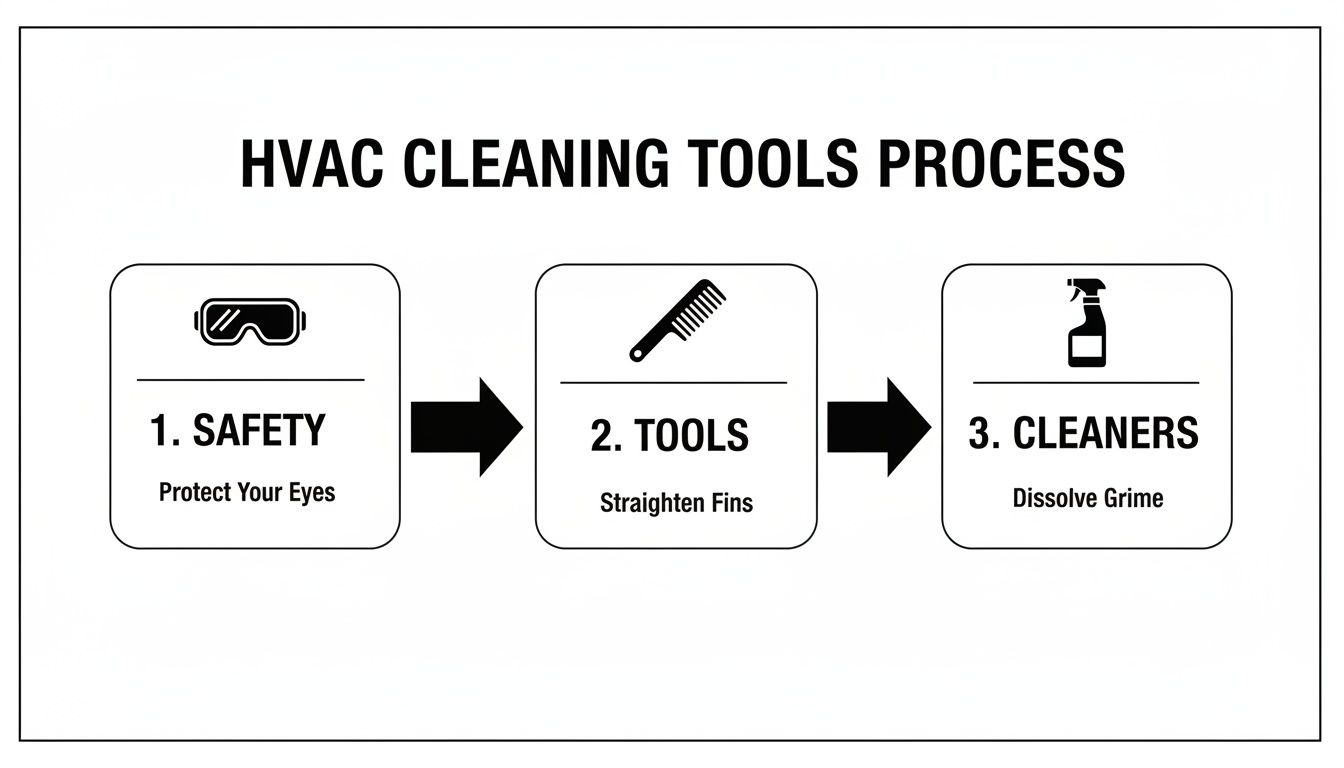
The sequence is everything: safety first, then the right tools, and finally the correct cleaning agents.
After the cleaner has worked its magic, it's time to rinse. This is arguably the most critical part of the job. You have to rinse the coils from the inside out. To do this, you'll need to carefully remove the top protective grille and fan assembly. Your owner's manual should have specific instructions for your model.
Once you have access, place your hose inside the unit and spray outward. This pushes all the dissolved dirt, foam, and gunk away from the unit. If you rinse from the outside in, you're just forcing all that grime deeper into the core of the coils, which can make your problem even worse. Keep rinsing until the water running off the unit is completely clear.
Straightening Damaged Coil Fins
As you're cleaning, you'll probably spot some bent or flattened aluminum fins. This happens all the time from hail, bumping it with a weed whacker, or even just leaning something against the unit. Bent fins are bad news because they choke off airflow, crippling your AC's ability to get rid of heat.
This is where that coil fin comb really earns its keep.
Think of the fin comb as a specialized brush for your AC. Using it to gently straighten bent fins is a small step that restores significant surface area for heat exchange, directly improving your system's cooling efficiency.
Carefully insert the comb's teeth just above the bent section and pull down slowly. The idea is to gently guide the fins back into their vertical position without tearing them. It’s delicate work, so take your time and tackle small sections at a time. It’s a finishing touch that makes a huge difference.
And while we're focused on the outdoor condenser unit today, don't forget it's only half of the system. We have another resource you might find useful; check out our guide on how to clean evaporator coils to get the full picture.
Once the fins are straight and the unit is clean, you can carefully put the top grille and fan back together. Let the unit air dry for at least an hour before you head back to the outdoor disconnect box to restore power, followed by the circuit breaker inside.
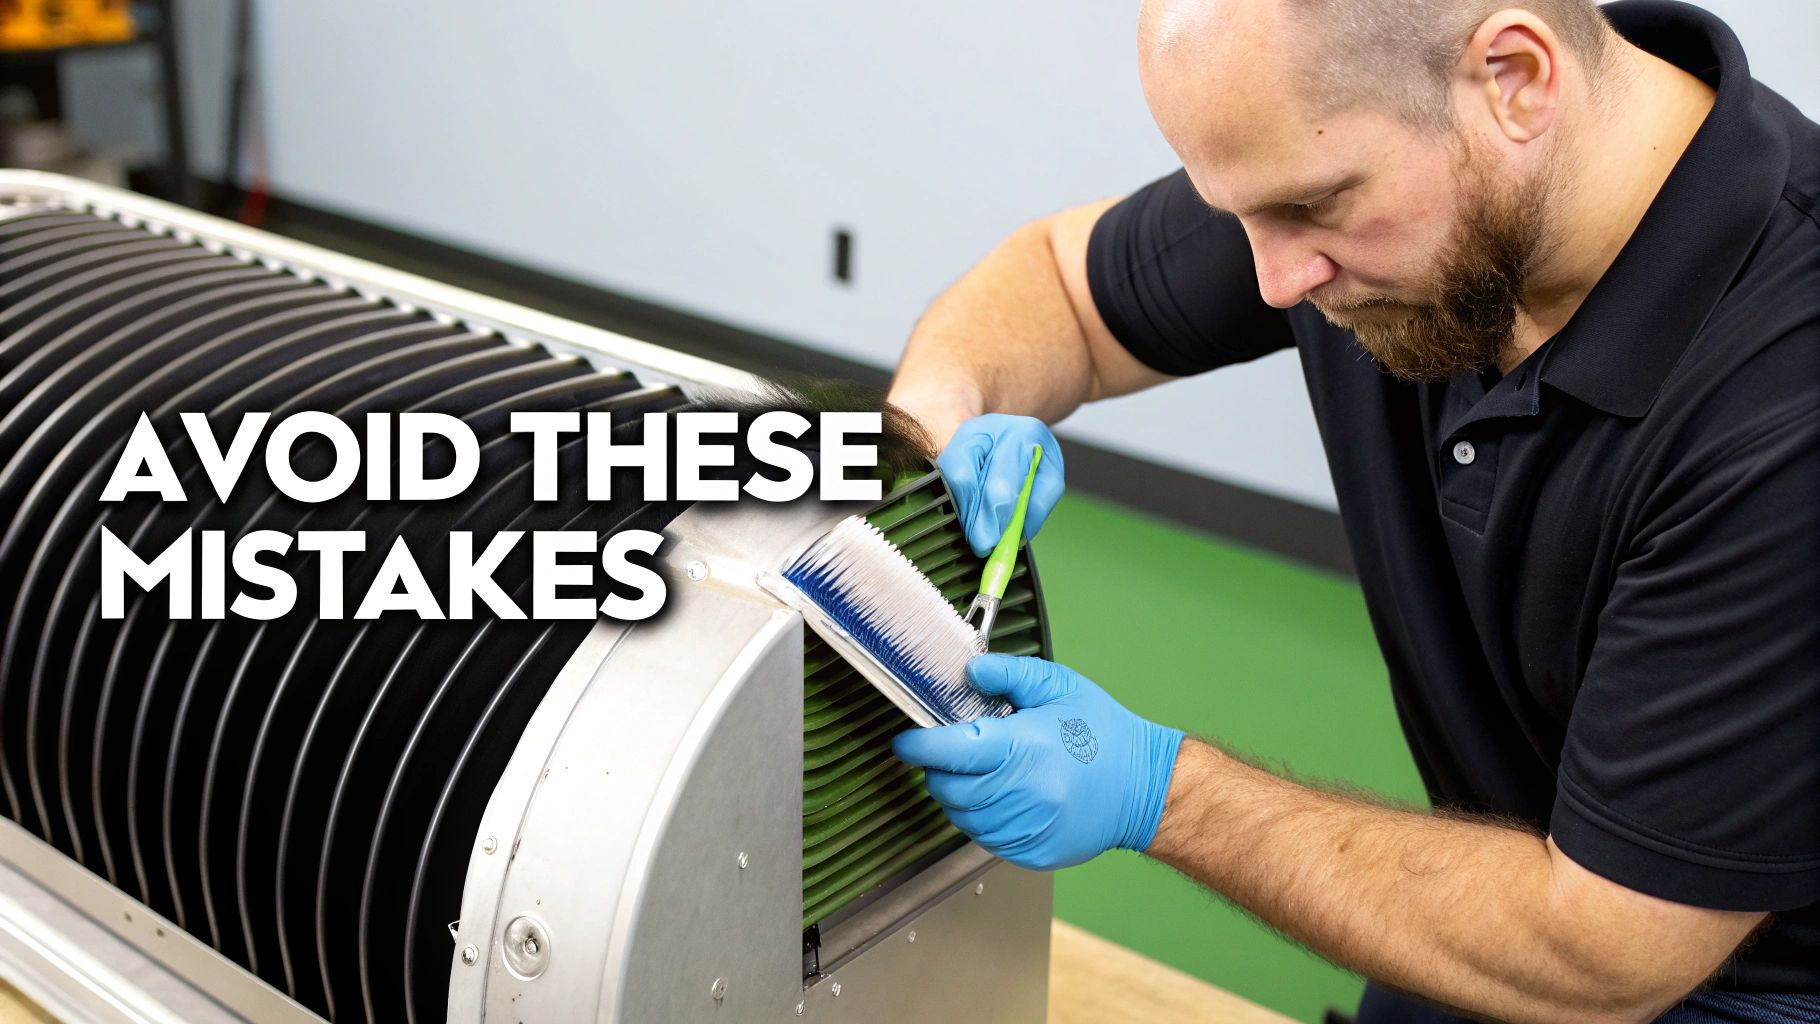
Common Mistakes That Can Wreck Your AC Unit
Knowing what not to do when you clean condenser coils is just as important as knowing the right steps. I’ve seen it time and time again, a few common, yet serious, missteps can quickly turn a simple maintenance task into a costly repair job. Protecting your investment means understanding these pitfalls and actively avoiding them.
One of the most damaging mistakes is grabbing a high-pressure washer. It might seem like a fast way to blast away grime, but that intense pressure will flatten the delicate aluminum fins that cover your coils. Flattened fins are like a solid wall; they completely block airflow and destroy your system's ability to cool your home.
Choosing the Wrong Cleaning Agent
Reaching for a bottle of household cleaner or a heavy-duty degreaser is another recipe for disaster. Harsh chemicals, especially acid-based formulas, were never designed for the copper and aluminum in your AC unit. These substances can cause corrosion, leading to microscopic leaks and permanent damage over time.
This is exactly why the HVAC industry has an entire market for specialized cleaning products. The commercial HVAC coil cleaning market is valued at roughly $520 million and is projected to grow, with professionals relying on purpose-built formulas. You can find more info about commercial coil cleaning market trends on dataintelo.com. Always stick to a cleaner specifically labeled as safe for HVAC coils.
Using the wrong cleaner is a silent killer for your AC unit. The damage isn't always immediate, but the corrosive effects slowly eat away at the coils, leading to premature system failure and expensive refrigerant leaks.
Overlooking Electrical Safety
A final, crucial error to avoid is carelessness with water around the unit's electrical components. When you're rinsing the coils, you have to be mindful not to spray water directly onto the fan motor or into the electrical housing where the wiring connects.
Yes, these components are designed for outdoor exposure, but a direct blast of water can cause a short circuit or lead to corrosion on the electrical terminals. A little awareness goes a long way in preventing an easily avoidable electrical problem. Ignoring these basic precautions is a primary cause of many issues, including frozen coils. If you've ever dealt with that, you can learn more from our guide on what causes AC coils to freeze and how to fix it.
By steering clear of these common mistakes, you ensure your DIY cleaning effort actually helps your system instead of harming it. It's all about working smarter, not harder, to keep your AC running efficiently for years to come.
Knowing When to Call in a Professional
While rolling up your sleeves for a DIY cleaning is a great way to handle routine upkeep, some situations just call for a pro. Knowing when to put the garden hose down and pick up the phone is just as important as knowing how to do the job yourself. It's about protecting your HVAC system from accidental damage and making sure it's truly running at its peak.
There are a few tell-tale signs that a cleaning job is more than a simple weekend project. If you take a look at your coils and see them caked with a thick, oily film or so impacted with grime that the fins are barely visible, it's time to call an expert. That level of buildup requires specialized chemicals and tools to break down safely without wrecking the delicate aluminum fins.
Signs You Need an Expert Technician
Another huge red flag is any sign of mold or mildew. Spotting that fuzzy growth on the coils or anywhere inside the unit points to a deeper moisture problem that needs a professional diagnosis. Trying to clean it yourself could just send spores flying into the air, a health risk you don't want to take.
Heavily Impacted Debris: When dirt and dust are so thick you can't even see the metal fins anymore, you need professional-grade cleaners to cut through it.
Oily or Greasy Residue: This sticky grime laughed at your store-bought foaming cleaner. It needs a more potent, carefully applied solution that only a pro should handle.
Visible Mold or Mildew: This signals a moisture issue. A technician needs to find the root cause to prevent health hazards and further system damage.
Suspected Refrigerant Leaks: If you see oily patches and your AC is struggling to cool, you might have a refrigerant leak. Only a licensed professional is legally allowed to handle that.
Once you realize you need a professional, it helps to understand how to get a fair estimate for cleaning services. This way, you’ll know what to expect and can find a trustworthy company. You can also dig deeper into what influences the final price in our detailed article explaining the HVAC coil cleaning cost.
Purified Air Duct Cleaning: Your Phoenix Area Partner
For homeowners in Avondale, Phoenix, Glendale, and the surrounding areas, Purified Air Duct Cleaning is your trusted local expert. Our certified technicians don't just give your unit a quick rinse and call it a day. We perform a deep, thorough cleaning that tackles both the outdoor condenser coils and the indoor evaporator coils, ensuring your entire system is dialed in for maximum performance.
A professional cleaning isn't just about making things look good; it's about restoring the total efficiency of your HVAC system. We use specialized tools to safely blast away the toughest grime, which improves airflow and can actually lower your energy bills.
When you're up against a tough cleaning job or just want the peace of mind that comes with an expert service, don't hesitate to reach out. Contact Purified Air Duct Cleaning to schedule a professional cleaning and keep your HVAC system running like a champ through the hottest Arizona days.
Your Top Questions About Coil Cleaning, Answered
Even after walking through the steps, you probably still have a few questions rattling around. That's completely normal. Let's tackle some of the most common things homeowners ask us about cleaning their condenser coils. Think of this as the final check to give you the confidence to get the job done right.
How Often Should I Clean My Condenser Coils?
For most of us here in the Phoenix area, a once-a-year cleaning in the spring is the sweet spot. This gets your AC ready for the brutal summer months when it'll be working overtime.
But your mileage may vary. If you live near a construction site, in a super dusty part of town, or have cottonwood trees dropping fluff everywhere, you’ll want to inspect the coils twice a year. Honestly, a quick peek every few months is a great habit for any homeowner.
Can I Use Household Cleaners Like Vinegar on My Coils?
Please don't. We get this question a lot, and we strongly advise against using any household cleaners, and that includes vinegar, dish soap, or anything from under your kitchen sink.
While they might seem harmless, these products can be corrosive to the delicate aluminum fins and copper tubing in your unit. Over time, that corrosion leads to serious, expensive damage.
Stick with plain water from your garden hose or grab a dedicated, non-acidic foaming coil cleaner from a home improvement store. These are formulated specifically for HVAC systems, so they clean effectively without risking the long-term health of your equipment.
What's the Difference Between Condenser and Evaporator Coils?
It's super easy to mix these two up, but they perform opposite jobs. Here’s a simple breakdown:
Condenser Coils: These are in your outdoor unit. Their job is to release all the heat your AC has pulled from inside your home.
Evaporator Coils: These live inside your indoor unit (usually with the furnace). They absorb heat from your indoor air, which is what makes the air blowing from your vents feel cold.
This guide focuses on the outdoor condenser coils because they're the ones you can safely and easily access. Evaporator coils are tucked away deep inside the system and are best left for a professional to clean. One wrong move there could lead to water damage inside your house.
Will Cleaning the Coils Actually Lower My Electric Bill?
Yes, it absolutely will, and the savings can be pretty surprising. A dirty coil is like forcing your AC to breathe through a blanket. The dirt acts as an insulator, making the compressor run longer and work much harder to cool your home. All that extra work directly translates to a higher energy bill.
In fact, the U.S. Department of Energy estimates that a dirty condenser coil can spike your air conditioner's electricity use by as much as 30%. Keeping your coils clean is one of the most effective ways to boost your system's efficiency and cut down on those summer cooling costs.
Sometimes, a quick DIY cleaning isn't enough, especially if the grime is really caked on. When you need a professional touch, don't hesitate to call in the experts. For top-tier service in Avondale, Phoenix, and the surrounding areas, trust Purified Air Duct Cleaning to get your system back to peak performance.
Visit us at https://www.purifiedairductcleaning.com to book your appointment today.