

Air Duct Cleaning Vacuum Attachment Guide for Homeowners
Most advice about an air duct cleaning vacuum attachment gets the core idea backward. The attachment isn't the hero, the containment system is. If the vacuum doesn't hold negative pressure, if the filtration is weak, or if the exhaust dumps dust back indoors, you're not cleaning the air, you're moving debris around.
That's why I tell homeowners to stop asking, “Which attachment is strongest?” and start asking, “What's the whole setup doing?” EPA guidance says duct cleaning hasn't been shown to prevent health problems, and studies haven't conclusively shown that dirty ducts raise household particle levels, so routine cleaning should start with whether the job is justified at all. If you do clean, the key decisions are simple: which attachment matches the duct, which vacuum can contain the mess, and where the exhaust goes. For a deeper look at the professional side of the equipment stack, see professional duct cleaning equipment.
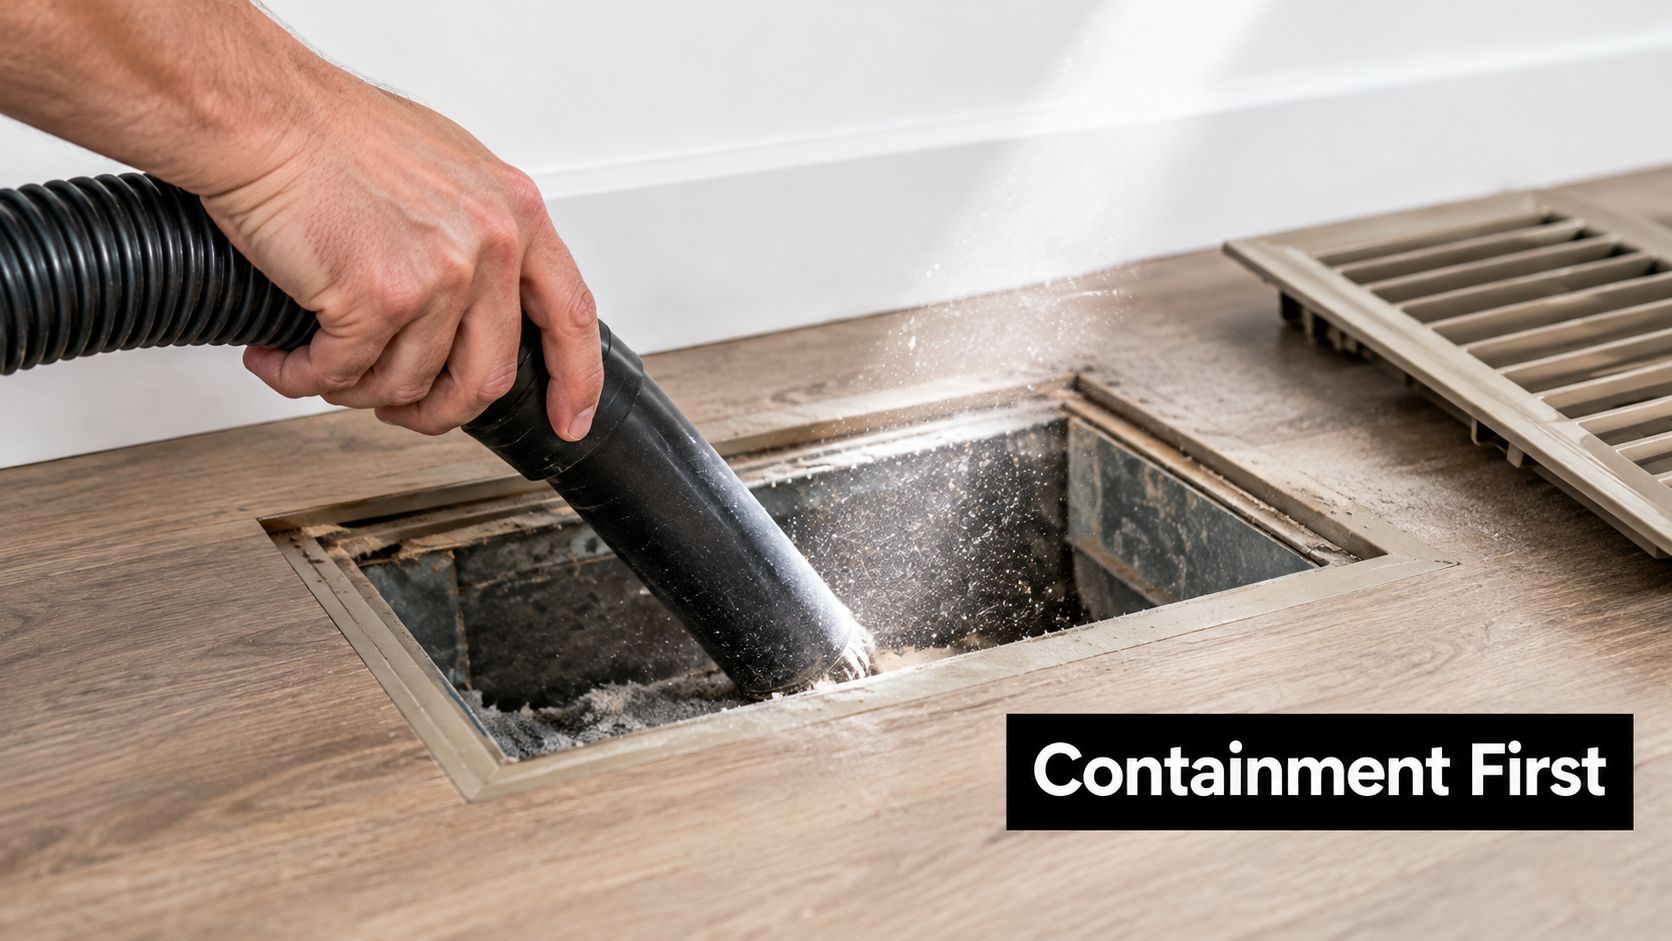
Practical rule: if the vacuum can't hold the duct under negative pressure, the attachment is just a stirring wand.
Why the Attachment Is Only Half the Job
A brush head or whip doesn't clean a duct by itself. It only loosens material. The vacuum has to capture that debris immediately, under controlled negative pressure, or you've just turned settled dust into airborne dust. That's the part most DIY setups miss, especially when someone clips a small shop vac onto one register and calls it a day.
NADCA's ACR standard draws the line clearly, the HVAC section being cleaned has to remain under negative pressure throughout the job, and when exhaust stays inside the building, the collector needs HEPA filtration at 99.97% efficiency for 0.3-micron particles. In plain English, the system has to pull dirty air toward the collector, not let it drift into rooms. A basic vacuum with a random attachment can reach inside a grille, but that does not mean it is protecting indoor air.
The more honest way to think about the job is in three decisions. First, whether cleaning is justified at all. Second, which attachment fits the duct material. Third, whether the vacuum and exhaust path can contain what the attachment dislodges. If you skip any one of those, the whole setup gets sloppy fast.
Bottom line: cleaning is a containment job before it's a suction job.
Types of Air Duct Cleaning Vacuum Attachments
An air duct cleaning vacuum attachment should be chosen for the surface you're touching, not for how aggressive it looks. AIHA guidance favors gentle brushing or vibration because aggressive methods can damage liners or scatter contaminants, so bristle stiffness matters more than brute force. That's why one attachment can be useful on sheet metal and a bad idea on ductboard.
What the common attachments actually do
Soft-bristle brushes work best on rigid sheet metal and light dust. They sweep settled debris off the wall without chewing up seams. Stiff brushes reach stuck-on material faster, but they can be too harsh for fragile liners.
Whip heads, especially flexible nylon or horsehair styles, are better for round branches and awkward bends. They flick dust loose where a rigid brush would snag. Their weakness is obvious, they're good at agitation, not at reaching everything packed deep in a long run.
Compressed-air whips and skip-ball style tools are for longer sections where you need turbulence more than contact. They shake loose debris well, but they depend on a collector that's already pulling hard. If the vacuum is weak, you just stir the dust and hope.
Flat crevice tools help at register boots and short visible runs. They're useful for access points and edges, not for whole-system cleaning. A blower or skip-line tool belongs in a setup where agitation and suction are coordinated, because suction alone won't lift packed debris.
For homeowners trying to compare fittings, air duct cleaning hose guidance is a better starting point than chasing the biggest brush on the shelf.
Shop Vac vs Professional Source Removal
DIY attempts usually break down here. A shop vac can be handy for a visible vent opening or a short, accessible metal branch. It is not the same thing as a professional source-removal system, because reach, capture velocity, filtration, and exhaust placement all matter at once.
NADCA requires the collector to run continuously during cleaning, and if it exhausts inside the building, the unit needs HEPA filtration at 99.97% efficiency for 0.3-micron particles. That standard exists because suction by itself doesn't guarantee containment. If the hose is too small, the duct isn't sealed, or the exhaust is wrong, the setup can move debris into the room instead of out of the duct.
Criterion | Shop Vac Setup | Professional HEPA Source Removal |
|---|---|---|
Reach | Good for a register boot or short branch | Built to reach trunks, plenums, coils, and the air handler |
Capture velocity | Often uneven in longer runs | Designed to keep debris moving toward the collector |
Filtration | Usually limited unless upgraded | HEPA filtration when exhaust stays indoors |
Exhaust placement | Often indoors without real containment | Indoors with HEPA, or routed outdoors away from intakes |
A consumer vacuum also tends to fail at the boring parts. It may not seal well at the access opening, and it can lose airflow fast once the hose length grows. That's why a shop vac is fine for small, exposed work, but it doesn't replace source removal.
For a broader equipment comparison, air duct cleaning methods gives more context on where consumer gear stops making sense.
Matching Attachments to Your Duct System
Duct material decides what tool is safe. EPA cautions that high negative pressure with limited airflow can collapse ductwork, so hose sizing and attachment choice need to be checked before you start. If the setup can crush a run or pull a liner loose, the wrong attachment is worse than no cleaning at all.
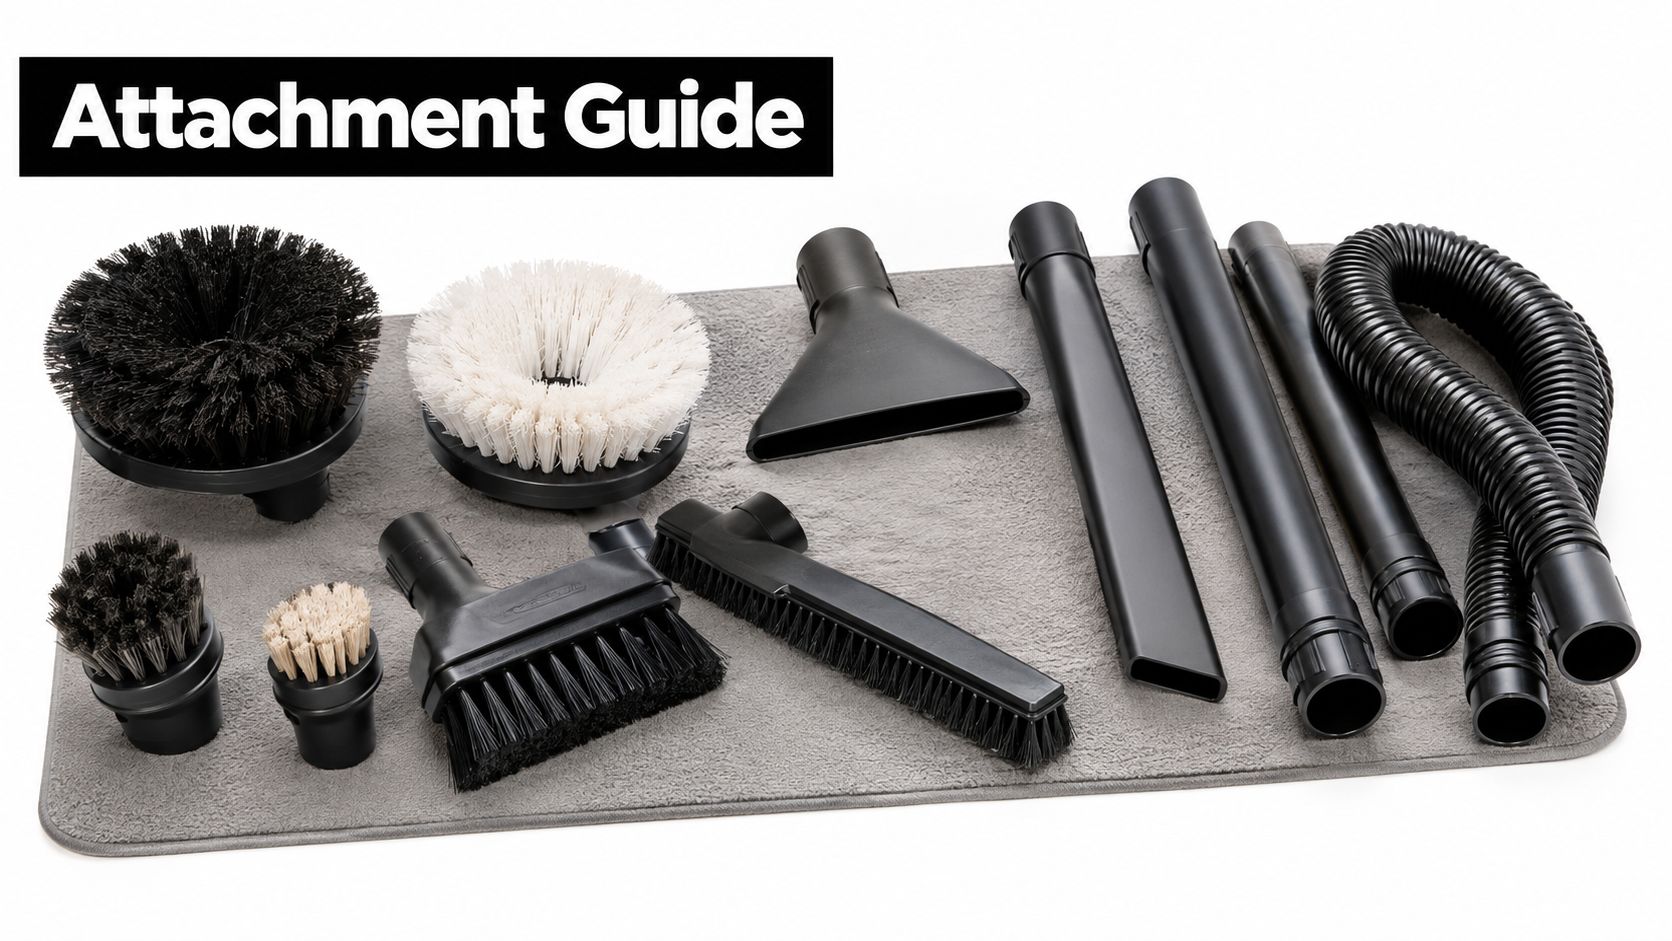
Pick the tool for the material
Rigid sheet metal gives you the widest choice. Soft brushes, whips, and crevice tools can all work, as long as the seams are intact and the access opening doesn't leak.
Flexible duct is the opposite. Use gentle whips and keep pressure low, because crushing the inner liner is easy and expensive. If you feel the hose fighting the duct, back off.
Fiberglass ductboard is the line where I tell homeowners to slow down or stop. Aggressive brushing can shed material into the airstream, and that's not a win. On ductboard, gentle methods matter more than force.
Don't ignore hose size and collapse risk
A strong vacuum with an undersized hose still performs poorly. The hose can starve the system of capture velocity, which means loosened dust doesn't leave the duct fast enough. Check the hose, the access opening, and the duct walls before the cleaning pass starts, and confirm the setup stays open under negative pressure.
For planning the visible access points and vents, house AC vent cleaning is a useful reference point.
A Practical Cleaning Sequence You Can Actually Follow
Start by killing power at the thermostat and breaker. Don't trust the thermostat alone if the blower can still energize. Then seal the supply and return openings that aren't being serviced, so the vacuum has one clear path and doesn't fight the rest of the system.
Next, connect the collector through the most downstream access point you can use cleanly. That keeps debris moving toward the vacuum instead of back toward occupied rooms. Turn the vacuum on first, then bring in the attachment, because suction has to be live before agitation starts.
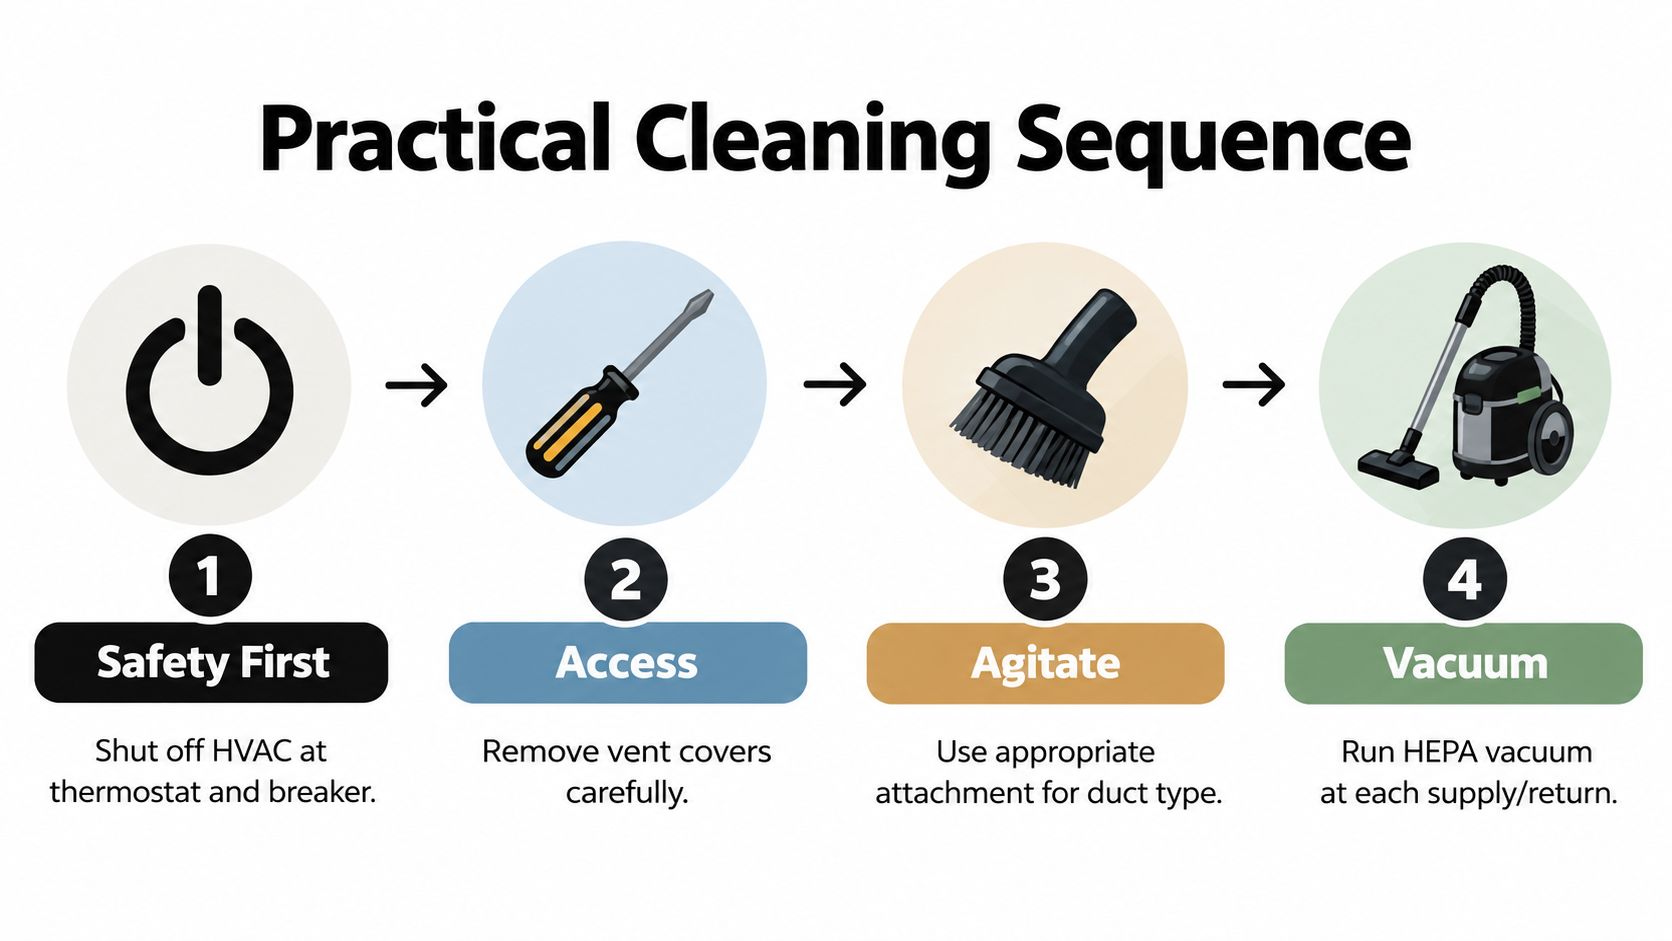
Run the pass the right way
Work from the farthest branch back toward the collector. Keep agitation ahead of suction so the debris is captured the moment it breaks free. If the hose starts to flatten, if you smell burning, or if fiberglass starts shedding, stop and reset. Those are not minor issues.
A visual check through the access panel comes last, not first. Look for loose seams, leftover clumps, or obvious leakage before you restore the system. If you want a useful side reference on how service teams organize cleaning work, SEO for carpet cleaning is a decent example of how process matters more than flashy tools.
For a tighter view of how professionals manage airflow and openings, air duct cleaning methods is worth a look once, then close it and stick to the basics.
When to Stop and Call a Professional
DIY attachments earn their keep on an accessible register boot, a short exposed metal branch, or a return drop that is only dusty on the surface. Once you find mold-like growth, musty odors pushing through the vents, fiberglass shedding, suspected asbestos material, rodent remains, debris inside the air handler, or a run you cannot reach without cutting into the duct, stop. Those are service jobs, not attachment jobs.
A contaminated evaporator coil changes the job too. Damaged ductboard or an access point that will not seal properly does the same. At that point, a technician with real containment setup beats a bigger brush every time.
Dryer vents are a separate category. NFPA dryer-fire data from 2014 through 2018 show dust, fiber, or lint was the first item ignited in 27 percent of clothes-dryer fires, and 32 percent were tied to failure to clean, which is why dryer work needs dryer-specific tools and verification, not a general air duct attachment. If you want a clear standard for when negative pressure and containment are done right, NADCA duct cleaning standards lays out the right frame.
If your only other project is to tackle pests yourself, fine. Do not improvise around contamination you cannot identify. When the system is dirty in the wrong places, or the setup cannot stay sealed, call a pro and leave the vacuum attachment out of it.
Safe Habits and Quick Reference Checklist
Keep this simple. If you don't have a reason to clean, don't start. EPA doesn't recommend routine duct cleaning as a habit, and a dusty-looking grille is not proof that the whole system needs work.
Use this checklist before you touch the vacuum:
Justify the job first, don't clean just because a vent looks dusty.
Isolate the section, seal the openings you aren't servicing.
Hold continuous negative pressure, and verify it at representative locations.
Match the attachment to the duct material, especially on flex duct and ductboard.
Run agitation ahead of suction, never the other way around.
Use HEPA filtration indoors, or route exhaust outside away from intakes.
Stop at mold-like growth, asbestos concerns, rodent evidence, or air-handler contamination.
Document what you found, so the next technician has context.
NADCA's rule is the simplest one to remember, the cleaned section has to stay under negative pressure relative to occupied areas throughout the work. If you can't hold that line, the setup isn't ready. Schedule a professional source-removal cleaning when the system has a real contamination problem, or sooner if any of the warning signs show up again.
Purified Air Duct Cleaning handles air duct cleaning, dryer vent cleaning, and HVAC coil cleaning with a containment-first approach that fits this exact problem. If you want a technician who treats the attachment as part of the system, not the whole solution, visit Purified Air Duct Cleaning and get the job assessed the right way.