How to Clean Dryer Vents on the Roof: A Complete Homeowner's Guide
- Feb 7
- 14 min read
Cleaning a rooftop dryer vent means you'll have to safely get up on your roof, take off the vent cap, and use a special brush kit to clear out all the lint packed inside the ductwork. This isn't just a chore to check off the list; a clogged vent throttles your dryer's performance and, more importantly, creates a serious fire hazard from highly flammable lint.
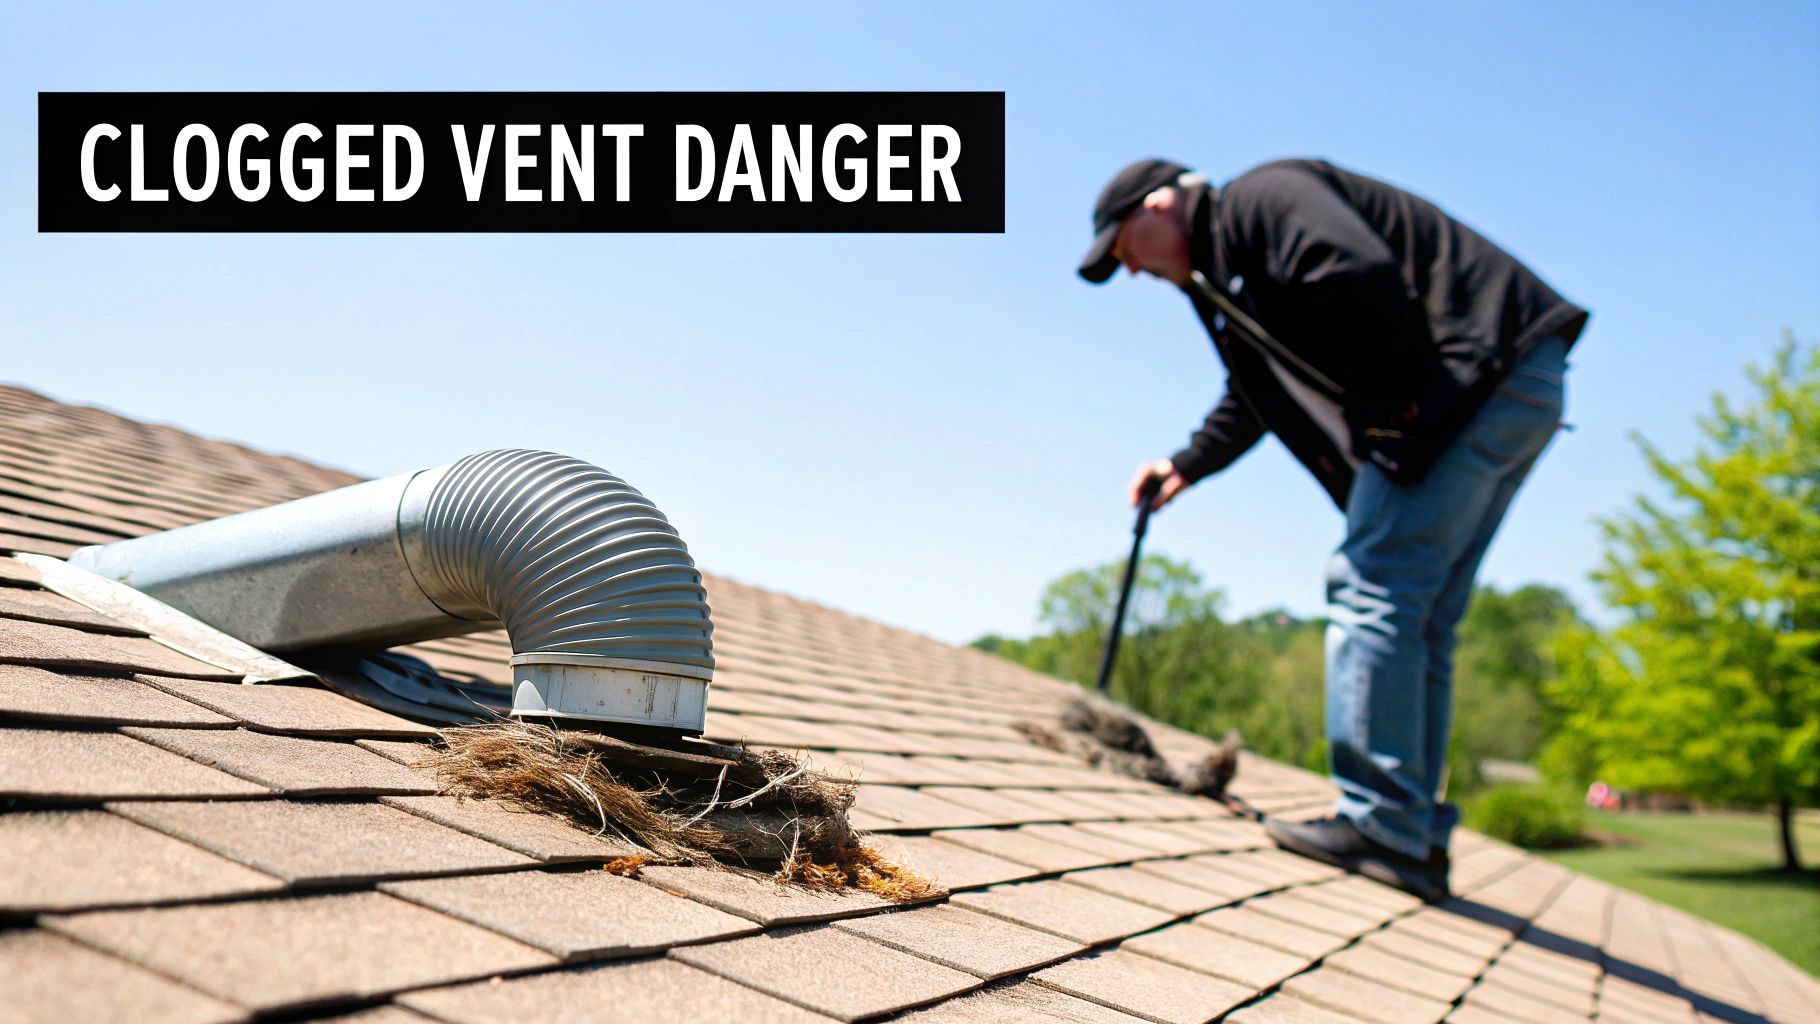
The Hidden Dangers of a Clogged Rooftop Dryer Vent
It's easy to focus on the lint trap you clean after every load, but the real trouble often brews unseen, far above your laundry room. The long, vertical journey lint has to take to a rooftop vent is where dangerous blockages build up, making this task a top priority for home safety. Damp clothes and wasted energy are just the beginning.
More Than Just a Fire Risk
While fire is the most terrifying outcome, it’s far from the only problem. A blocked vent can silently impact your family's health and your household budget.
Carbon Monoxide Buildup: If you have a gas dryer, a clogged vent is a recipe for disaster. It can trap deadly, odorless carbon monoxide fumes inside your home instead of letting them escape.
Sky-High Energy Bills: When hot air can't get out, your dryer has to work much harder and run longer. That extra runtime shows up directly on your monthly utility bills.
Appliance Burnout: This constant overwork puts a massive strain on the dryer's motor and heating element, leading to premature breakdowns and expensive repair calls.
A Real-World Phoenix Scenario
Think about this: a homeowner right here in Phoenix was getting frustrated because her family's clothes were still damp after a full 60-minute cycle. She figured the dryer was on its last legs and started running every load twice, doubling her electricity use.
The real culprit? Her rooftop vent cap was completely sealed shut with a concrete-like mixture of lint and bird nesting material. This created so much back pressure that the hot, moist air had nowhere to go. Her story is a perfect example of why vent cleaning isn't just routine maintenance; it’s a critical step for your family's safety and your wallet.
Fire safety is, without a doubt, the most compelling reason to keep that vent clear. The National Fire Protection Association reports that U.S. fire departments respond to roughly 17,000 clothes dryer fires every year. The leading cause? A failure to clean the dryer and its venting system. The vast majority of these fires are completely preventable.
Why Rooftop Vents Are Uniquely Vulnerable
Vents that exit on the roof have a tougher job than their side-wall counterparts, making them particularly prone to severe clogs. Their vertical climb forces them to fight gravity, so heavy, damp lint settles and compacts much more easily.
They're also exposed to everything the Arizona sky can throw at them:
Bird Nests: Birds love the warm, sheltered opening and will build nests right inside.
Storm Debris: Leaves, twigs, and dirt get blown across the roof and can fall right into the opening.
Monsoon Rains: Heavy downpours can turn loose lint into a thick, paste-like sludge that’s nearly impossible for air to push through.
Here's a quick table to help you identify the warning signs before they become major problems.
Rooftop Vent Problem Identifier
Use this quick reference table to spot the common symptoms of a clogged roof-mounted dryer vent and understand the risks involved.
Symptom | Potential Cause | Associated Risk |
|---|---|---|
Clothes take multiple cycles to dry | Restricted airflow from lint buildup | Increased energy costs, appliance strain |
Dryer feels unusually hot to the touch | Overheating due to trapped heat | Fire hazard, component failure |
Burning smell during operation | Lint igniting near the heating element | IMMINENT FIRE HAZARD |
Visible lint around the exterior vent cap | Significant blockage preventing lint escape | Fire risk, pest infestation |
Dryer shuts off before cycle ends | Overheating safety sensors being triggered | Appliance damage, underlying fire risk |
Recognizing these symptoms early is key. Understanding these unique vulnerabilities is the first step toward preventing a disaster. To learn more, you can explore our complete guide to preventing dryer fires at home. It will give you the knowledge you need to tackle this essential task and keep your home safe and efficient.
Gathering the Right Tools for Rooftop Vent Cleaning
Trying to clean a rooftop dryer vent without the right equipment is a recipe for disaster. I've seen it before; it’s a frustrating job that can quickly become unsafe if you’re not properly prepared. Having the right gear isn't just about making the job easier; it's about the difference between a successful cleaning and a dangerous fall.
You're working at a height, often on a sloped surface, so your standard household tools just won’t cut it. Let’s break down exactly what you need to get this done right.
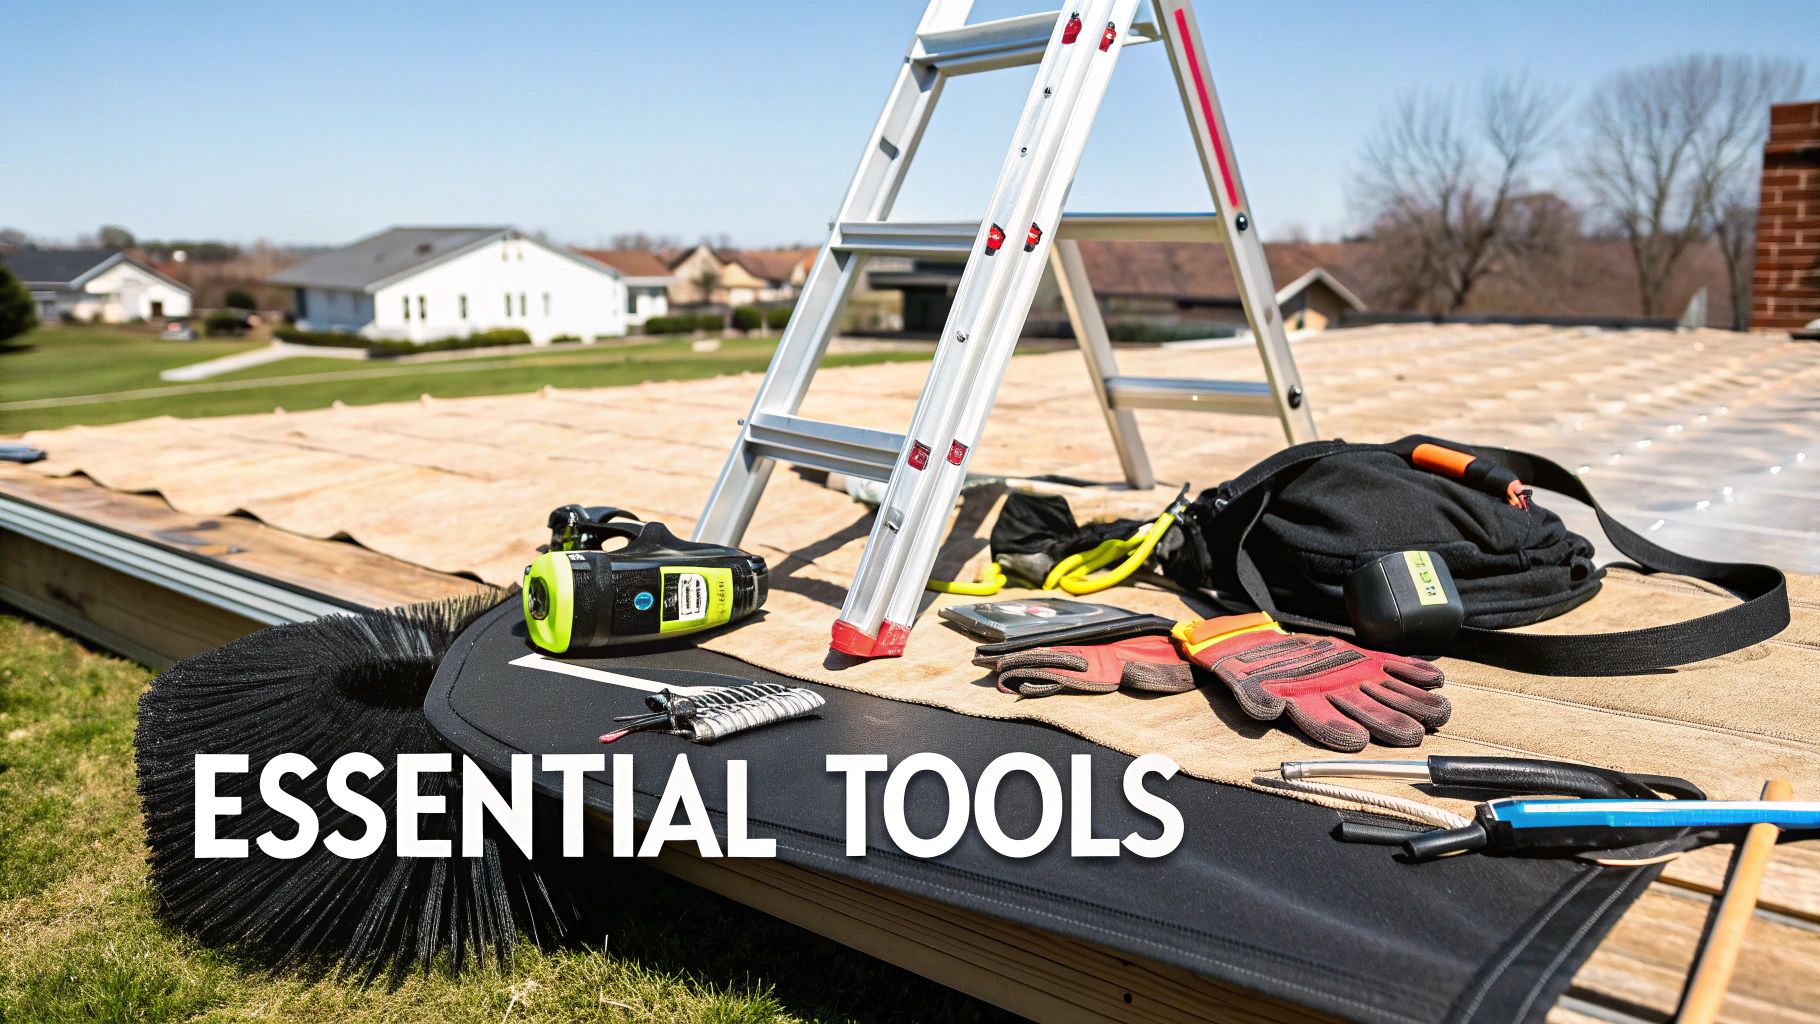
Your Essential Cleaning Arsenal
The absolute star of the show is a good dryer vent cleaning brush kit. Don't just grab any brush; you need one with flexible, interlocking rods. These are designed to navigate the entire length of your vertical ductwork without getting stuck or damaging the pipe.
Hook that brush head up to a cordless drill, and you've got a powerful cleaning machine. Just be sure to set your drill to a low speed and keep it rotating clockwise. This is critical: running it too fast or in reverse can cause the rods to unscrew and get lost deep inside the vent, turning a simple cleaning job into a major headache.
Pro Tip: Bring a small bucket or a sturdy bag up to the roof with you. As you pull the lint-caked brush out of the vent, you can drop the clumps directly into it. This keeps your roof and yard from getting covered in a messy lint shower.
You'll also need a powerful shop vacuum with a long hose to suck out all the loose debris once you're done brushing. A screwdriver or a drill with the right bit is also necessary to remove the vent cap on the roof.
Prioritizing Personal Protective Equipment
I can't stress this enough: working on a roof requires total respect for safety. Your Personal Protective Equipment (PPE) is non-negotiable.
Here’s your must-have PPE list:
Non-Slip Footwear: Get yourself a pair of soft-soled work boots or shoes with excellent grip. Roof surfaces can be surprisingly slick.
Heavy-Duty Gloves: You'll be dealing with grimy lint and potentially sharp metal edges on the vent cap. Protect your hands.
Safety Glasses: When you pull that brush up, a cloud of lint, dust, and who-knows-what-else is coming with it. Keep that mess out of your eyes.
The Most Important Tool of All: Ladder Safety
Finally, let's talk about getting up there. The only safe way to access your roof is with a sturdy extension ladder. Before you even set foot on it, make sure it’s on solid, level ground.
For extra security, think about getting some ladder stabilizers. These attachments give the base a wider footprint, making it much more stable. Remember to always maintain three points of contact when you're climbing: two feet and one hand, or two hands and one foot. Never overreach.
If you’re feeling at all shaky about the setup, stop and rethink your approach. For anyone new to this, it's a good idea to review the basics first. You can get more details in our complete guide on how to clean your dryer vent yourself. Being prepared is the most important part of doing the job safely and effectively.
Starting the Cleaning Process from Inside Your Home
Even though the main job is up on the roof, you'll want to start inside your laundry room. I've seen it happen time and again: someone pushes all the lint down from the roof only to create a dense, compacted clog at the bottom because it was already partially blocked.
Think of it as clearing the landing zone. By cleaning out the bottom of the vent run first, you ensure all the debris you knock loose from above has a clear path out. This prep work is straightforward but absolutely essential for a smooth, effective cleaning.
Safely Disconnecting Your Dryer
First things first: safety. Before you even think about moving the dryer, unplug it from the wall. If you have a gas dryer, you also need to shut off the gas supply. Look for a valve on the pipe behind the dryer and turn it so it's perpendicular to the pipe.
With everything disconnected, gently slide the dryer away from the wall. You just need enough space to get behind it comfortably. You’ll see the duct that connects the dryer to the wall vent, and that's what we need to get off.
A Quick Pro Tip: Before you unhook anything, grab your phone and snap a picture of the connections. Trust me, having a visual reference of how the clamps and ducts are positioned will save you a headache when it's time to put it all back together.
Most ducts are secured with a simple clamp that you can loosen with a screwdriver or a nut driver. Once it's loose, carefully work the duct off the back of the dryer and then off the wall connection.
Initial Cleaning of the Lower Duct and Dryer
With the duct free, you can now get to the two biggest problem areas for lint buildup. This is where a shop vacuum with a narrow crevice tool comes in handy.
Start with the dryer itself. You’d be amazed at how much lint collects in the opening where the duct connects. Vacuum that port thoroughly. While you're at it, remove the lint screen and vacuum out the housing it slides into; a lot of lint bypasses the filter and falls down into that cavity.
Next, focus on the duct opening in the wall.
Vacuum the Wall Duct: Shove your vacuum hose as far into the wall opening as you can. The goal is to suck out all the loose lint that has settled at the base of the vertical pipe running up to your roof.
Inspect the Transition Duct: Now, take a good look at that flexible duct you just removed. If you have one of those white plastic or foil accordion-style ducts, check it for rips or tears. Honestly, these are notorious for trapping lint and can be a serious fire risk. If it looks worn out or is caked with lint, now is the perfect time to replace it with a sturdier, semi-rigid metal duct.
If your laundry room is a tight squeeze and moving the dryer feels like a game of Tetris, we have a few tricks that might help in our guide on how to clean a dryer vent without moving the dryer.
By taking care of this prep work, you've already eliminated a huge chunk of the potential blockage. Now, when you head up to the roof, you can be confident that the path is clear for all that lint to come out.
Performing the Rooftop Vent and Duct Cleaning
Alright, this is where the real work begins. With all your indoor prep done, it's time to get up on the roof and clear out that blockage. This part of the job demands your full attention and a safety-first mindset. How you handle these next steps will make all the difference.
First things first: check the weather. Never, ever try to do this job if it's windy, raining, or there's any chance of ice. Make sure your ladder is planted on solid, level ground. If you can get a friend or family member to act as a spotter, that’s a huge safety plus.
Removing and Inspecting the Vent Cap
Once you're safely situated on the roof, your initial target is the vent cap. This is the simple cover that keeps rain, leaves, and critters out of your ductwork.
Most of these caps are just held on by a few screws. Grab your cordless drill or screwdriver, carefully remove them, and stick them in a pocket or a small container. You don't want them rolling off the roof. Once the screws are out, the cap should lift right off.
Now, give that cap a good inspection. It’s a prime spot for lint to get snagged, especially if it has a screen (which it shouldn't, but many older ones do). Check for cracks, damage, or any signs of unwanted guests like bird nests or wasp hives. Clean it off completely so it doesn't just start a new clog the second you put it back on.
Mastering the Drill-Powered Auger Brush
With the cap off, you'll be looking straight into the open vent pipe. This is where your drill-powered auger brush becomes the hero of the day. Start by connecting one or two of the flexible rod sections and attaching the brush head.
Hook the other end of the rod up to your cordless drill. This next part is critical: set your drill to a low-speed setting and make sure it's spinning clockwise. If you run it in reverse (counter-clockwise), the rod sections can unscrew themselves inside the duct. Trust me, trying to fish out a lost rod from deep inside a vent is a headache you want to avoid at all costs.
Start feeding the spinning brush down into the pipe. Use a steady, even motion, letting the brush work its way down. As you get deeper, you’ll need to stop, unhook the drill, add another rod section, reconnect it, and keep going. This methodical approach is the only way to ensure you reach the entire length of the vent.
You’ll likely feel some resistance when the brush hits a thick patch of lint. Don't try to force it. Just let the spinning action of the brush break it up. Work your way down slowly until you feel the brush hit the bottom elbow, right above your laundry room.
Expert Tip: Want to make this process way more effective? Have a helper go inside and turn the dryer on to an "air fluff" or no-heat setting while you're running the brush. The airflow acts like a vacuum, blowing all the lint you're dislodging right out the top of the vent. It prevents the debris from just falling back down and creating another clog.
Final Clean-Up and Airflow Check
After you've run the brush up and down the entire duct a couple of times, pull it back out, taking the rods apart as you go. You'll probably be amazed at the mountain of lint you've removed. Now, go ahead and reattach the clean vent cap, making sure it's secure.
The last thing to do is confirm your work paid off. Head back inside, hook the dryer duct back up, plug the machine in, and turn the gas back on if you have a gas dryer. Run a normal cycle and pop back outside to the rooftop vent. You should feel a strong, warm, and steady stream of air. That's the sign of a job well done.
For a deeper dive into how these systems are installed and why they need specific care, you can learn more by reading our guide on venting a dryer through the roof.
This diagram gives a quick look at the indoor prep work that sets you up for success on the roof.
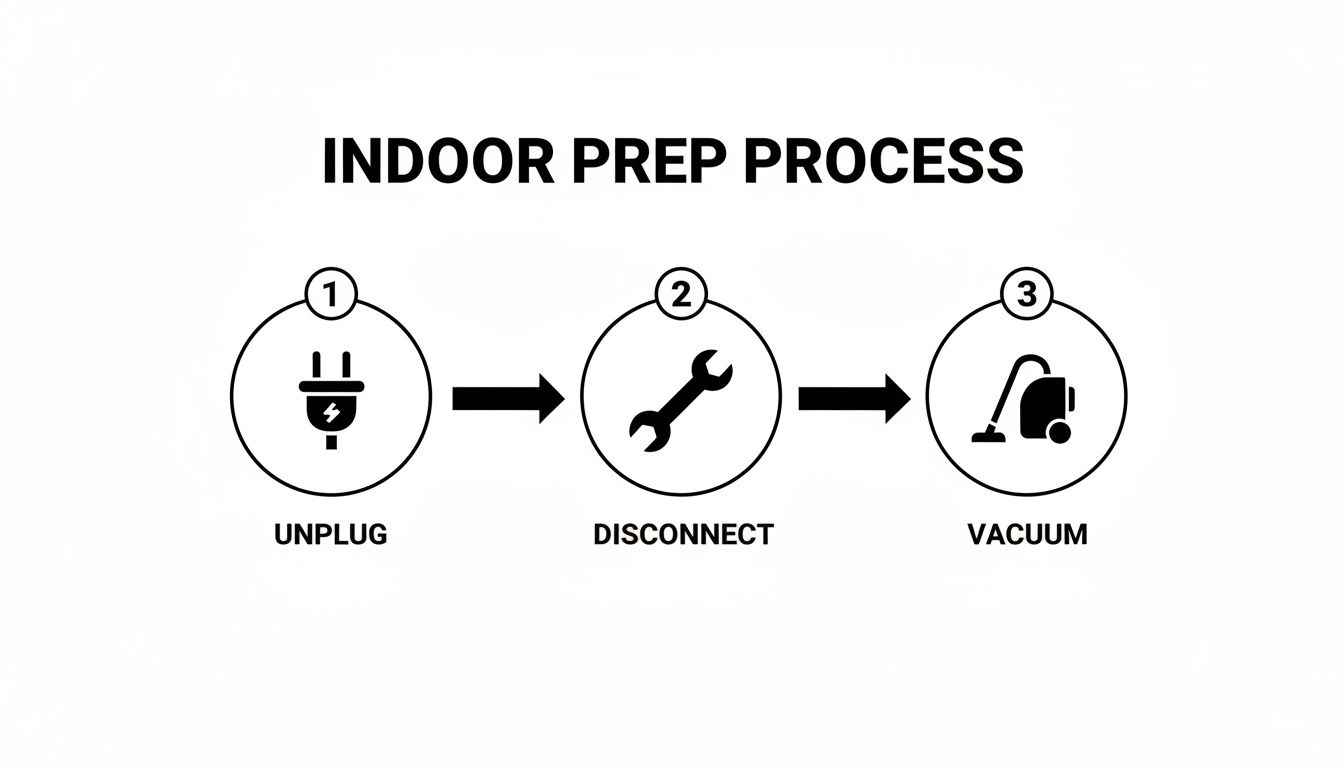
By taking care of the inside first, you give all that rooftop debris a clear path out, which is absolutely essential for getting the vent truly clean.
Knowing When to Call a Professional for Help
While tackling a DIY cleaning of your roof-mounted dryer vent can feel like a win, knowing your limits is the single most important safety tool you have. Sometimes, what starts as a straightforward job can quickly spiral into something complex, hazardous, or even damaging to your home.
Recognizing the red flags is key. It's the difference between a job well done and accidentally causing serious property damage or putting yourself at risk. Stepping back and calling in a pro isn't admitting defeat; it's the smart, responsible choice when you're out of your depth.
Signs You Need to Call an Expert Immediately
Sometimes you pop the vent cap off and find a lot more than just lint. If you run into any of these situations, it’s time to put your tools down and pick up the phone.
Pest Infestations: Finding an old bird's nest is one thing. Discovering an active wasp hive, beehive, or signs of rodents is another beast entirely. Don't try to be a hero; removing these critters can be dangerous without the right gear and training.
Damaged Ductwork: If you spot any crushed sections, obvious tears, or disconnected joints in the metal ductwork, stop what you're doing. A compromised vent line can leak highly flammable lint into your attic or wall cavities, creating a hidden and serious fire hazard.
Exceptionally Long or Complex Vents: Some homes, especially larger or custom-built properties in the Phoenix area, have incredibly long vent runs with multiple sharp turns. Your standard DIY brush kit from the hardware store probably won't have the length or flexibility to navigate these systems, leaving dangerous blockages behind.
When DIY Tools Just Aren’t Enough
Another major factor is time. If it’s been years since the last cleaning, that lint buildup can become incredibly compacted, almost like cement. The moisture from the dryer exhaust mixes with the lint over time, creating a dense, heavy plug that a simple drill-powered brush just can't muscle through.
This is where the professionals come in with the heavy-duty equipment. They use high-powered, reverse-blowing air tools and industrial-strength vacuums that can dislodge even the most stubborn clogs safely and completely. Many will also run an inspection camera through the entire line to guarantee no hidden blockages are left behind.
Choosing a professional isn't just about having better tools; it's about leveraging their expertise. A trained technician can spot underlying issues, like improper duct installation or an inefficient vent cap, that a homeowner might overlook. This preventative insight can save you from future headaches and hazards.
While you're performing maintenance on your roof, it's always smart to keep an eye out for other potential issues. If you happen to spot signs of a water leak, for example, knowing how to identify and address it is crucial. For those with specific roof types, understanding common problems like flat roof leak repair can be incredibly valuable knowledge.
It’s clear homeowners are taking this maintenance task more seriously. The dryer vent cleaning industry is projected to grow from $1.5 billion in 2025 to roughly $2.7 billion by 2033. This massive growth allows dedicated companies like Purified Air Duct Cleaning to invest in the advanced tools and training needed to serve residents across the Phoenix area, from Avondale to Scottsdale, ensuring everyone has access to true expert help when they need it.
Common Questions About Rooftop Dryer Vent Cleaning
After walking through the whole process, a few questions usually pop up. It's totally normal. Getting the hang of how often to clean, which tools to use (and which to avoid), and the real-world challenges of a rooftop vent helps you tackle this job with confidence. Let's dig into some of the most common questions we hear from folks in Avondale and right across the Phoenix area.
How Often Should I Clean My Rooftop Dryer Vent?
The general rule of thumb is to clean your dryer vent at least once a year. But honestly, that’s just a baseline. Your lifestyle and home can easily change that schedule.
You should probably bump that up to every six to nine months if any of these sound familiar:
You have a large family, and the dryer is constantly running.
You own pets that shed a lot. All that hair mixes with lint to form stubborn, dense clogs.
Your dryer is an older model, as they often aren't as efficient at trapping lint.
The vent itself is extra long or has a lot of bends. Every turn is a potential snag point for lint buildup.
Can I Use a Leaf Blower to Clean the Vent?
Please don't do this. We strongly advise against using a leaf blower. It might seem like a powerful, quick-fix, but the potential for hidden damage is huge. The sheer force from a leaf blower can easily tear flexible ductwork or pop vent sections apart inside your walls or attic.
When that happens, you’ve created a much bigger problem. Now you have hot, moist, lint-filled air venting into concealed spaces: a serious fire hazard. It's always better to stick with tools made for the job, like a proper drill-powered brush kit.
A common mistake is treating a rooftop dryer vent like any other opening on the roof. They are part of a closed, mechanical system. To better understand the various ventilation systems on your roof and why they have different designs, you might find it helpful to explore a complete guide to flat roof vents.
What Are Other Signs of a Clogged Roof Vent?
Long dry times are the classic giveaway, but your house usually sends out other warning signals that a clog is brewing. Catching these subtle clues early can stop a major problem in its tracks. You can also check out our detailed guide on how to tell if your dryer vent is clogged for more tips.
Keep an eye out for these red flags:
The top or sides of the dryer feel unusually hot to the touch while it's running.
You smell a faint (or strong) burning odor in the laundry room during a cycle.
An excessive amount of lint is building up on the floor behind the dryer.
You look up from the ground and see that the vent flap on the roof isn't opening when the dryer is on.
Is Cleaning a Rooftop Vent Harder Than a Wall Vent?
Yes, absolutely. Cleaning a rooftop vent is significantly tougher and comes with much greater safety risks than a standard ground-level wall vent. The main issue is obvious: you have to work safely at a height, often on a sloped roof.
Getting the ladder set up correctly, making sure it’s stable, and just being careful are non-negotiable. On top of that, you're fighting gravity, trying to clear out a long vertical tube, which takes a lot more muscle to scrub compacted lint and debris loose. This added complexity is why so many homeowners in Phoenix look at their roof and wisely decide to call a professional.
If you've taken a look at your rooftop vent and decided the job is too risky, or you just want the peace of mind that it's been done right, Purified Air Duct Cleaning is here to help. Our certified technicians serve Avondale and the entire Phoenix metro area with the proper tools and safety protocols to handle it correctly. Visit us at https://www.purifiedairductcleaning.com to schedule your service today.